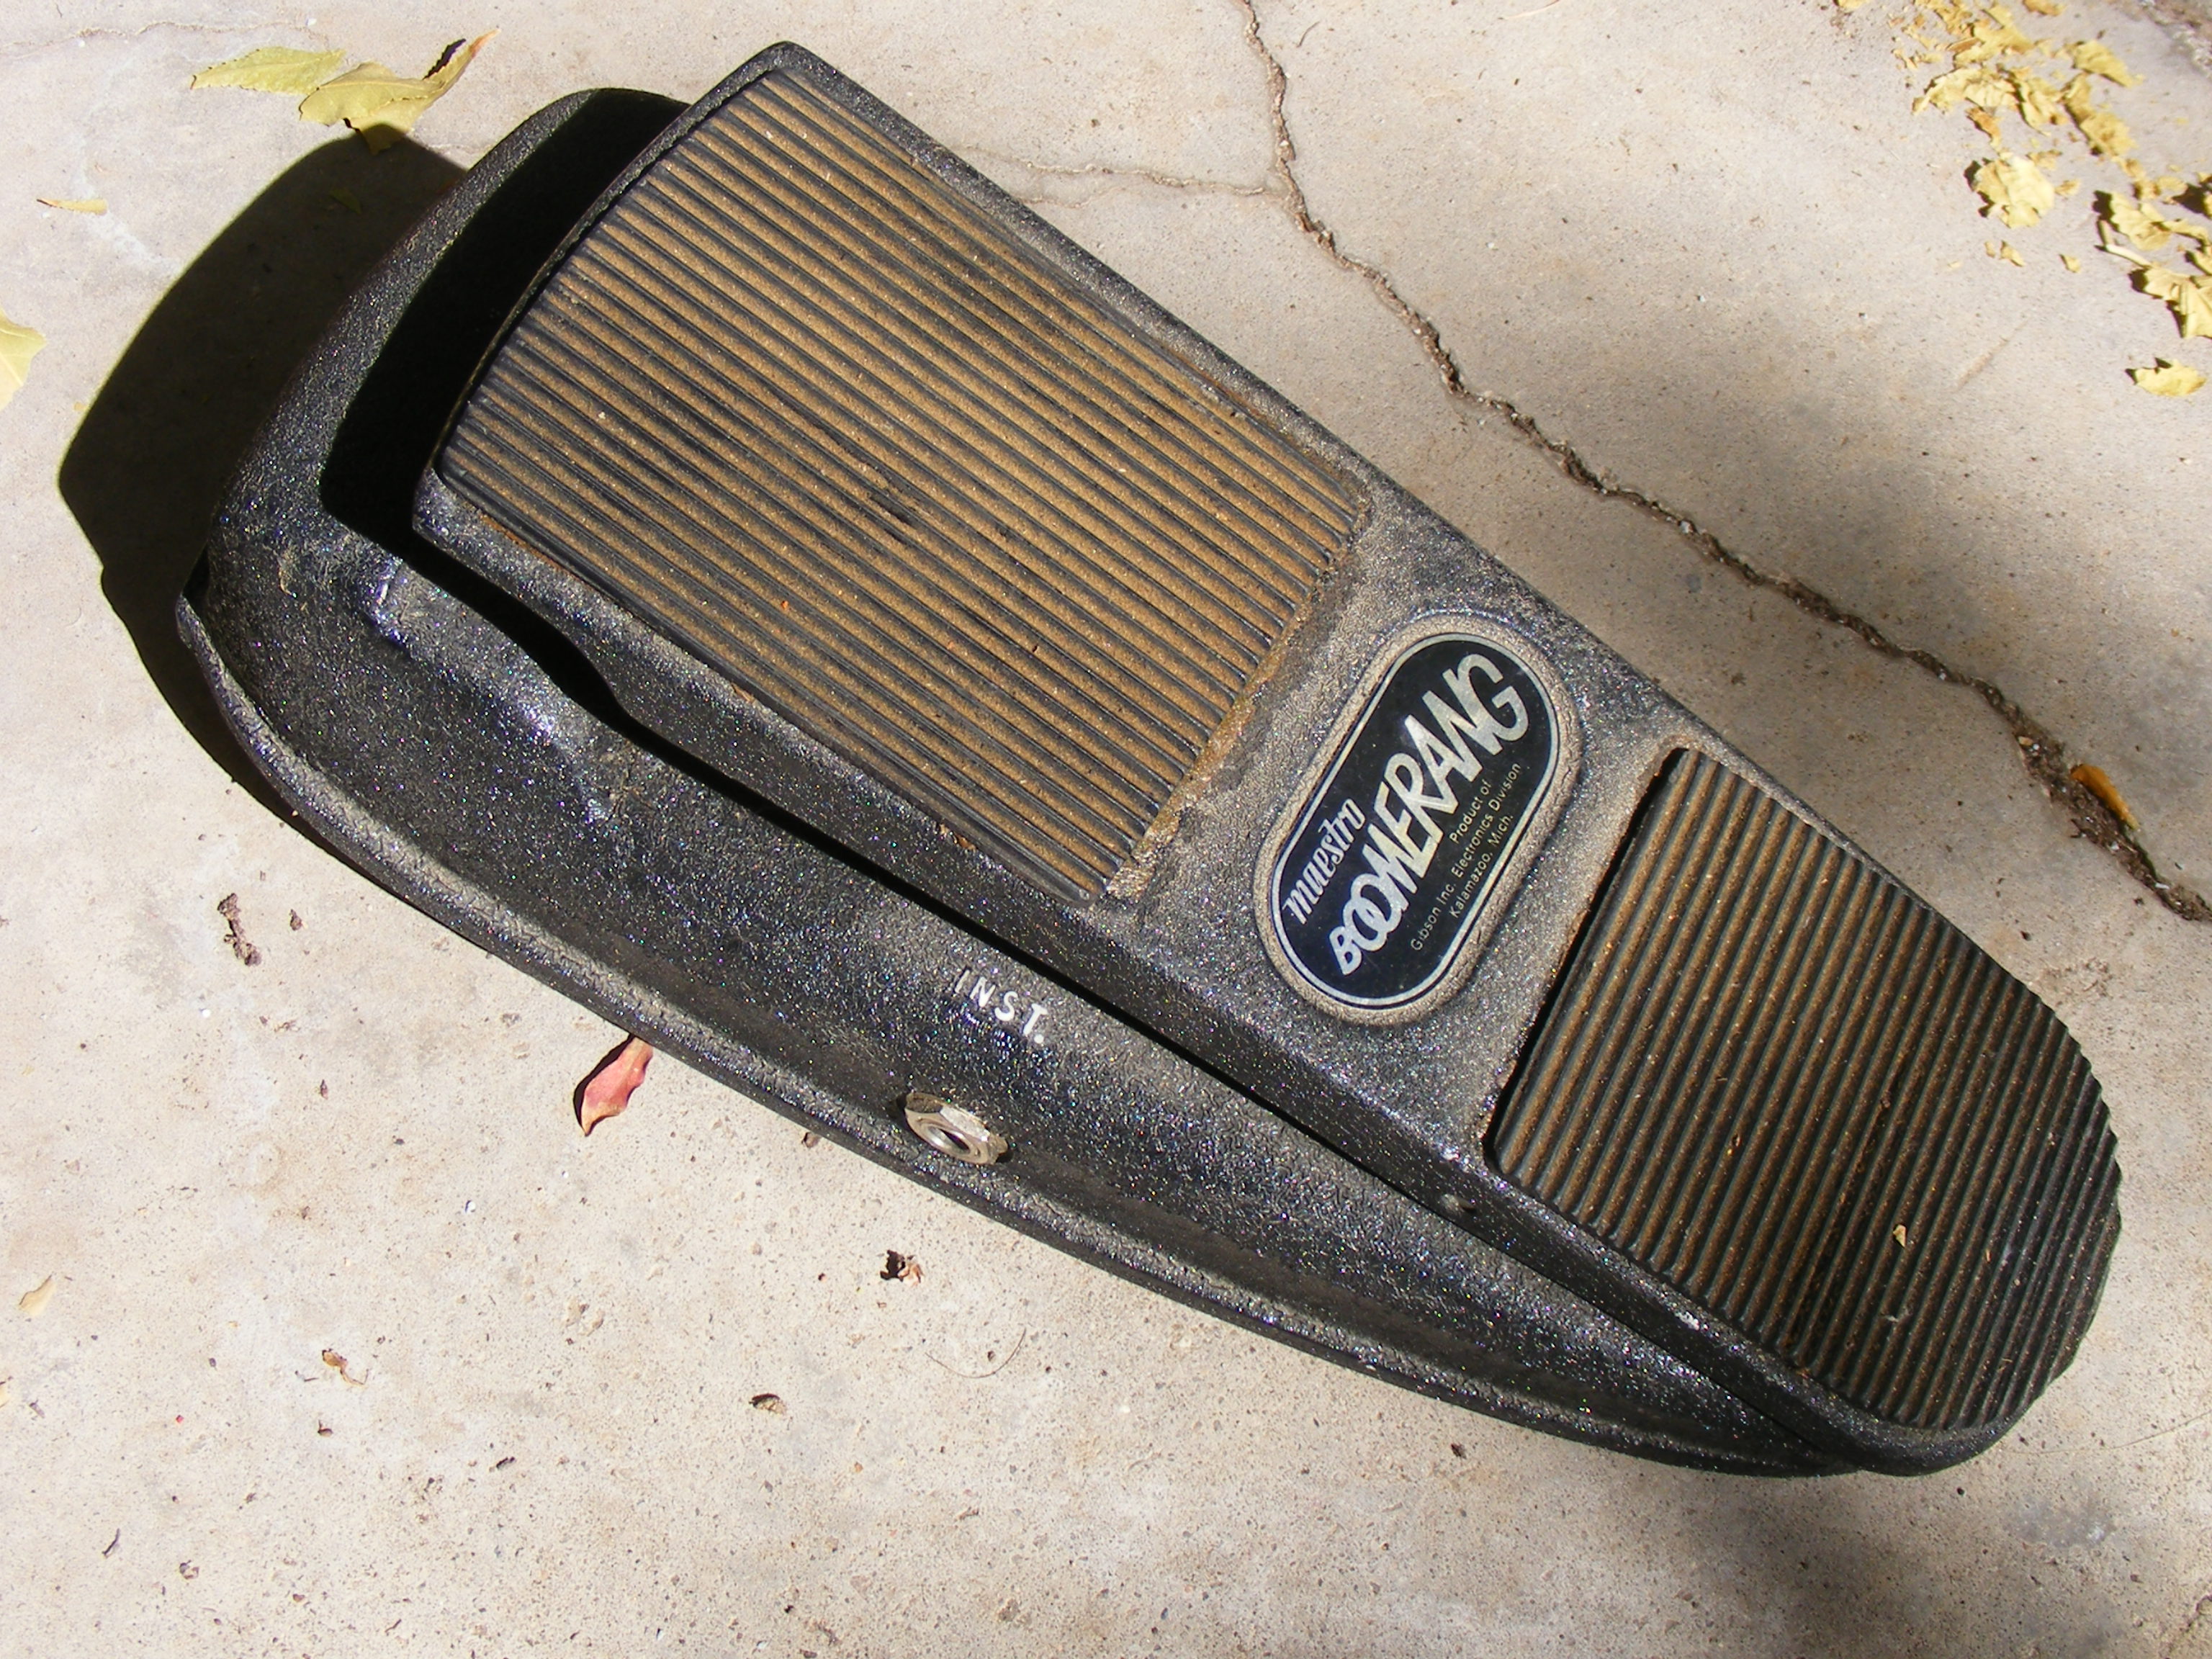
Maestro Boomerang BG-1: Where Is The Love?
Created 4/15/10
Last updated 4/16/10
By Joe Gagan, hosted by Paul Marossy
if a boomerang wahs in the forest, will shaft hear it? yes, he's a bad mutha!
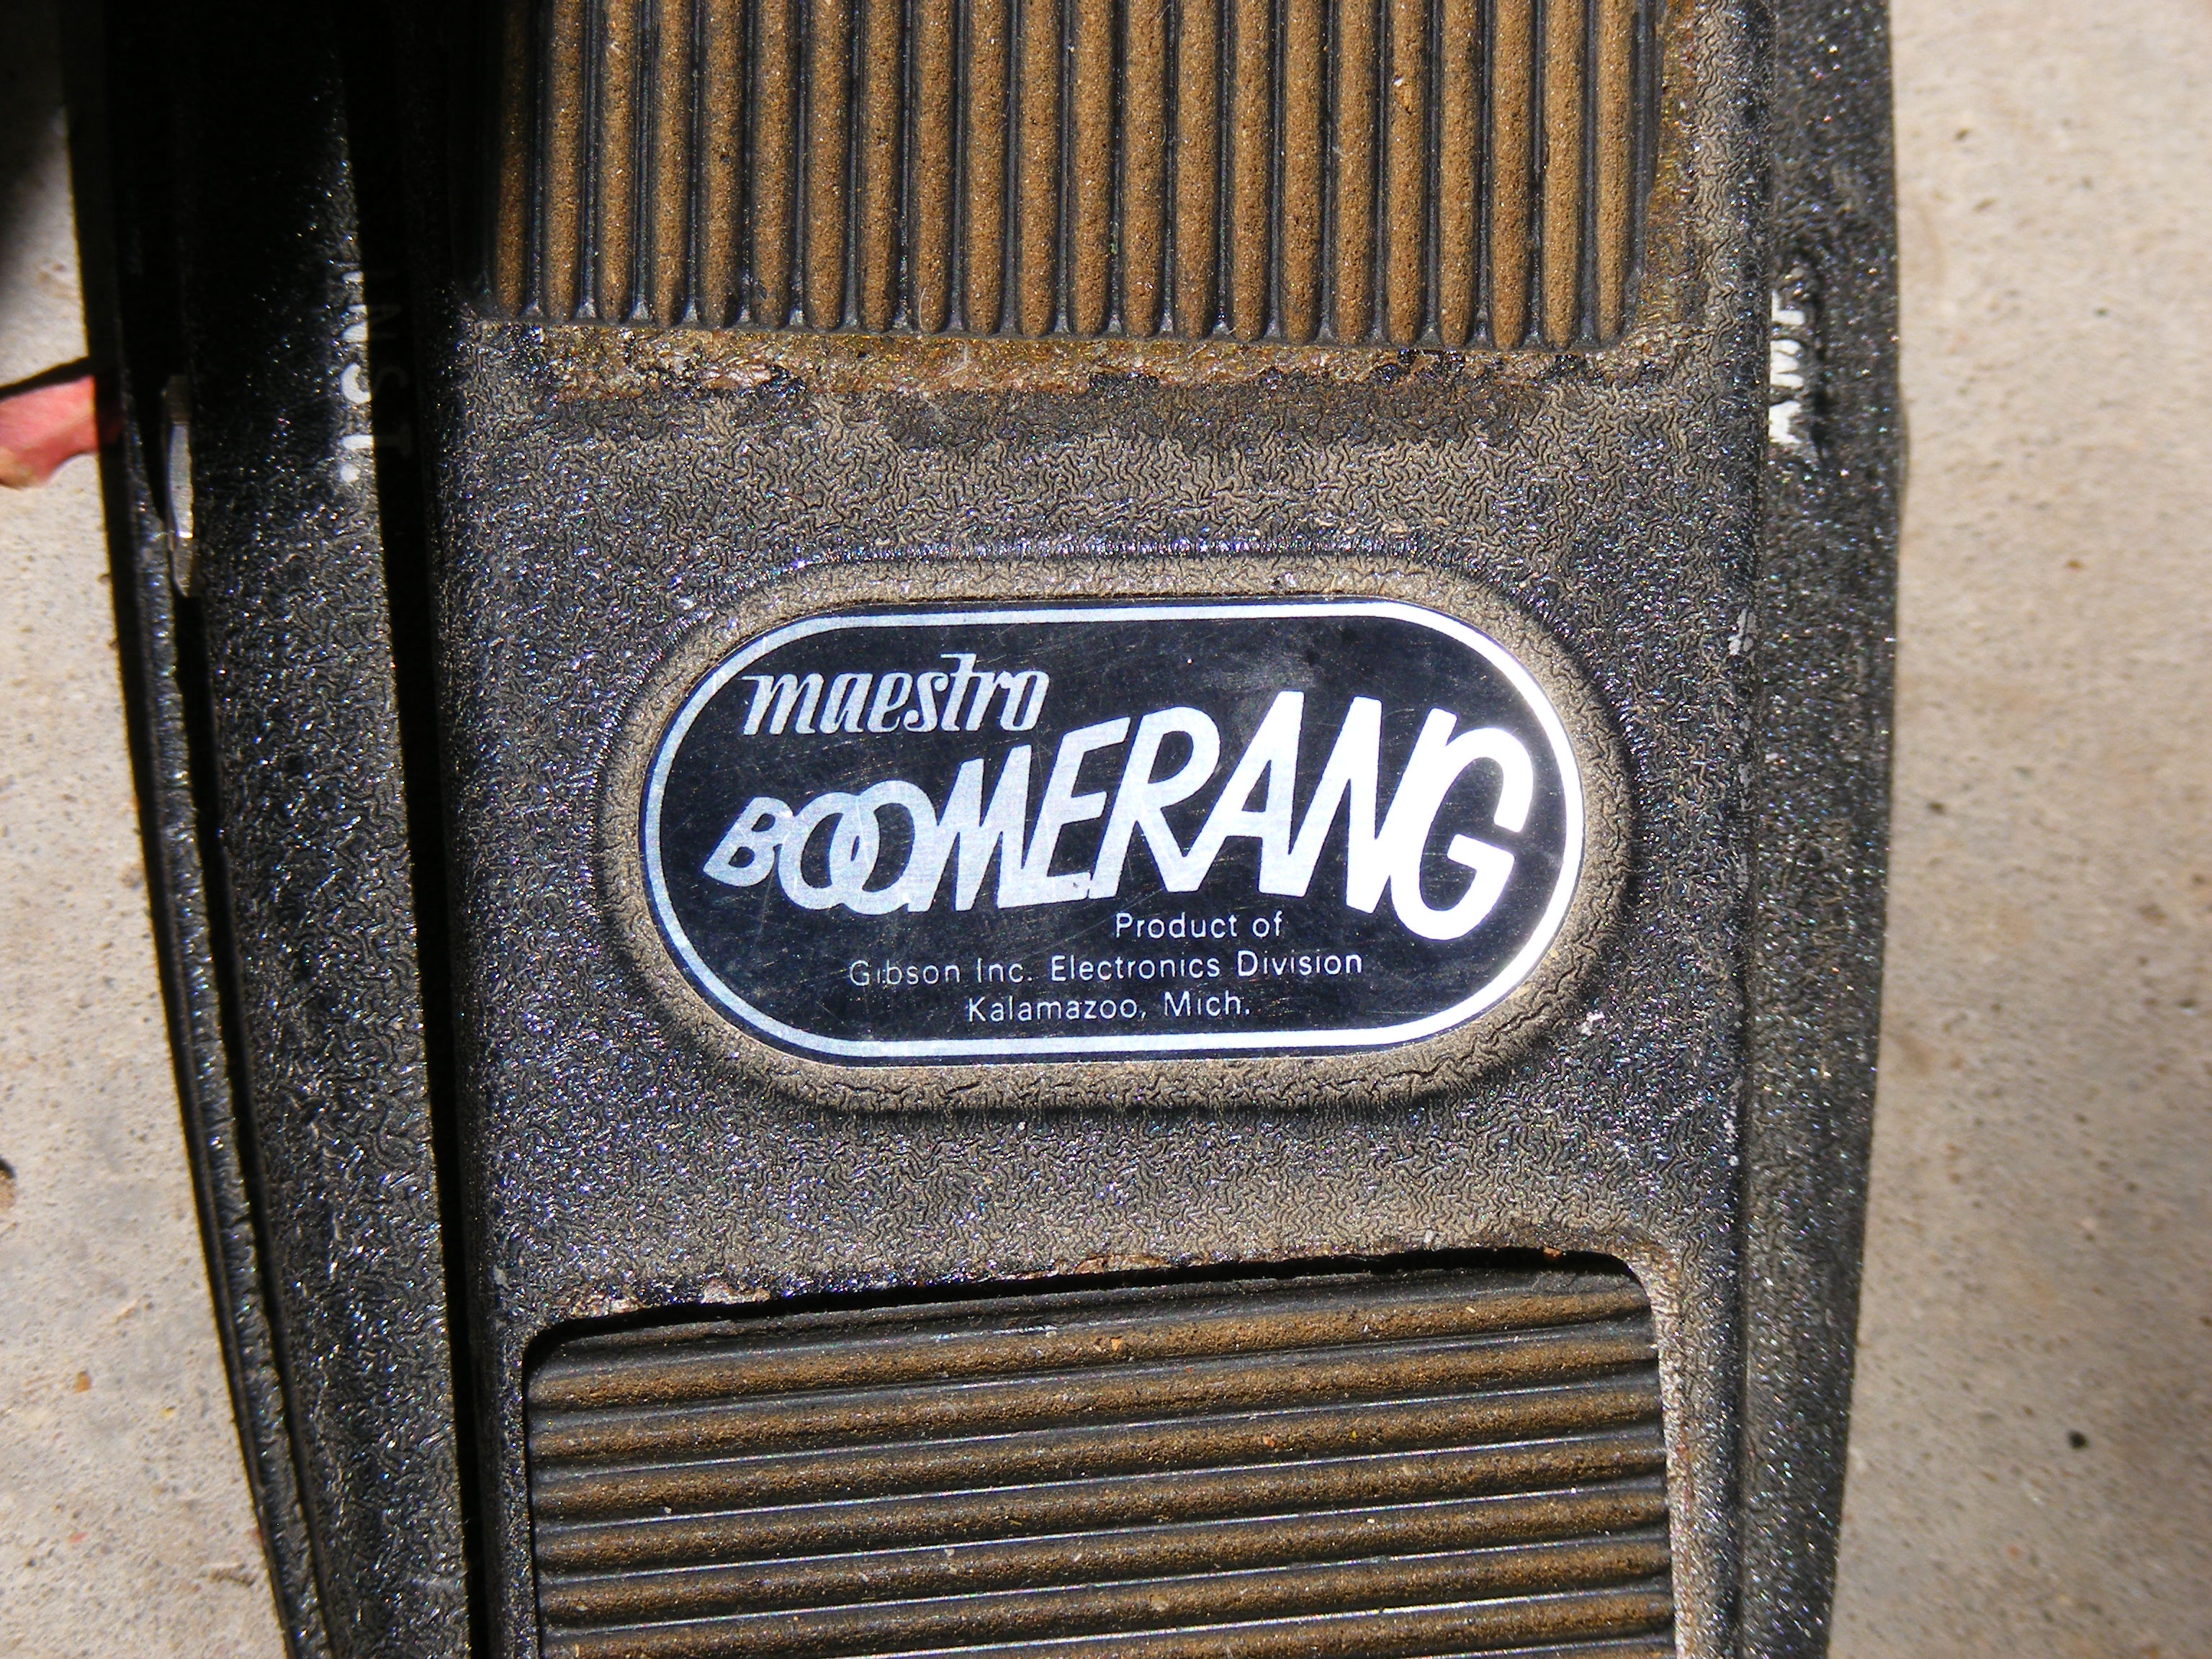
in 10 years online and 40 years around music gear i had never seen a '67 boomerang. there were rumors of them on the net, some people mentioned the logo plate was silver with black print instead of the orange of the bg2. but what if you never see one?
information about the early vox wahs abounds, where is the boomerang love?
wah wah echo chamber
as we have seen many times, quotes or supposed "facts" can reverberate around the net like a giant echo chamber. such is the legend of the maestro BG1 wah. sometime in the 90s, eric kraft interviewed geoffrey teese. when asked what his favorite wahs of all time were, he mentioned the original clyde mccoy, and the first series boomerang. this quote has been repeated so many times, the original article and context are often lost. many people covet the early maestro without knowing too much about how or why they differ from most common wahs, and how gibson was so quick to get to market- the same year as the legendary vox/thomas wah.
patent leather chews
by the summer of '67, both cream and hendrix had released new music with this exciting sound. the world wide demand for wah wahs was astronomical!
online, someone has speculated that the boomerang pre-dated the vox by as much as a couple years. there is no physical evidence that this occurred. i believe the confusion arises from the patent applied for date on the actual patent number listed on the boomerang factory schematic. following is a scenario i believe to be possible, given the sparse facts we have available now:
richard petersen ( later of petersen tuner company fame) applied for the boomerang patent in 1963, with specific description of its use as a way to replicate the trumpet 'wow -wow"sound as well as an ability to mimic human vocal sounds. this was to be used as an effect on organ circuitry, as his company supplied subassemblies and technology to a variety of organ manufacturers, including lowrey, a gibson owned company. in fact, this wow-wow trumpet sound was an actual feature on lowrey organs as early as 1964. possibly actuated by a knob or pedal after a switch was activated. i dunno. not an organ guy.
here is where it gets sketchy. 1967, gibson suddenly starts making the maestro boomerang wow wow pedal, same year as the vox wah lights the world on fire. was it a coincidence? i don't think so. perhaps gibson got wind of the design and release of the vox, and got busy in an attempt to compete with their own version. since they already had a patent available, why not put it to use in a guitar pedal? no need to try and license the design from vox. interestingly, the US patent office grants petersen's patent in 1967. was this due to pressure from gibson, or just the normal time lag for patents at the time? keep in mind that vox applied for their wah patent in 67 and did not receive it officially until approximately 3-4 years later as well.
much has been written about the invention of thomas organ's vox circuit by brad plunkett. throw in a little controversy from del casher and you have a nice novella. but that is a separate story. the plunkett invention relates to this story in one major way. the inductor based filter circuit used in both the vox and petersen design were well known circuit snippets that all electrical engineers studied in school. what made both men's ideas patentable was their application for a specific human interaction in a specific musical instrument.
racing to meet the demand
gibson's people did not have a crystal ball, for had they known the future, they would have known that many companies for the next 40+ years would rip off the vox circuit without a single repurcussion. but by sidestepping vox's design, maestro created a wah pedal that was one of very few inductor based wahs that differed significantly from the vox. the transistors bias quite differently, the pot value is different, and the caps surrounding the pot are a value far different from virtually all of the vox/crybabies and countless counterfeits.
these circuit differences drastically affect the sound and player feel of the boomerang when compared to other wahs. it's sweep has a concentrated gain increase ( hump, or "wow") at a low mid frequency, and when combined with the unusually tapered 25K pot, a talented player can ride this sweet spot for incredible expressiveness and playing dynamics. for a good example of this, look up jj cale's "crazy mama" from the original 1970 recording. he spends so much time riding the sweet spot, you'd swear his amp had honey oozing out of it.
no one i have contacted can tell me who built the original 67 boomerangs. my best guess is that the lowrey factory was told to crank 'em out.
in '68, richard mintz of all test devices corp was contracted to re-design the BG-1 into the BG-2, and was the manufacturer of probably every boomerang with an orange label that was ever made. mr. mintz remembers fondly the 60s/70s scene of the ny city music stores with all the visiting rock stars mingling with salesmen and the occasional effects designer, everyone looking for the next new sound. boomerang sales took off when the guitar public learned that the smash hit 'shaft' was recorded using a maestro wah. date codes from many BG-2 s back up this fact.
waht a difference a year makes
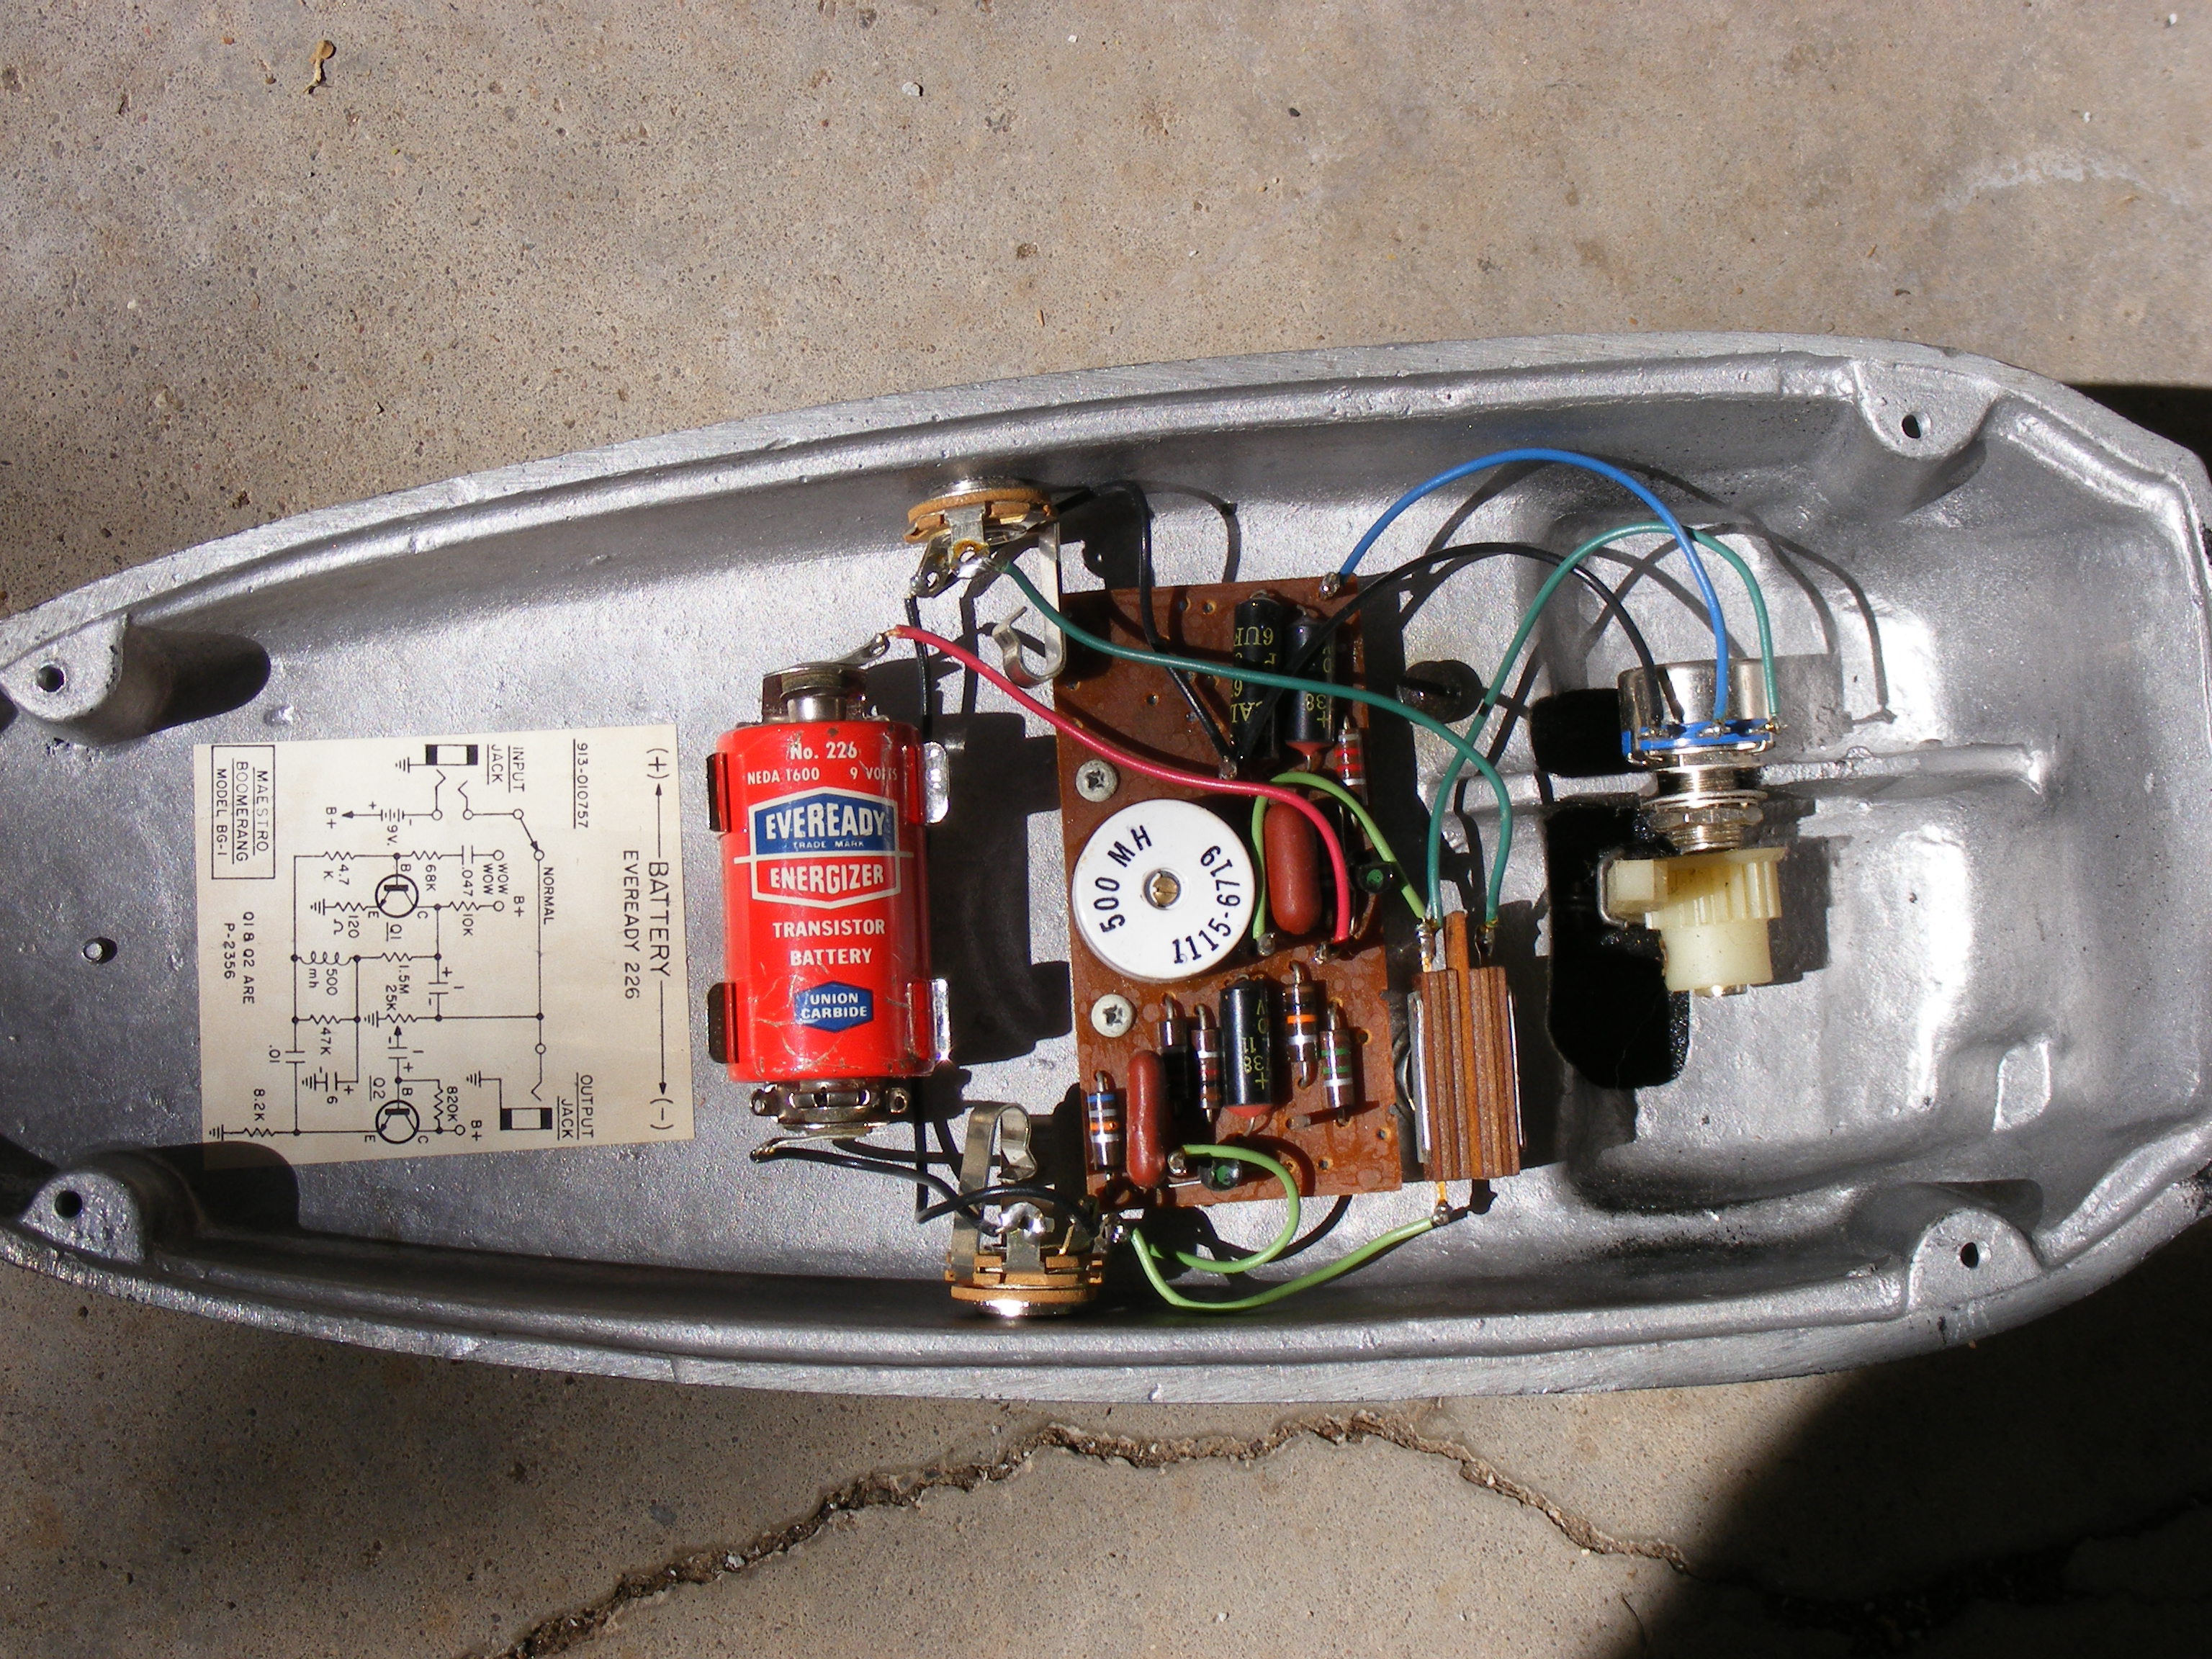
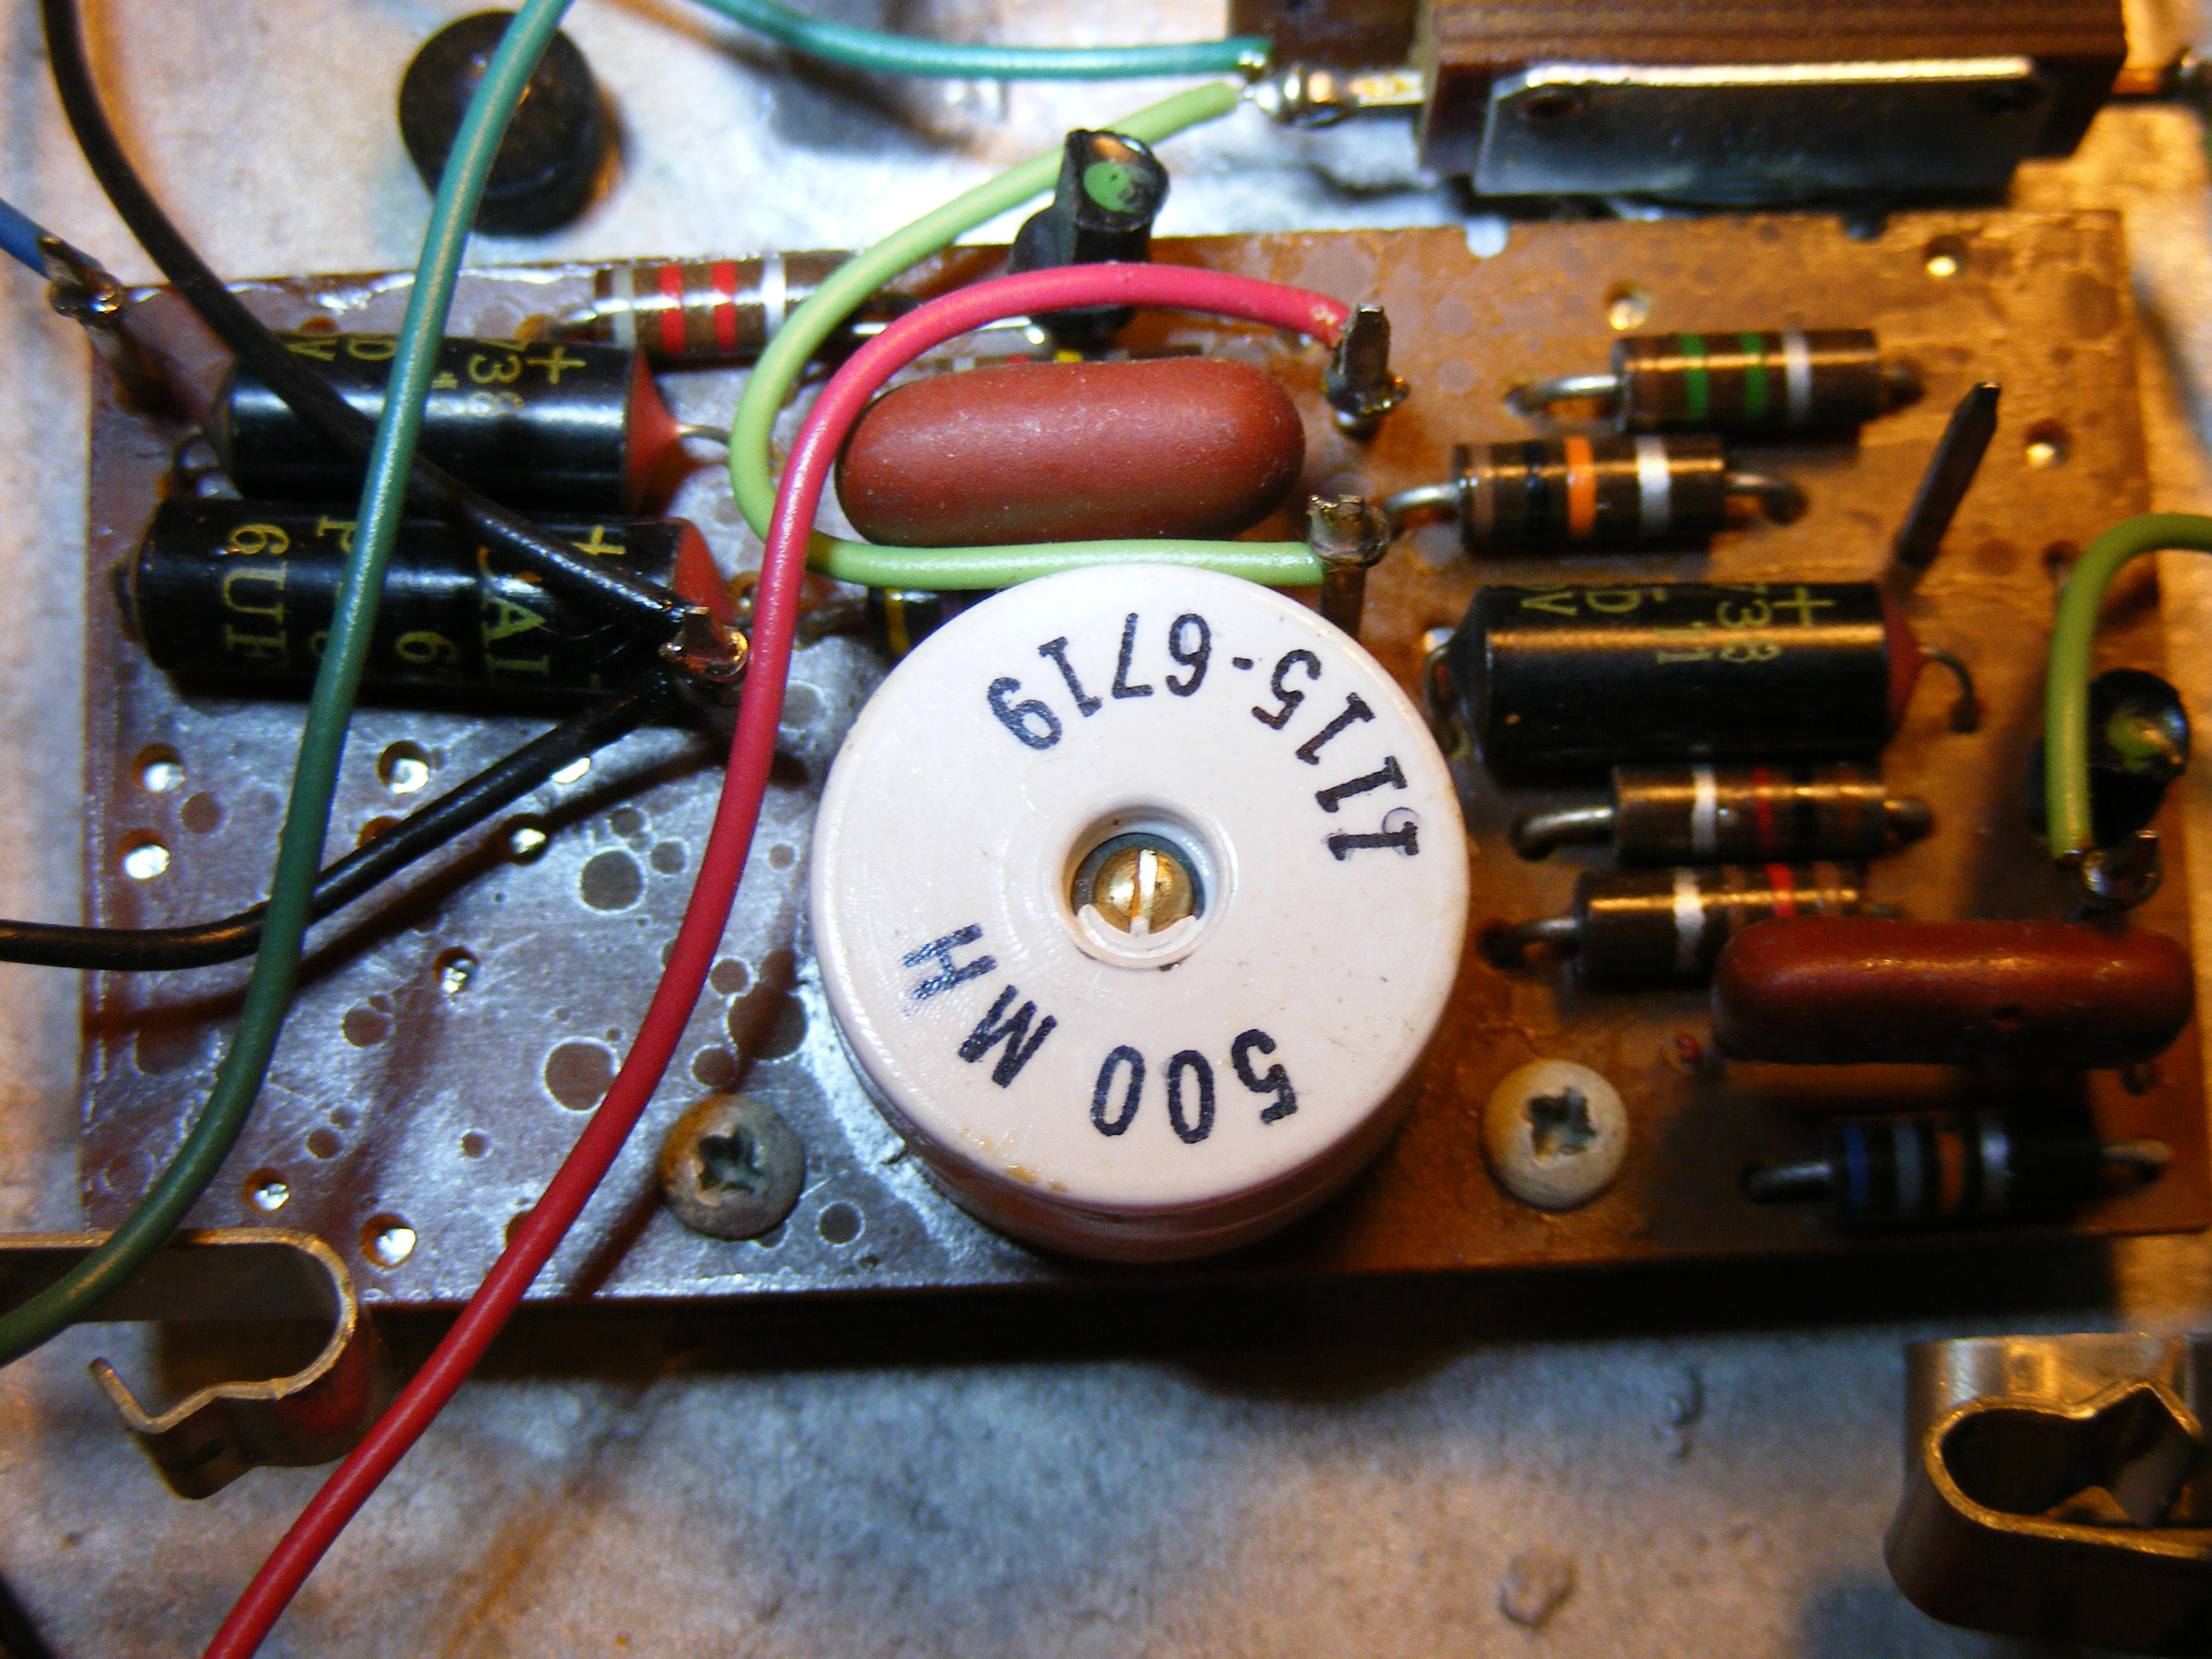
I asked mintz what caused the change of supplier of pots and inductors between the BG1 and BG2, he said the only consideration for gibson was cost. the 67 BG1 uses a largish white round inductor with the markings '500 mh' and '1115' along witha 6719 date code, indicating 19th week of 67 manufacture. the BG1 used a chrome-backed, sealed CTS pot, 25k audio or some modified audio taper. in contrast, the BG2 uses the now familiar EL RAD inductor and 25K AB or Clarostat large wah style mil spec pot, also audio or audio/weird taper. again, i suspect the early white inductors were from lowrey parts bins, but i have no actual photos or data to back this up.
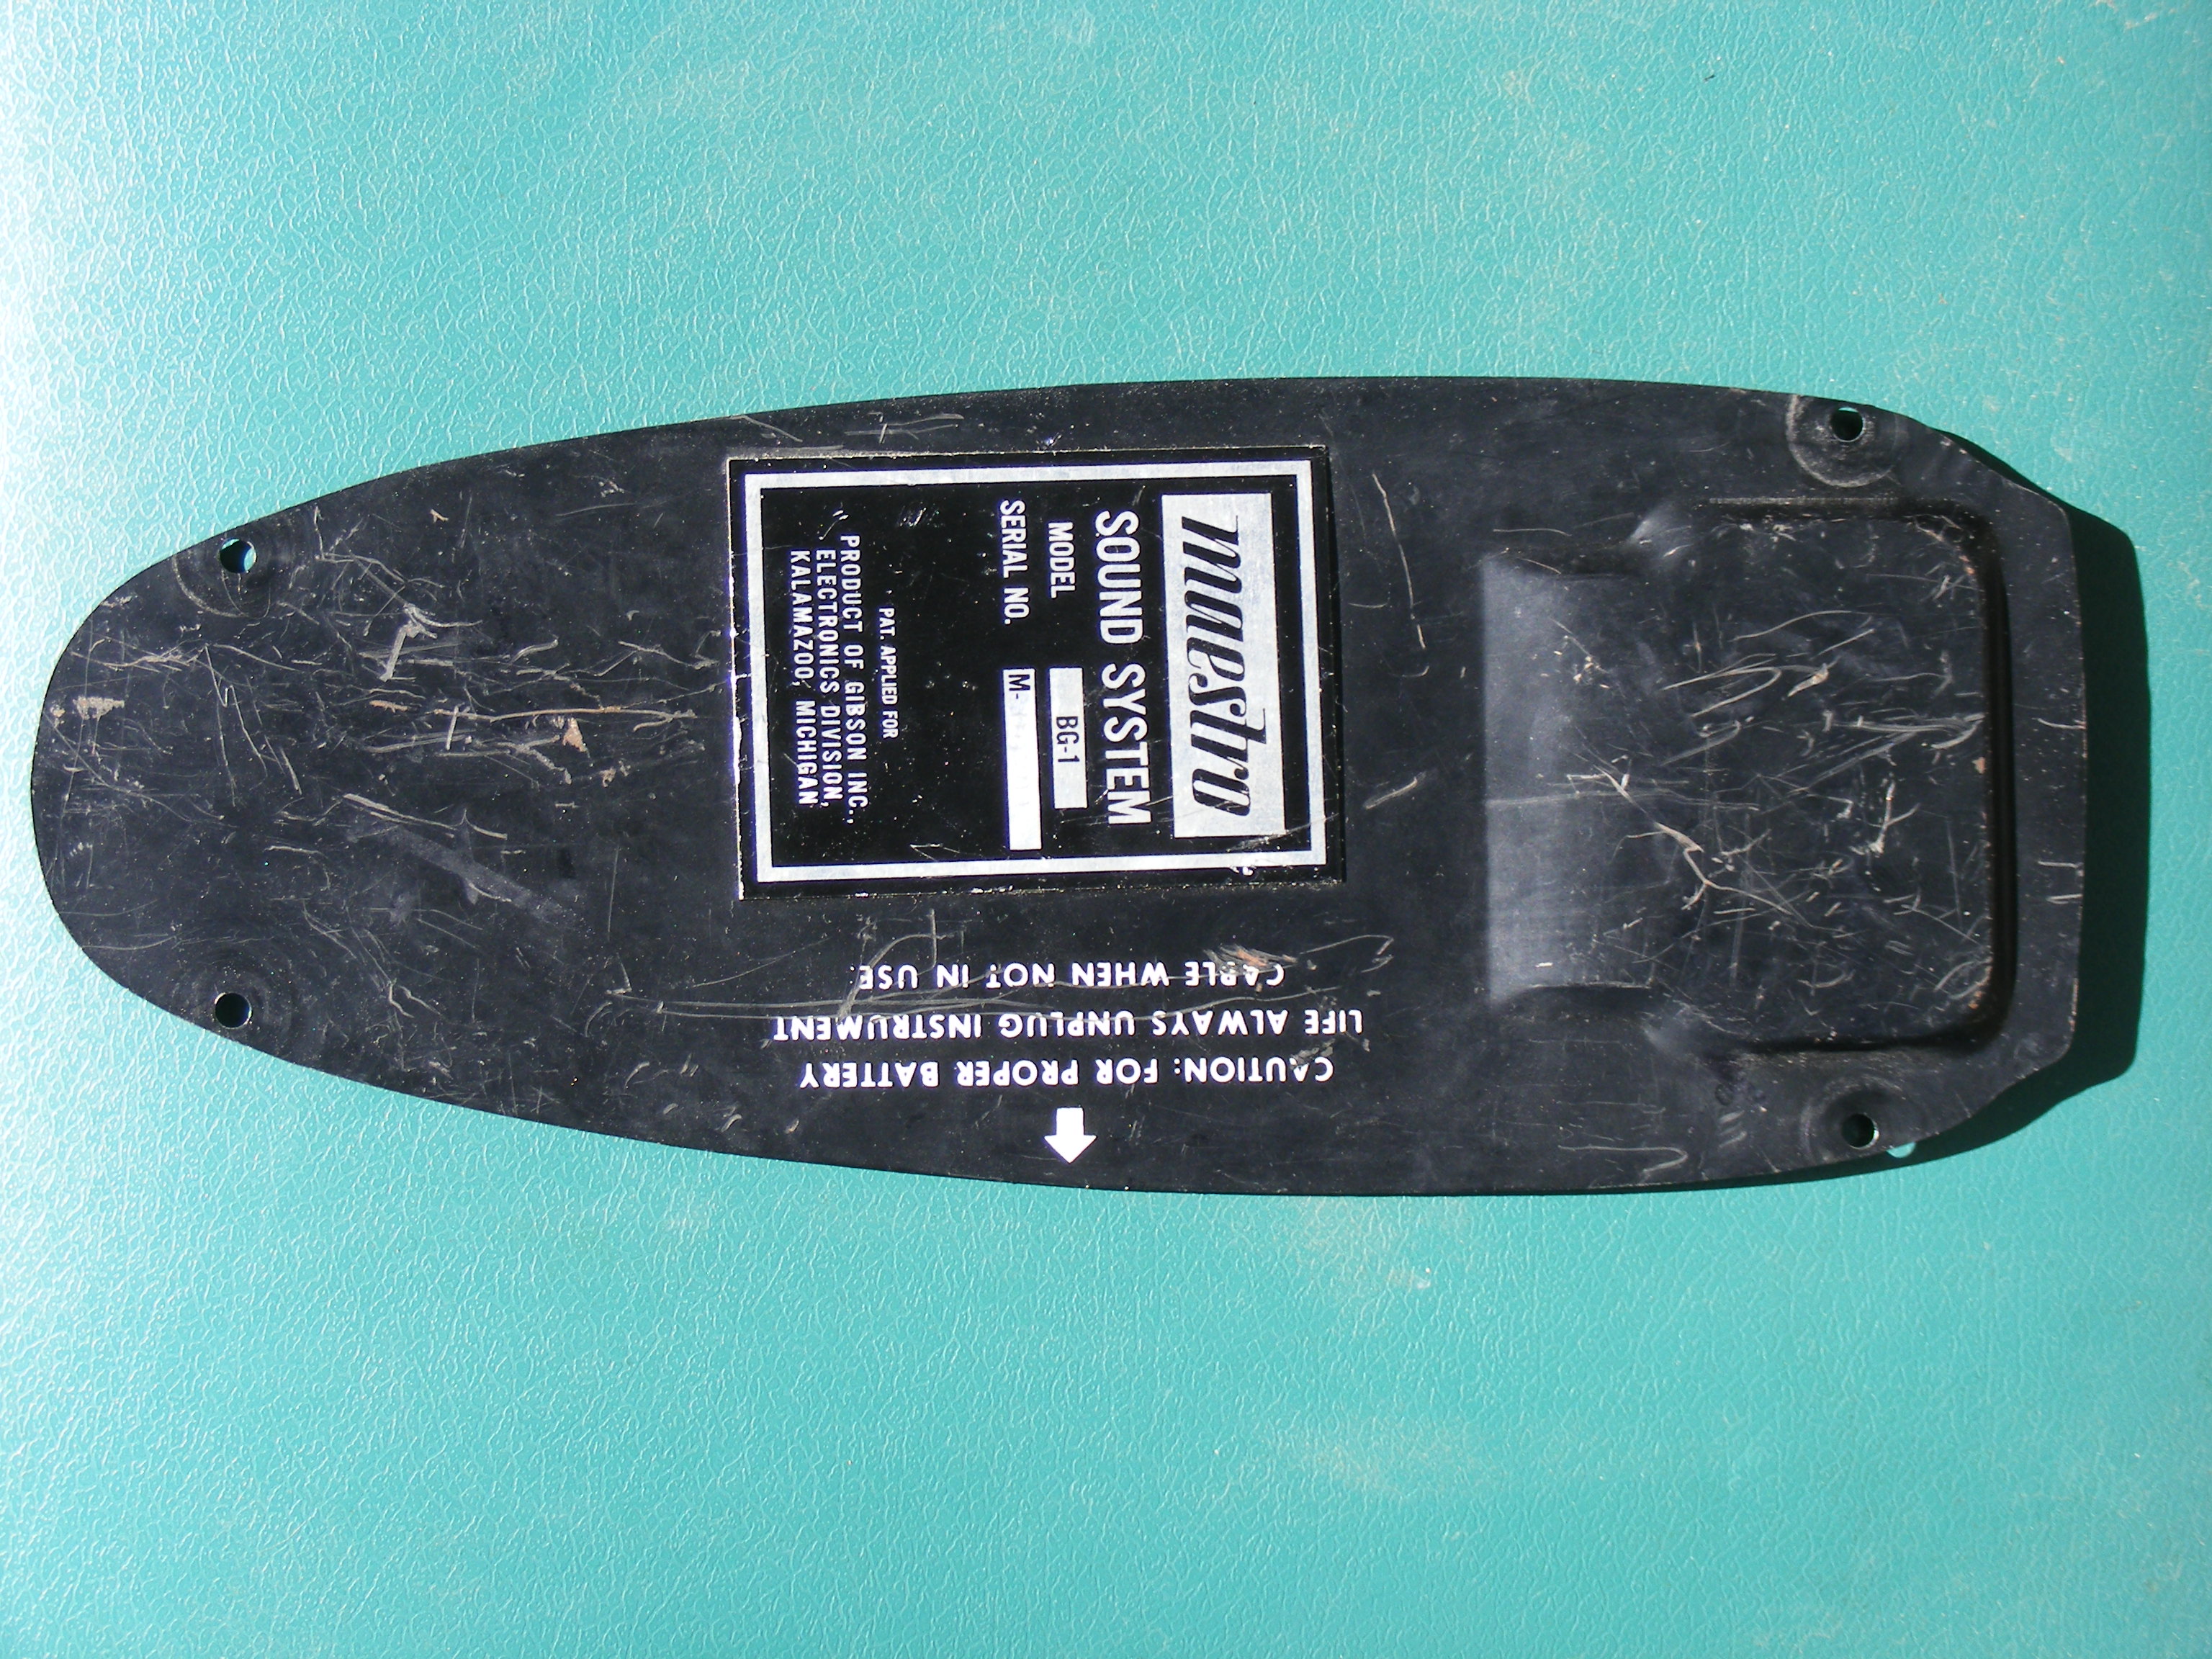
how does the BG1 and BG2 compare? quite similar actually. our '67 is 100% original, right down to the original battery clip for the strange 226 battery. for testing, we use alligator clips carefully attached so as not to disturb or modify the pedal in any way. the original pot sounds scratchy when first fired up, but within 30 to 50 strokes it smooths right out. when compared to 3 separate BG2s, ranging in era from 71 to 74, the BG1 and BG2 share a common voice. the frequency response is similar in all, quite understandable when comparing the two schematics side by side. the only major differences between the two relate to the switching for a feeble volume pedal function on the orange label BG2. but the BG1 has a distinctly sweeter resonance, a richer set of harmonics than we hear in any of the BG2s tested. the ever-present online rumors are confirmed to our ears. the early one really does sound and respond best.
rare as a purple elephant in alberta
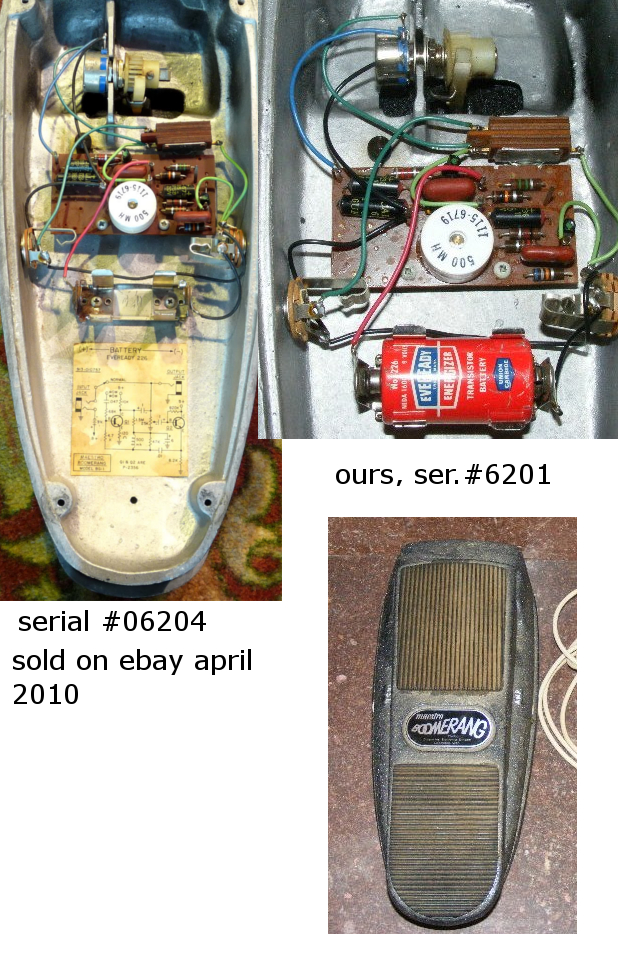
so, how does one of these unobtaniastic things show up? we have no idea, but after ten years of hardly anyone ever seeing one, two of these devils came up for sale within two months of each other ( ebay!) in spring of 2010. not only that, but after some careful photo enhancing, the serial numbers of the two that sold are revealed to be within THREE digits of one another. that's right, ours is 06201, the one that sold two months prior to ours is #06204 ( see compilation photo). also note the exact same wiring method/routing and componentry of the two units in the comparison photo. is it possible that someone had been holding on to the one we bought, waiting for another to sell to place some sort of value on it?
the earlier ebayed unit came from metro music, the salesman i talked to said the guy who bought 6204 had been looking for one for 30 years!
we feel very lucky to have found this thing, even richard minzer says he does not own a silver label boomer. a guy who goes by the name of wahfreak on the internet has a BG1, serial number 06217 (13 digits from ours!) in 2008 he reported that out of over 70 vintage wahs, this is still in the top two or three.
inductees to the tone hall of fame
the el rad inductors were very nice parts for sure- when measured, they consistently come within 5-7% of the indicated 500 Mh.they also spec out at approximately 38 ohms, well within the magic range of the legendary thomas organ stack of dimes specs. we have not measured the inductor in our ' 67 as we do not want to disturb it's 100% original solder joints. as we've seen with other vintage gear, there does seem to be a blurring of the line on inductors. in 2009,
pedalarea.com did a multi-wah shootout including an orange label boomer 2 showing a BG1 style circuit board with white inductor. conversely, the aforementioned BG1, serial # 06217 has an el rad inductor with what appears to be a '69 date code on it.
got pot?
the other magic part is the 25K pot. contrary to some online reports, there is no substitute for the real thing. after dozens of careful AB tests, we have concluded that the only thing that sounds correct in a boomerang is a 25K pot of correct orignal taper. many attempts were made to use limting resistors on 100K wah pots ( icar and hot potzII tapers) to mimic the proper resistance. the sound and feel get about 80% of the way, but the original 25K puts an extendo on the sweet spot that is superior. similar tests using 50k audio pots yielded similar results. in the future we will test a 20k audio pot sold as a replacement for the later style dunlop bass wahs. still looking for a commonly available replacement, as every 70s boomerang i have encountered with original pot has the scratch disease.
get yer boom on
don't think you need a 67 to enjoy the sweetness that a boomerang has to offer. if you can find an original BG2 that was stuffed in a closet and never used, you will be a lucky picker, possibly enjoying a year or two of use before the pot does the inevitable nose dive. if your boomerang is original, consider putting it in a separate true bypass switching loop and leaving the wah in the on position. the switches in these can be iffy, and the bypassed volume mode is one of the worst tone sucking pedals we've ever heard.
the case for fleet wah ownership
since we are total wah freaks, we believe that a player should own at least 3 or 4 wahs for the different tones out there. but a boomerang might just come back, hit you on the head and end up at the top of your wah list.
 |
.. |
 |
.. |
 |
.. |
 |
.. |
 |
.. |
 |
.. |
..
..