Making Your Own Battery Snaps
Last
updated 7/4/05
By Paul Marossy
I have to admit that when I first read about "rolling your own battery snaps" at diystompboxes.com , I thought it was a little bit ridiculous, I mean c'mon, battery snaps aren't that expensive! But, on my last project, I was in need of a battery snap and I didn't want to go out to get one. So, I decided to give it try making my own. Having made a few of these now, I can appreciate the virtues of making your own battery snaps - they don't cost anything, you get to recycle a worn out 9V battery and you end up with a battery snap better than most that you can find on the market these days. Definitely worth the ten minutes of effort required to make one. Below is a short picture essay describing the simple process.
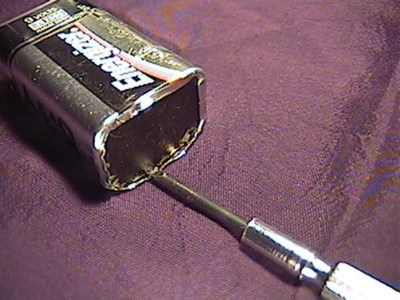 |
The first thing to do is to get a worn out 9V battery and pry the metal casing away from the bottom piece of fiberboard. This is the hardest part of the process. Some brands are easier to dismantle than others. I use the end of a precision screwdriver to wedge under the crimped edges and pry them up. This takes five minutes or less. Try not to damage this bottom piece, you will need it later. |
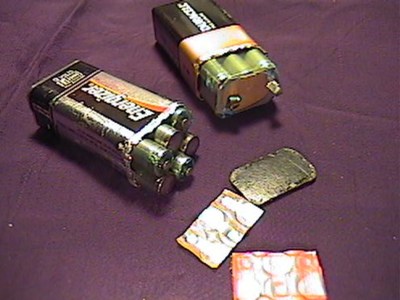 |
With the crimped edges out of the way, the individual cells can be pulled out. Some brands have all of the cells together as a unit and some are packaged as individual cells. In either case, once you get them out of the casing, you're halfway there. |
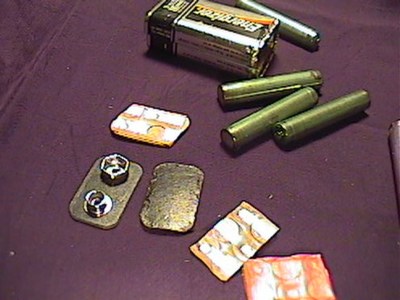 |
When the cells are out of the casing, the terminals can be accessed. On some brands, this piece is physically attached to the cells and in some, this piece is loose and is held in only by the metal casing. Energizer brand batteries are built this way, and makes for a better battery snap than the Duracell brand batteries by virtue of the construction of this part. |
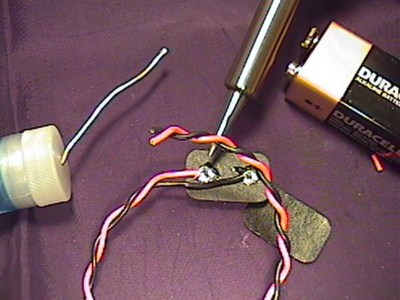 |
A couple minutes with a soldering iron, and the battery snap is basically finished. One thing to remember is that the connections on this battery snap will be the opposite of the battery in terms of polarity. The only thing left to do now is to attach that bottom piece of the battery that we saved for later to this battery snap. |
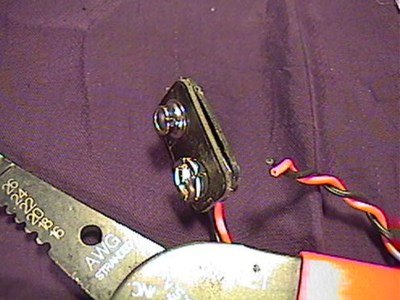 |
I like to use hot glue to attach the bottom piece to the battery snap. |
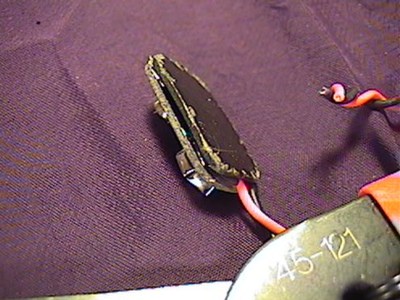 |
And finally, here is a view of the other side of the battery snap. After ten minutes of effort, I have a more durable battery snap than most commercially made ones that I have seen available. |