Adding A Digital Reverb To A Tube Amp
Created 08/20/09
By Paul J. Marossy
After some considerable contemplation, I went ahead and installed the
GGG Digital Reverb Kit into my
1964 Gregory Mark X tube amp, and I must say that amp sounds really sweet now! Not everyone is sold on how a digital reverb sounds compared to a real spring reverb, but I think that the patented
Belton Reverb Brick is a breakthrough technology actually does sound very good. And it can fit in a very small space, which is a consideration when you are altering an existing amplifier.
Below are pictures with some details.
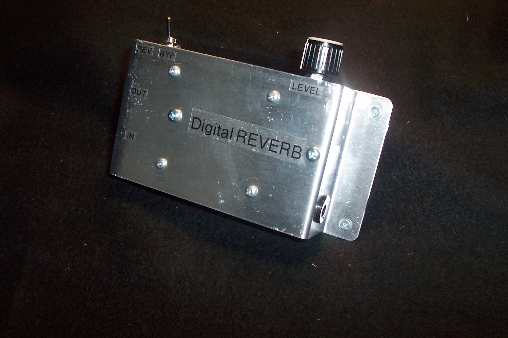 |
This is a view of the outside of the enclosure I fabricated specifically for this digital reverb circuit. I wasn't too concerned with looks as it's kind of hidden away inside the amp. |
 |
In keeping with tradition, I decided to use RCA cables to connect to my "digital reverb pan". |
 |
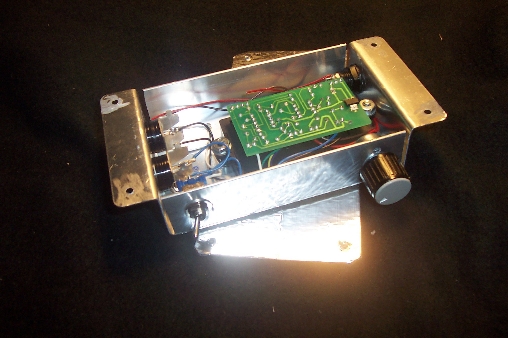
This is showing how all the parts are arranged inside the enclosure. The enclosure is actually 3-pieces of aluminum. One piece is from the bottom of a long RadioShack plastic project enclosure, which I bent as required. The other two pieces are 1"x1" aluminum angle left over from my recent pedalboard project. |
 |
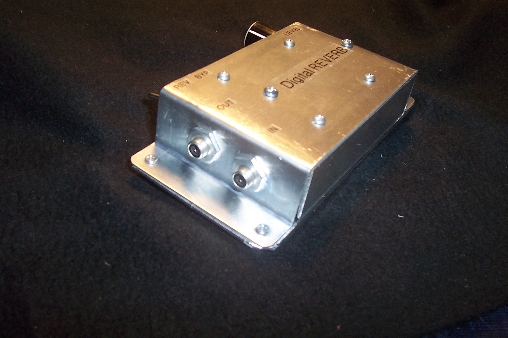
The bottom of the pan is just a piece of card board covered with aluminum tape for shielding. When everything is together, it forms a nice shielded enclosure. Shielding this thing well is very important when it's around power and output transformers in a tube amp. When I first tested it, I didn't have it in an enclosure, and man that thing buzzed! |
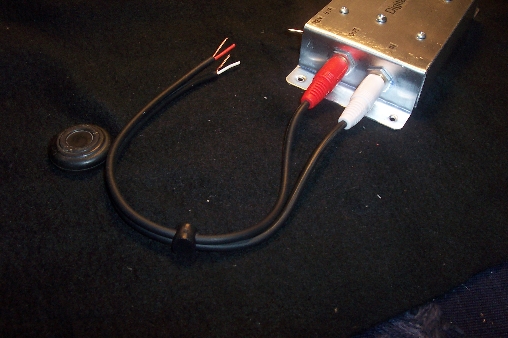 |
Here is a section of RCA cable ready for installation into the amplifier. I simply inserted this circuit between the input jacks and the first preamp tube. That way it's a permanent part of the amp, and I don't have to give up any real estate on my already crowded pedalboard. And this mod is very easily reversed. |
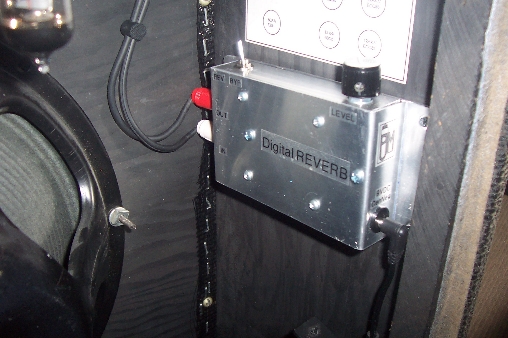 |
Here it is inside the amp. The level control knob is easily accessed by reaching around the amp. Since I pretty much leave my reverb setting at one place, it's a "set and forget" kind of thing. I also added an emergency bypass switch just in case it's ever needed. The dimensions of the enclosure is 4.5"x3"x1" high. The mounting tabs add about 1.5" to the overall length, making it about 6" total. |
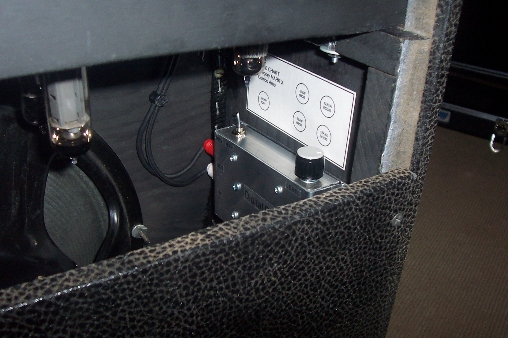 |
Here's how it looks with the back panel on the amp. |
Powering the circuit was a snap since I already added a second power transformer for a DC powered cooling fan. All I had to do was add a new power cord from the transformer to a DC jack I mounted on the enclosure. In between the PCB and the DC jack is an LM317 adjustable voltage regulator set at 9.5V, just like what a new 9V battery will typically measure. I've had this in my amp since June 2009 and it has been working without any problems whatsoever.
What I think is cool about this project is that when I first heard about the GGG D-Verb digital reverb kit, I instantly thought that it would be a perfect application for this particular amp and kind of an interesting experiment to try - but it actually working out so well is what is the coolest part of it all. Overall, I am very pleased with it, it sounds great! Now I have the best of both worlds, a great vintage tone with cutting edge technology mixed into it. I know some tube amp purists wouldn't approve, but I think this is a lot simpler and less expensive than trying to add a tube reverb circuit and a spring reverb pan to an existing amp. Sometimes the way the amp is constructed really restricts what you can do in terms of adding tube reverb, so I think this is a good compromise.