Modifying the Master Volume Control
Last updated 9/24/02
Here is how I changed the Master Volume Control on my Hot Rod DeVille to make it a little more user-friendly:
I decided to keep R45 at 47K and instead try changing the pot from the stock 100K linear pot to a 250K audio pot. It's not simple to change the pot, though. The shaft of the pot is permanently attached to a bracket assembly which is also soldered to the PCB as well as the three connections to the pot itself. This is complicated by the fact that Fender won't sell a replacement pot to a nobody like me. So, instead of searching the world over trying to find one of these, I decided to just make one myself. It's a little bit of work to replace it and fabricate a new bracket, but it's really fairly easy to do.
Below is some more details on how I did this.
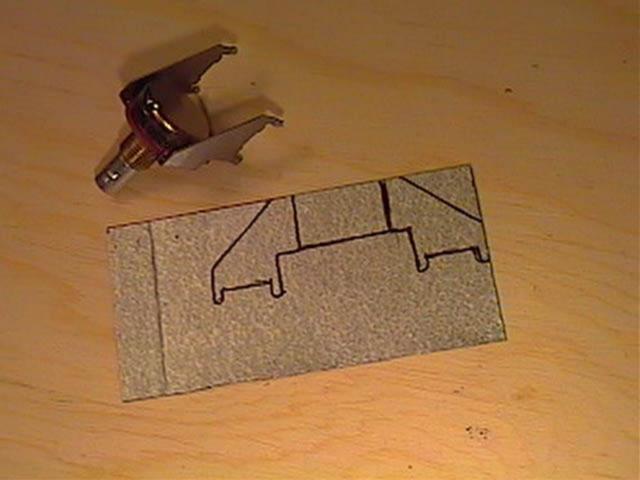 |
First thing to do was to de-solder the old pot and remove it. Now I have a template to make the bracket which holds the pot securely to the PCB. To make the bracket, I used some leftover thin gage galvanized sheet metal cut from a 5"x7" piece I found in the rain gutter/roofing aisle at Home Depot. |
 |
I then cut the piece with my Dremel tool equipped with a cutting wheel. It took about 5 or 10 minutes to make all the cuts. After cutting, I spent about 5 minutes filing the rough edges and squaring everything up. |
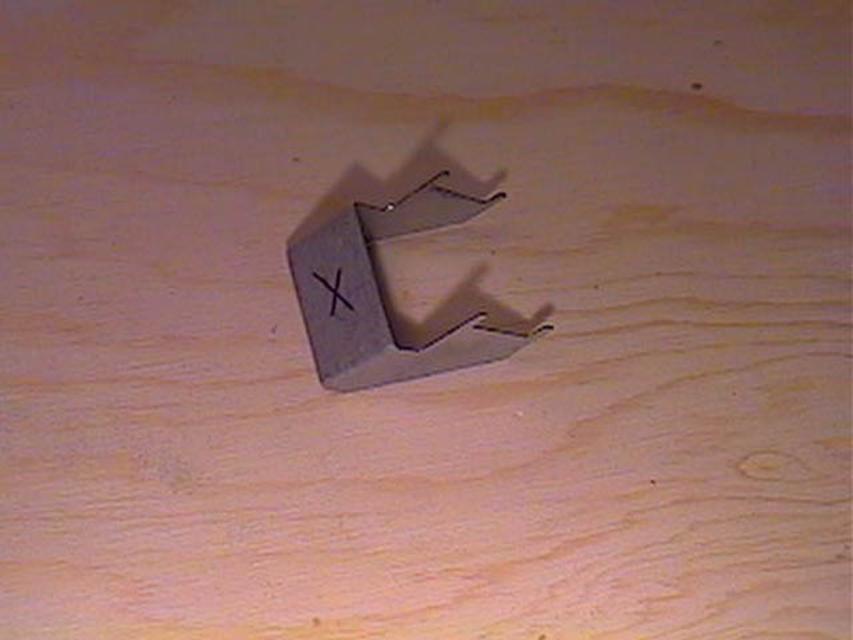 |
The next step was to make two bends. That gets it into it's final shape. Then I compared it to the original, and it was nearly a perfect match. Marked the center point for drilling a hole, also. |
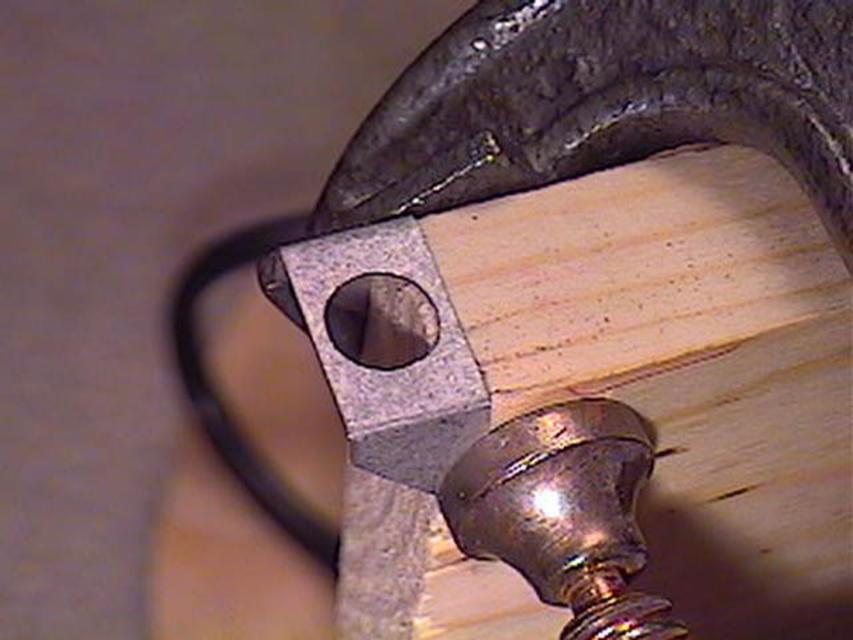 |
Here, using a round file, I am getting the hole I previously drilled to just the right size to receive my new pot. To hold it in place, I used a C-clamp clamped to a piece of wood, which was held by a small table vise to keep it from going anywhere. |
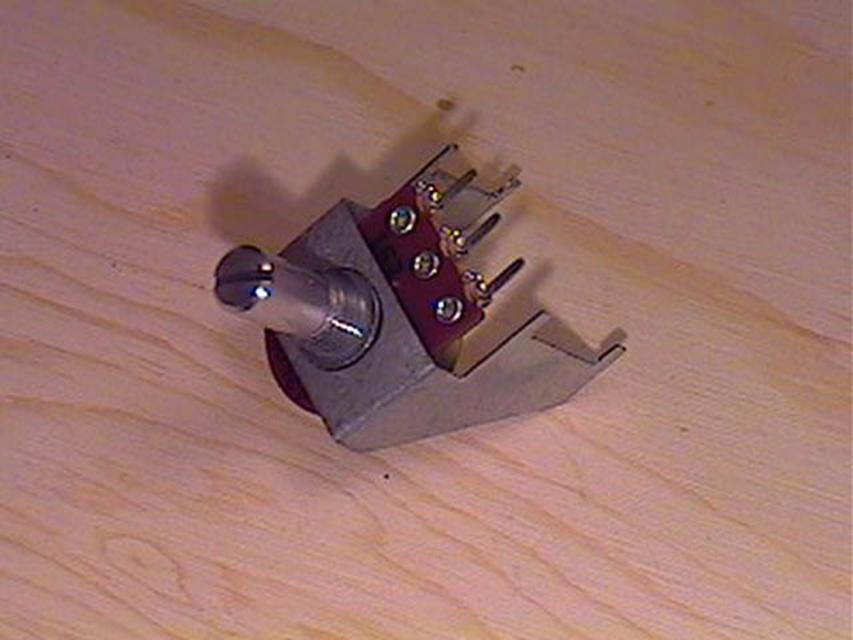 |
Here is the whole assembly ready to go into the PCB. I took a side by side picture, but my camera apparently ate it... I used some hot glue to attach the pot to the bracket. It worked out pretty good. Time to solder it to the PCB. |
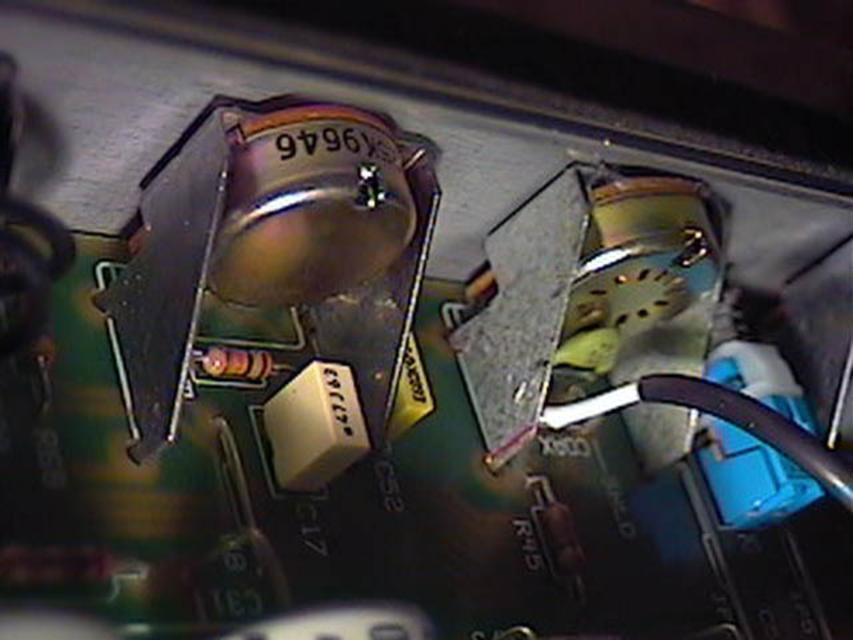 |
Here it is installed in the PCB. It works! Love those Dremel tools... Total cost of project: Around $5.00 U.S. |
Now I suppose you want to know how it works, right? Well, it did make the Master Volume a little easier to control, but it's not a radical difference... It makes the zone from "0" to "2" a lot more manageable. I was originally going to use a 500K audio pot, but then decided to go with a 250K audio. The 500K would probably be perfect. Changing R45 to a higher value in combination with replacing the pot may work better, but I am content with it as it is.