DIY Polytone Speaker Grille
Last updated 5/22/2026
By Paul Marossy
On most amps, making a speaker grille is a pretty simple process. On my Maxi-Brute Model 104 it is anything but easy. Originally this
amp would have had a diamond (or square?) pattern foam speaker grille but like most of these old 70s Polytones that was long gone.
Since the original factory speaker grille was foam with tapered edges, the speaker baffle is therefore not recessed very far back into the speaker cabinet -
only about 1/2" vs. the normal 3/4" to 1" or so. If you want to make something doesn't look terrible, like rabbit cage wire screwed to the speaker
baffle for example or have something that protrudes past the edge of the speaker cabinet which would look funny, this becomes a challenge
to accomplish as now you can't use 1/2" plywood to make the speaker grille framework. I also wanted something that looked like a conventional
speaker grille cloth. I had some ideas but they all seemed too complicated or not stiff enough / too difficult to make with primitive means.
Eventually it struck me how I could achieve what I wanted, and it turned out pretty good too! Below I outline the details.
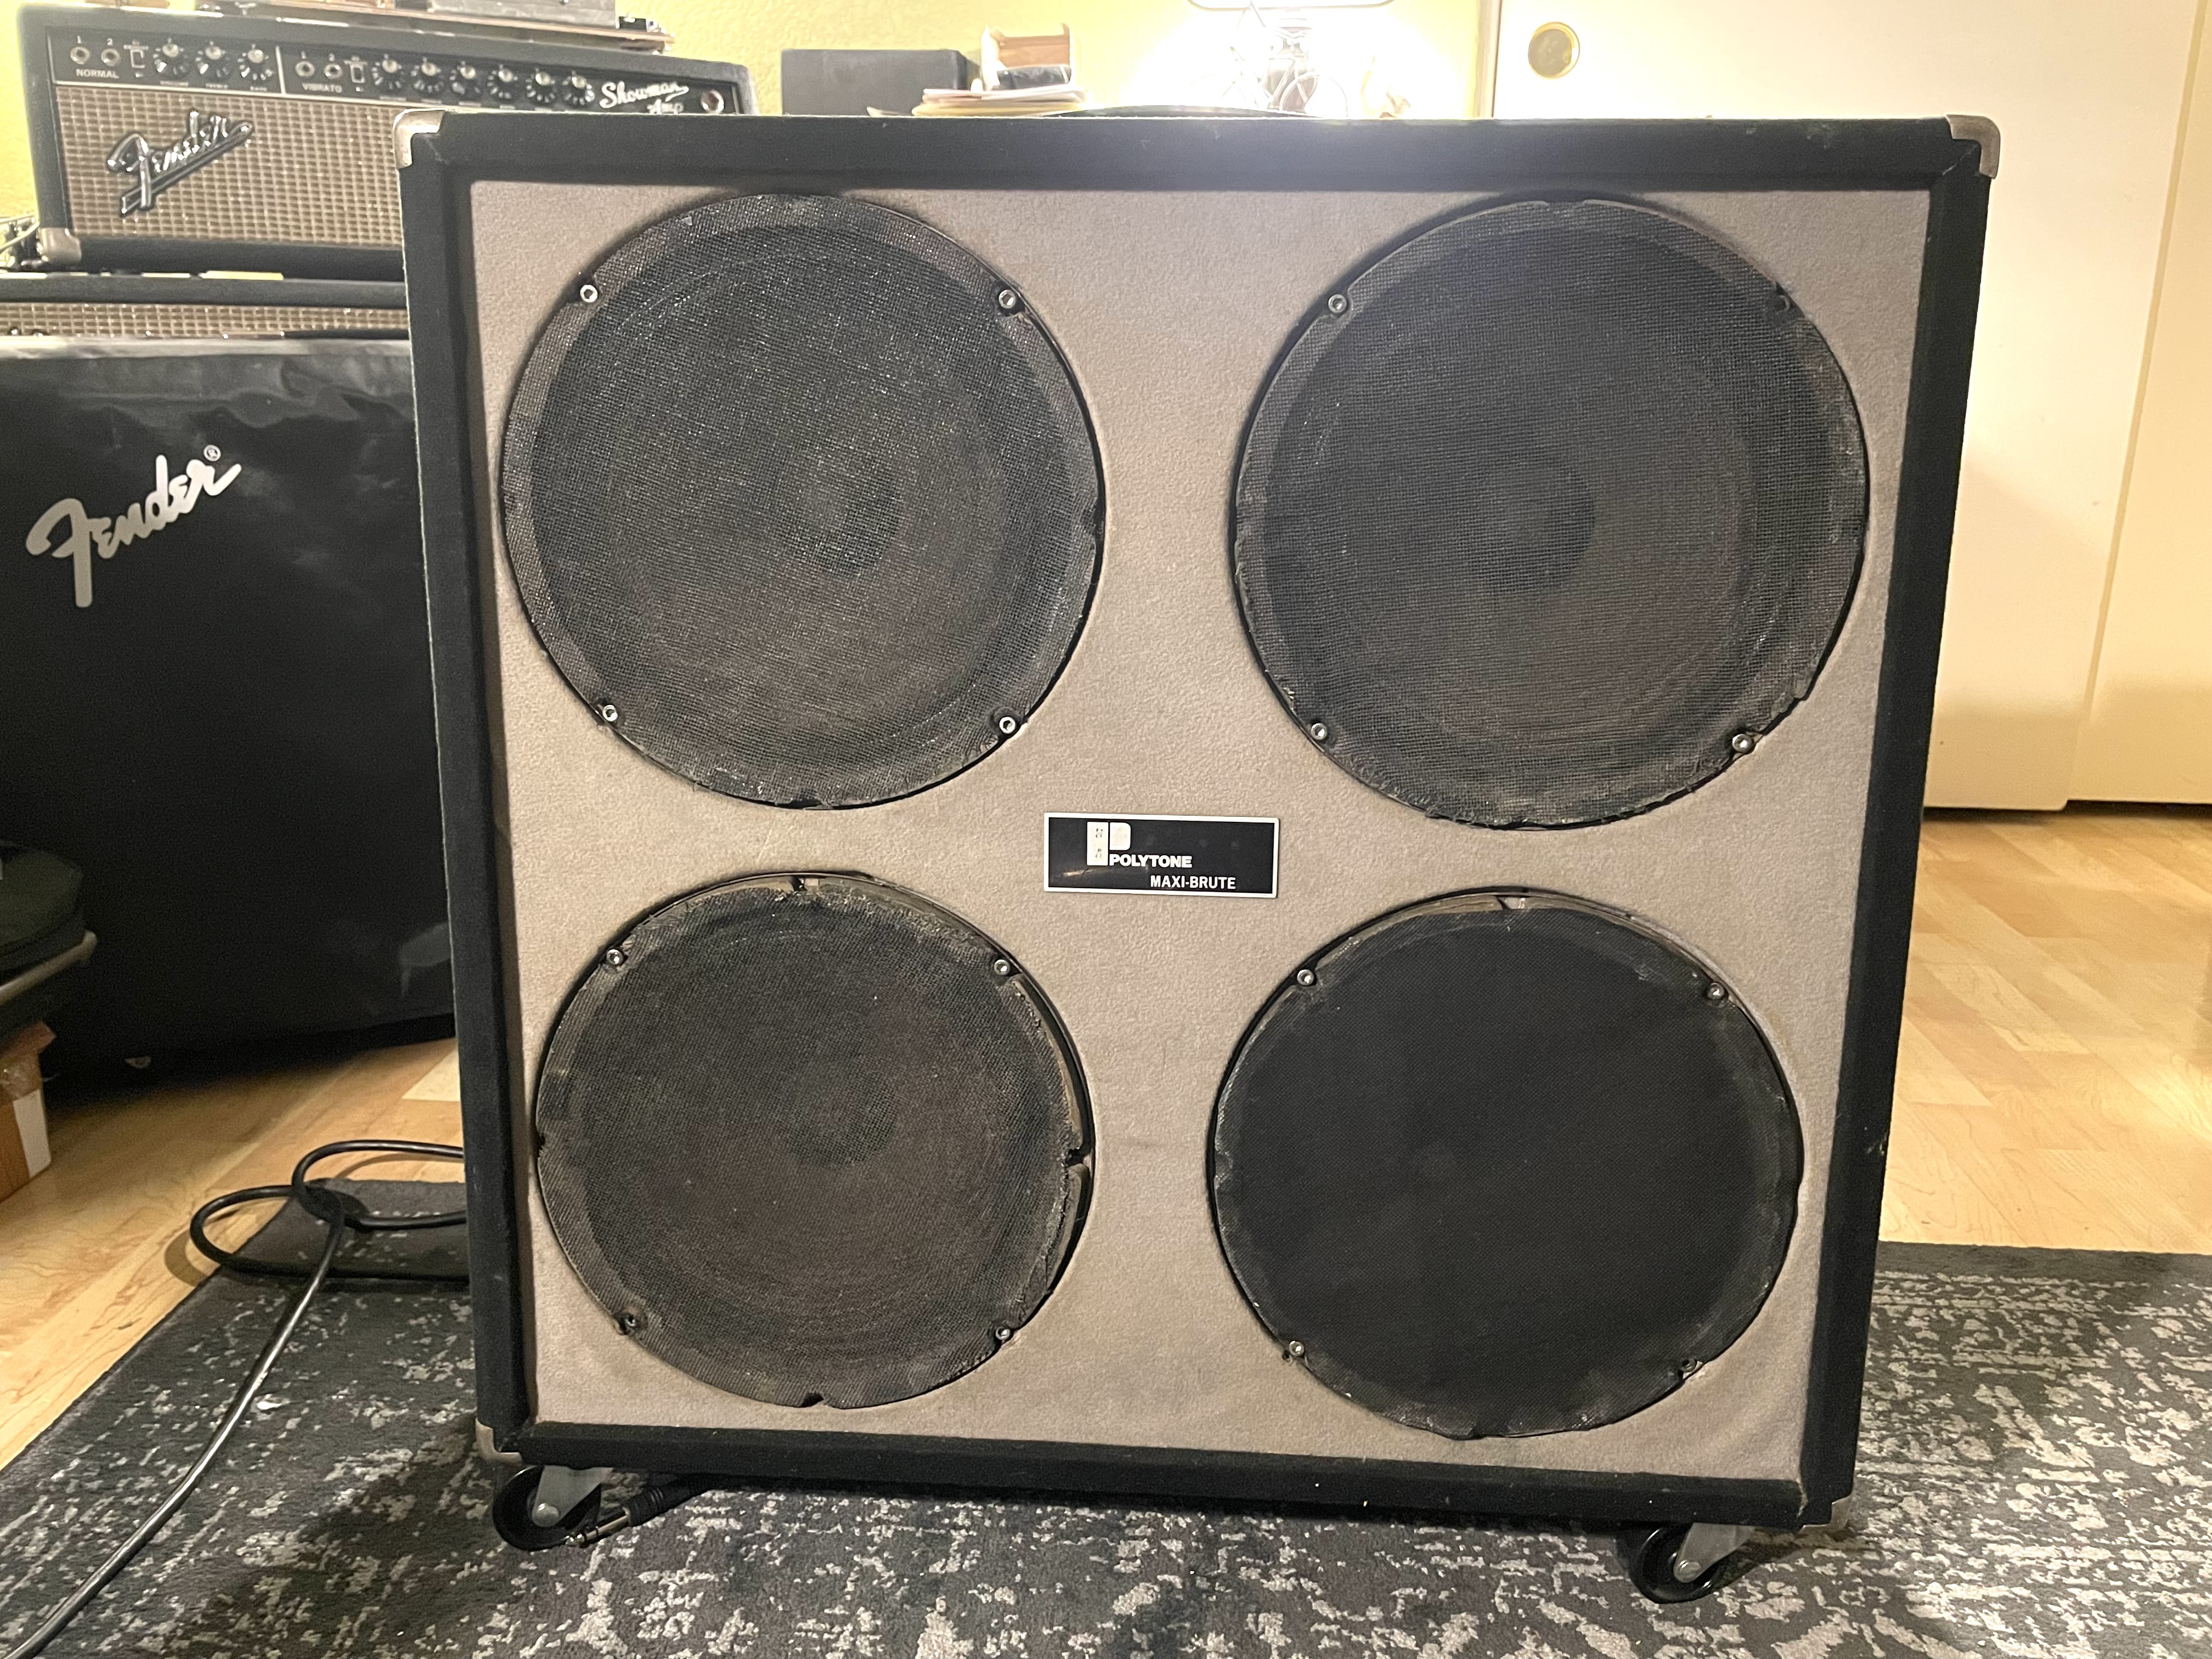 |
This is what I had been looking at for over a year, occasionally pondering how I might be able to create a speaker grille with the physical constraints I had to work with. It's not a great look, and even though the speakers had an old time cloth screen door type covering glued to them, they were more vulnerable to damage without some sort of true speaker grille over them. |
 |
After debating it for a while, I determined that 1/4" masonite would be the best material to use. I considered 1/4" plywood but it seems to be impossible to find any that is not warped or bowed and I wanted something that was very flat. What I ended up with was a 36"x24" piece of dry erase board. This worked out well because one side was already black, so I didn't have to paint it. In this picture I have it marked up for cutting with my jigsaw. The days of hand drafting at my engineering job 30 years ago was very useful here! |
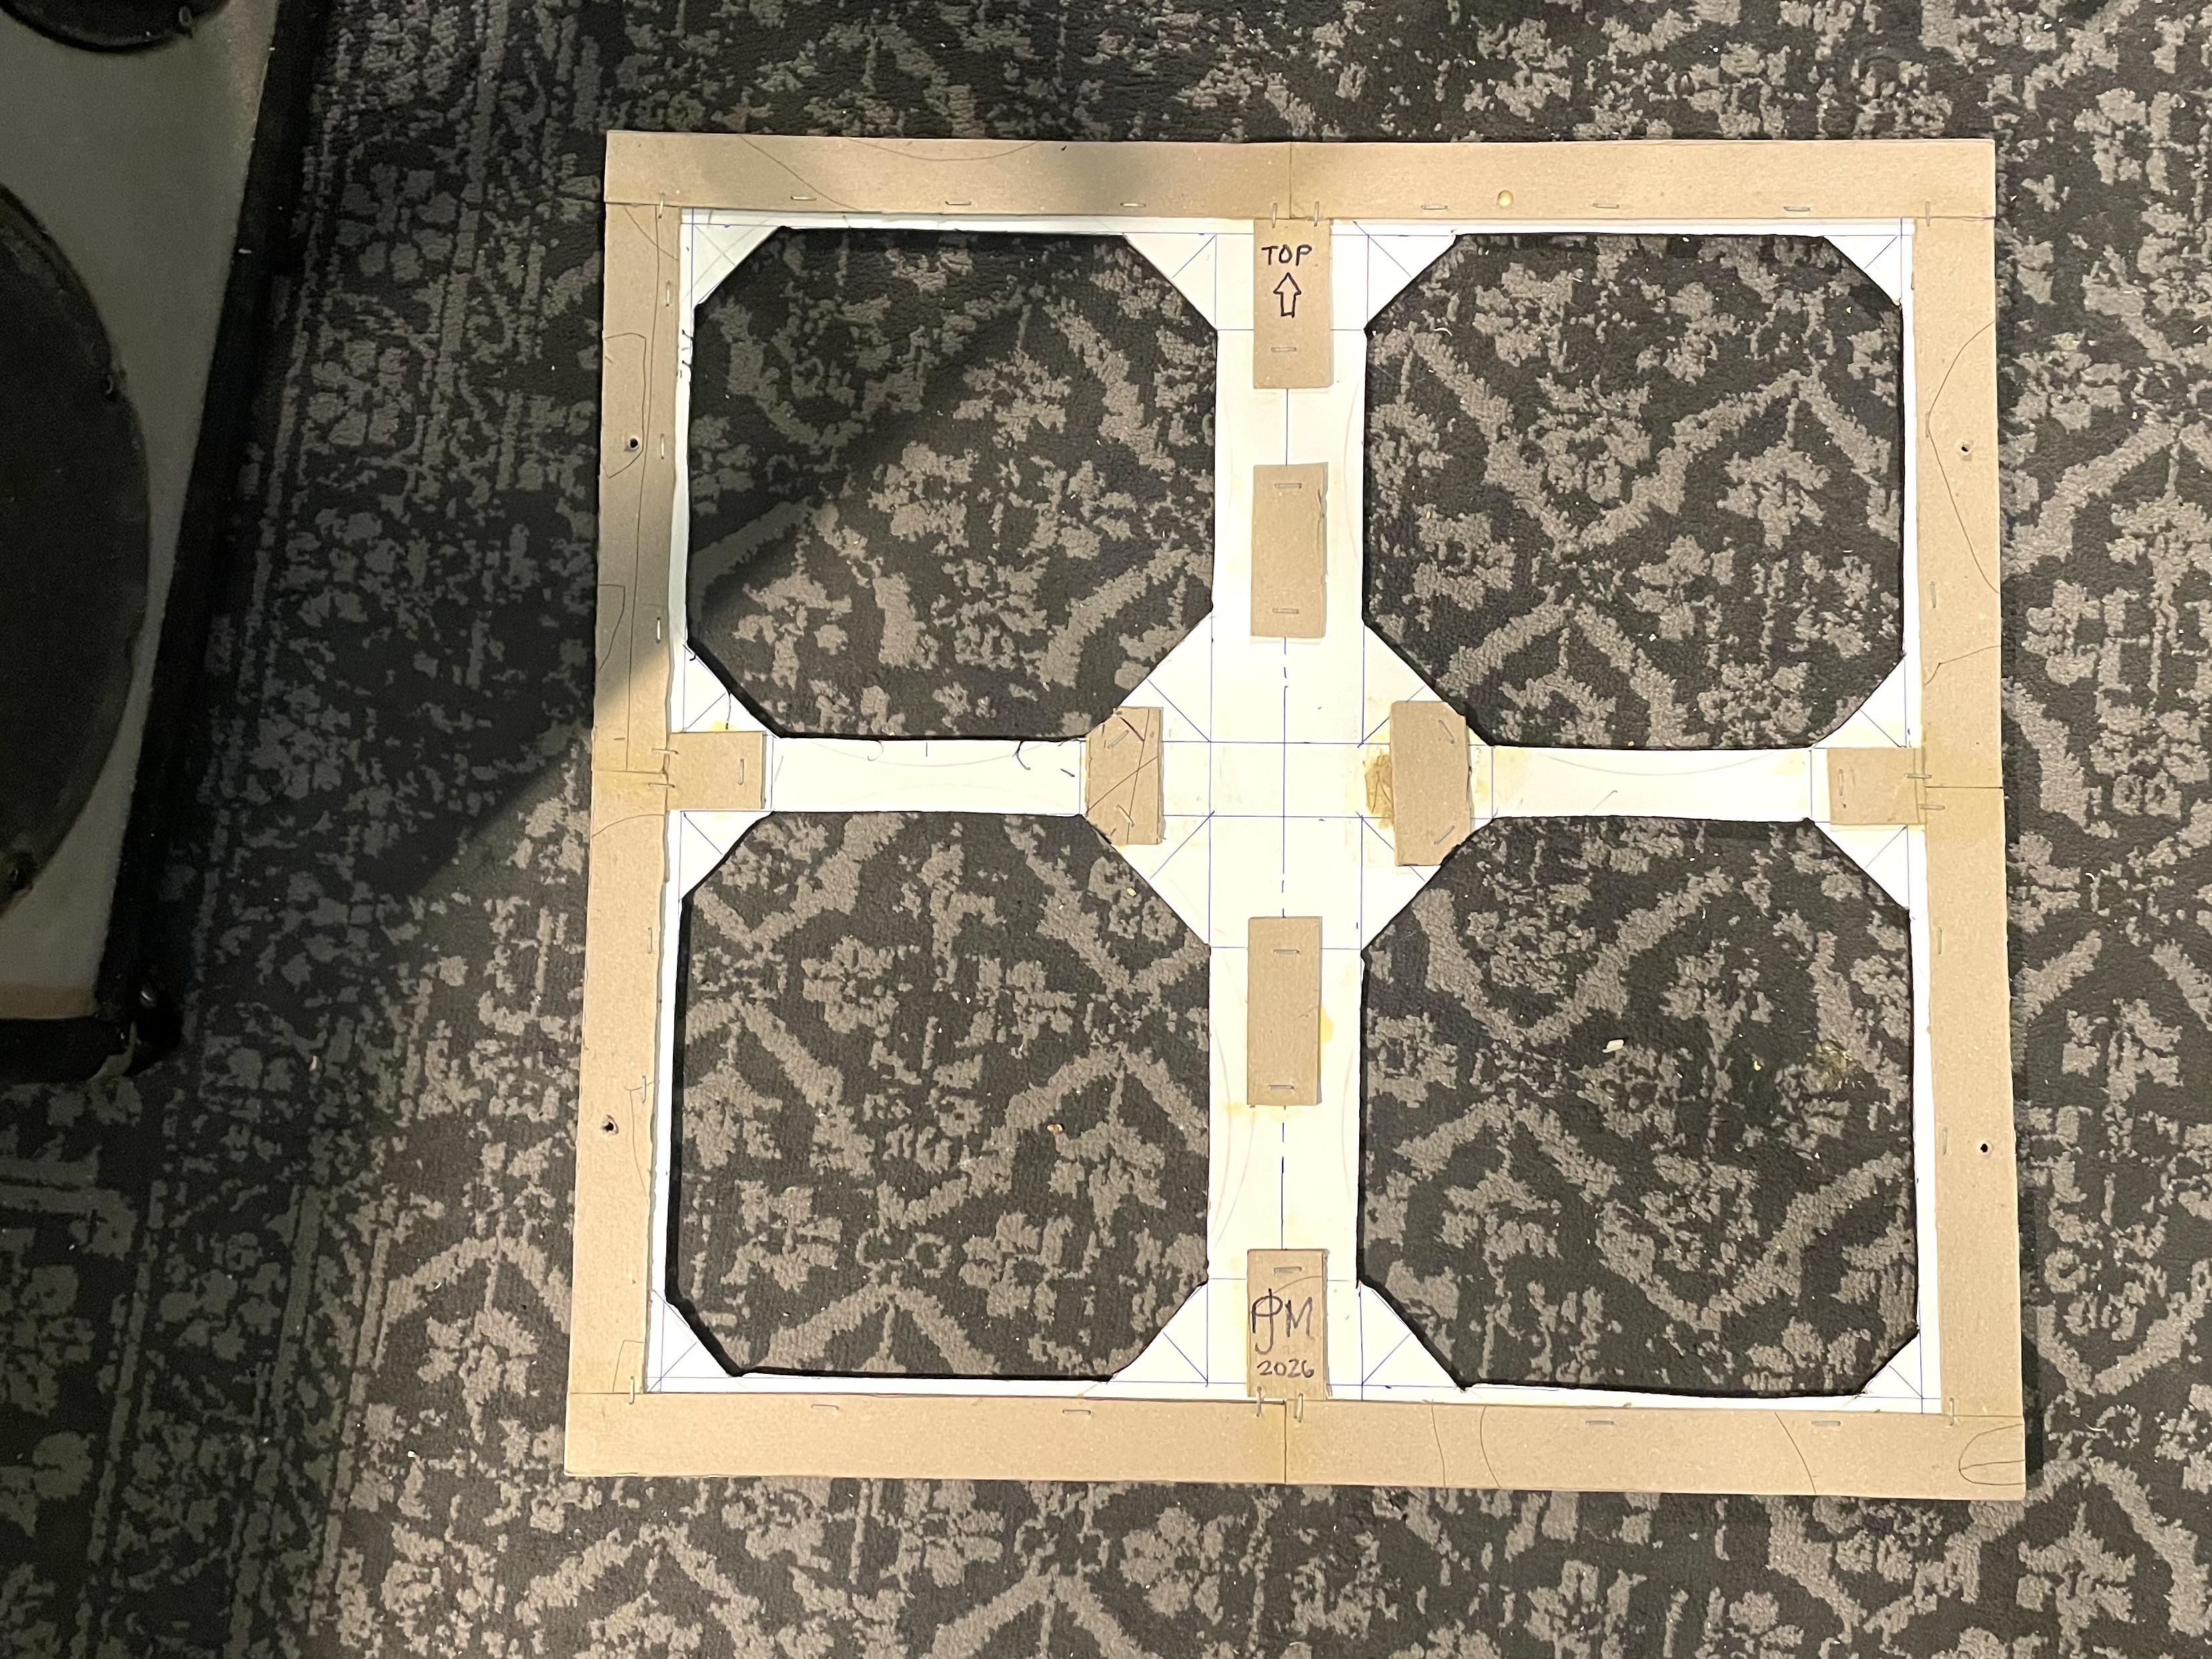 |
After I did all of the necessary cuts I glued and stapled some 1/16" thick "chipboard" to the white side of the dry erase board so that when I used 1/4" staples they wouldn't poke out the front. It was a little bit of work but it really didn't take that long to do. This way I ended up with about a 5/16" thick speaker grille frame to attach the grille cloth to. |
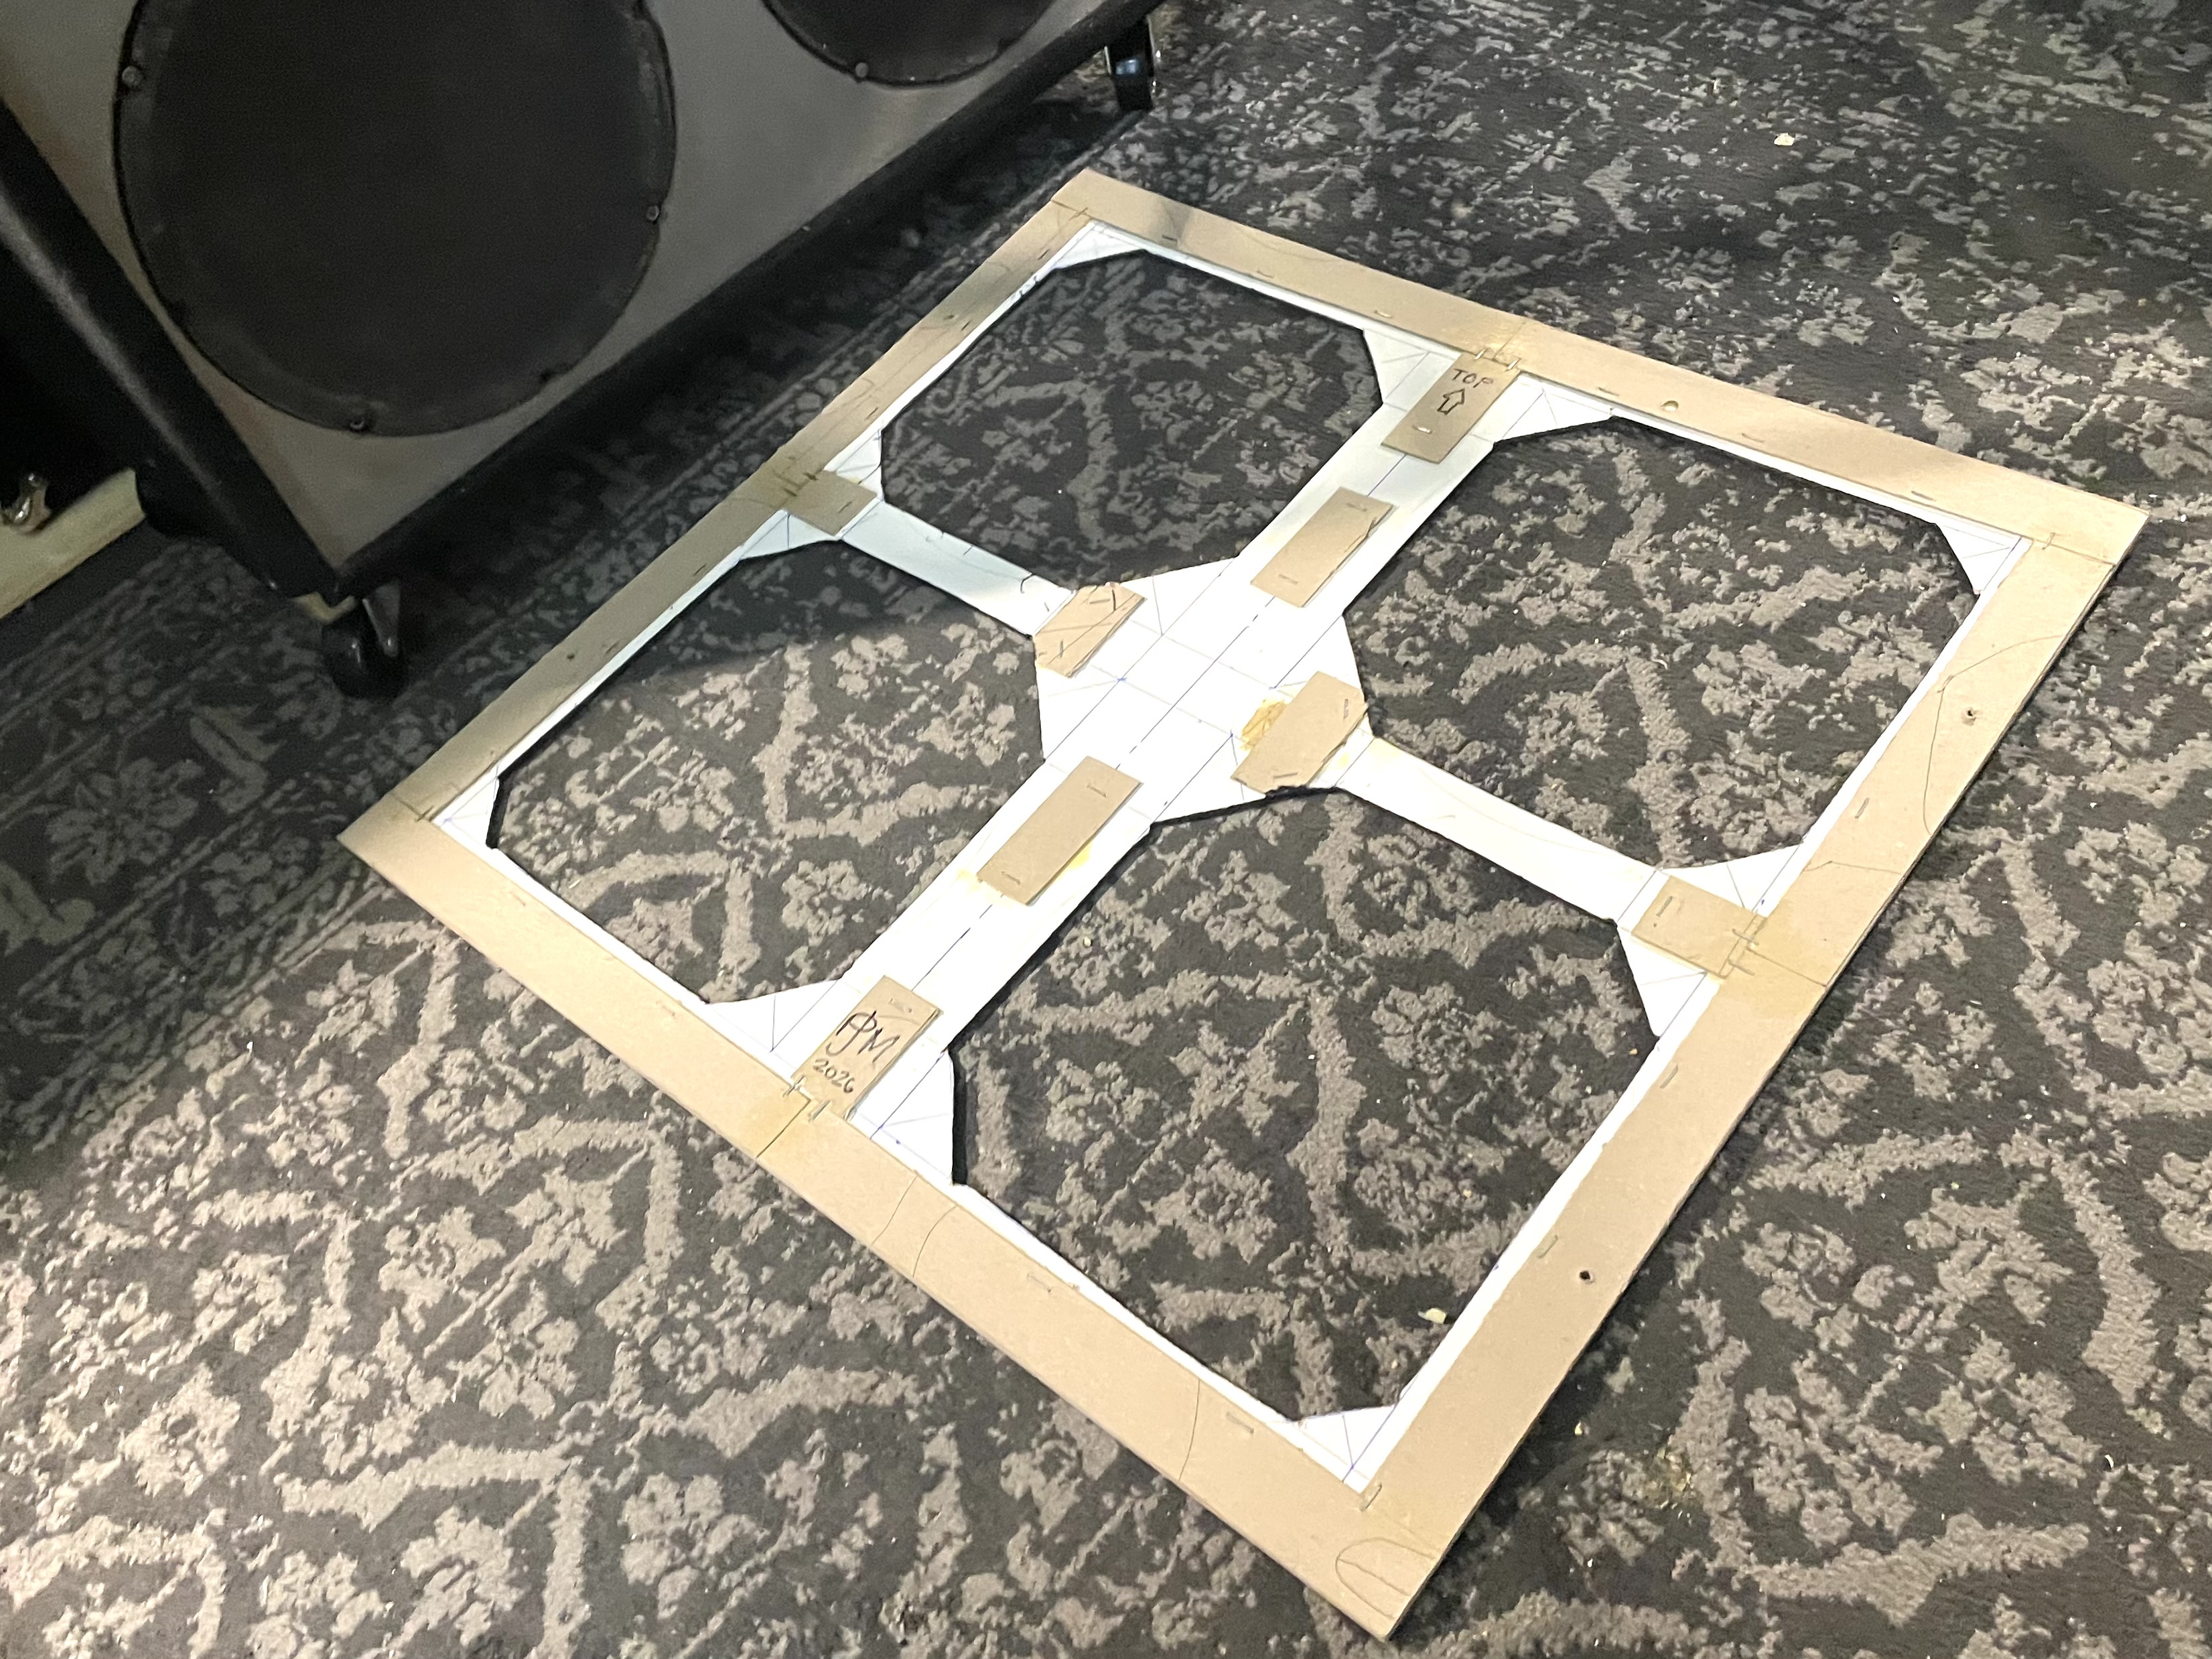 |
After I was finished with that process I determined where I needed to drill four holes for the screws that would attach the speaker grille to the speaker baffle. This worked out real nice because I was able to use one of the eight holes in the speaker baskets as an attachment point. This allows me to keep everything original and not have any new ugly holes in the speaker baffle. |
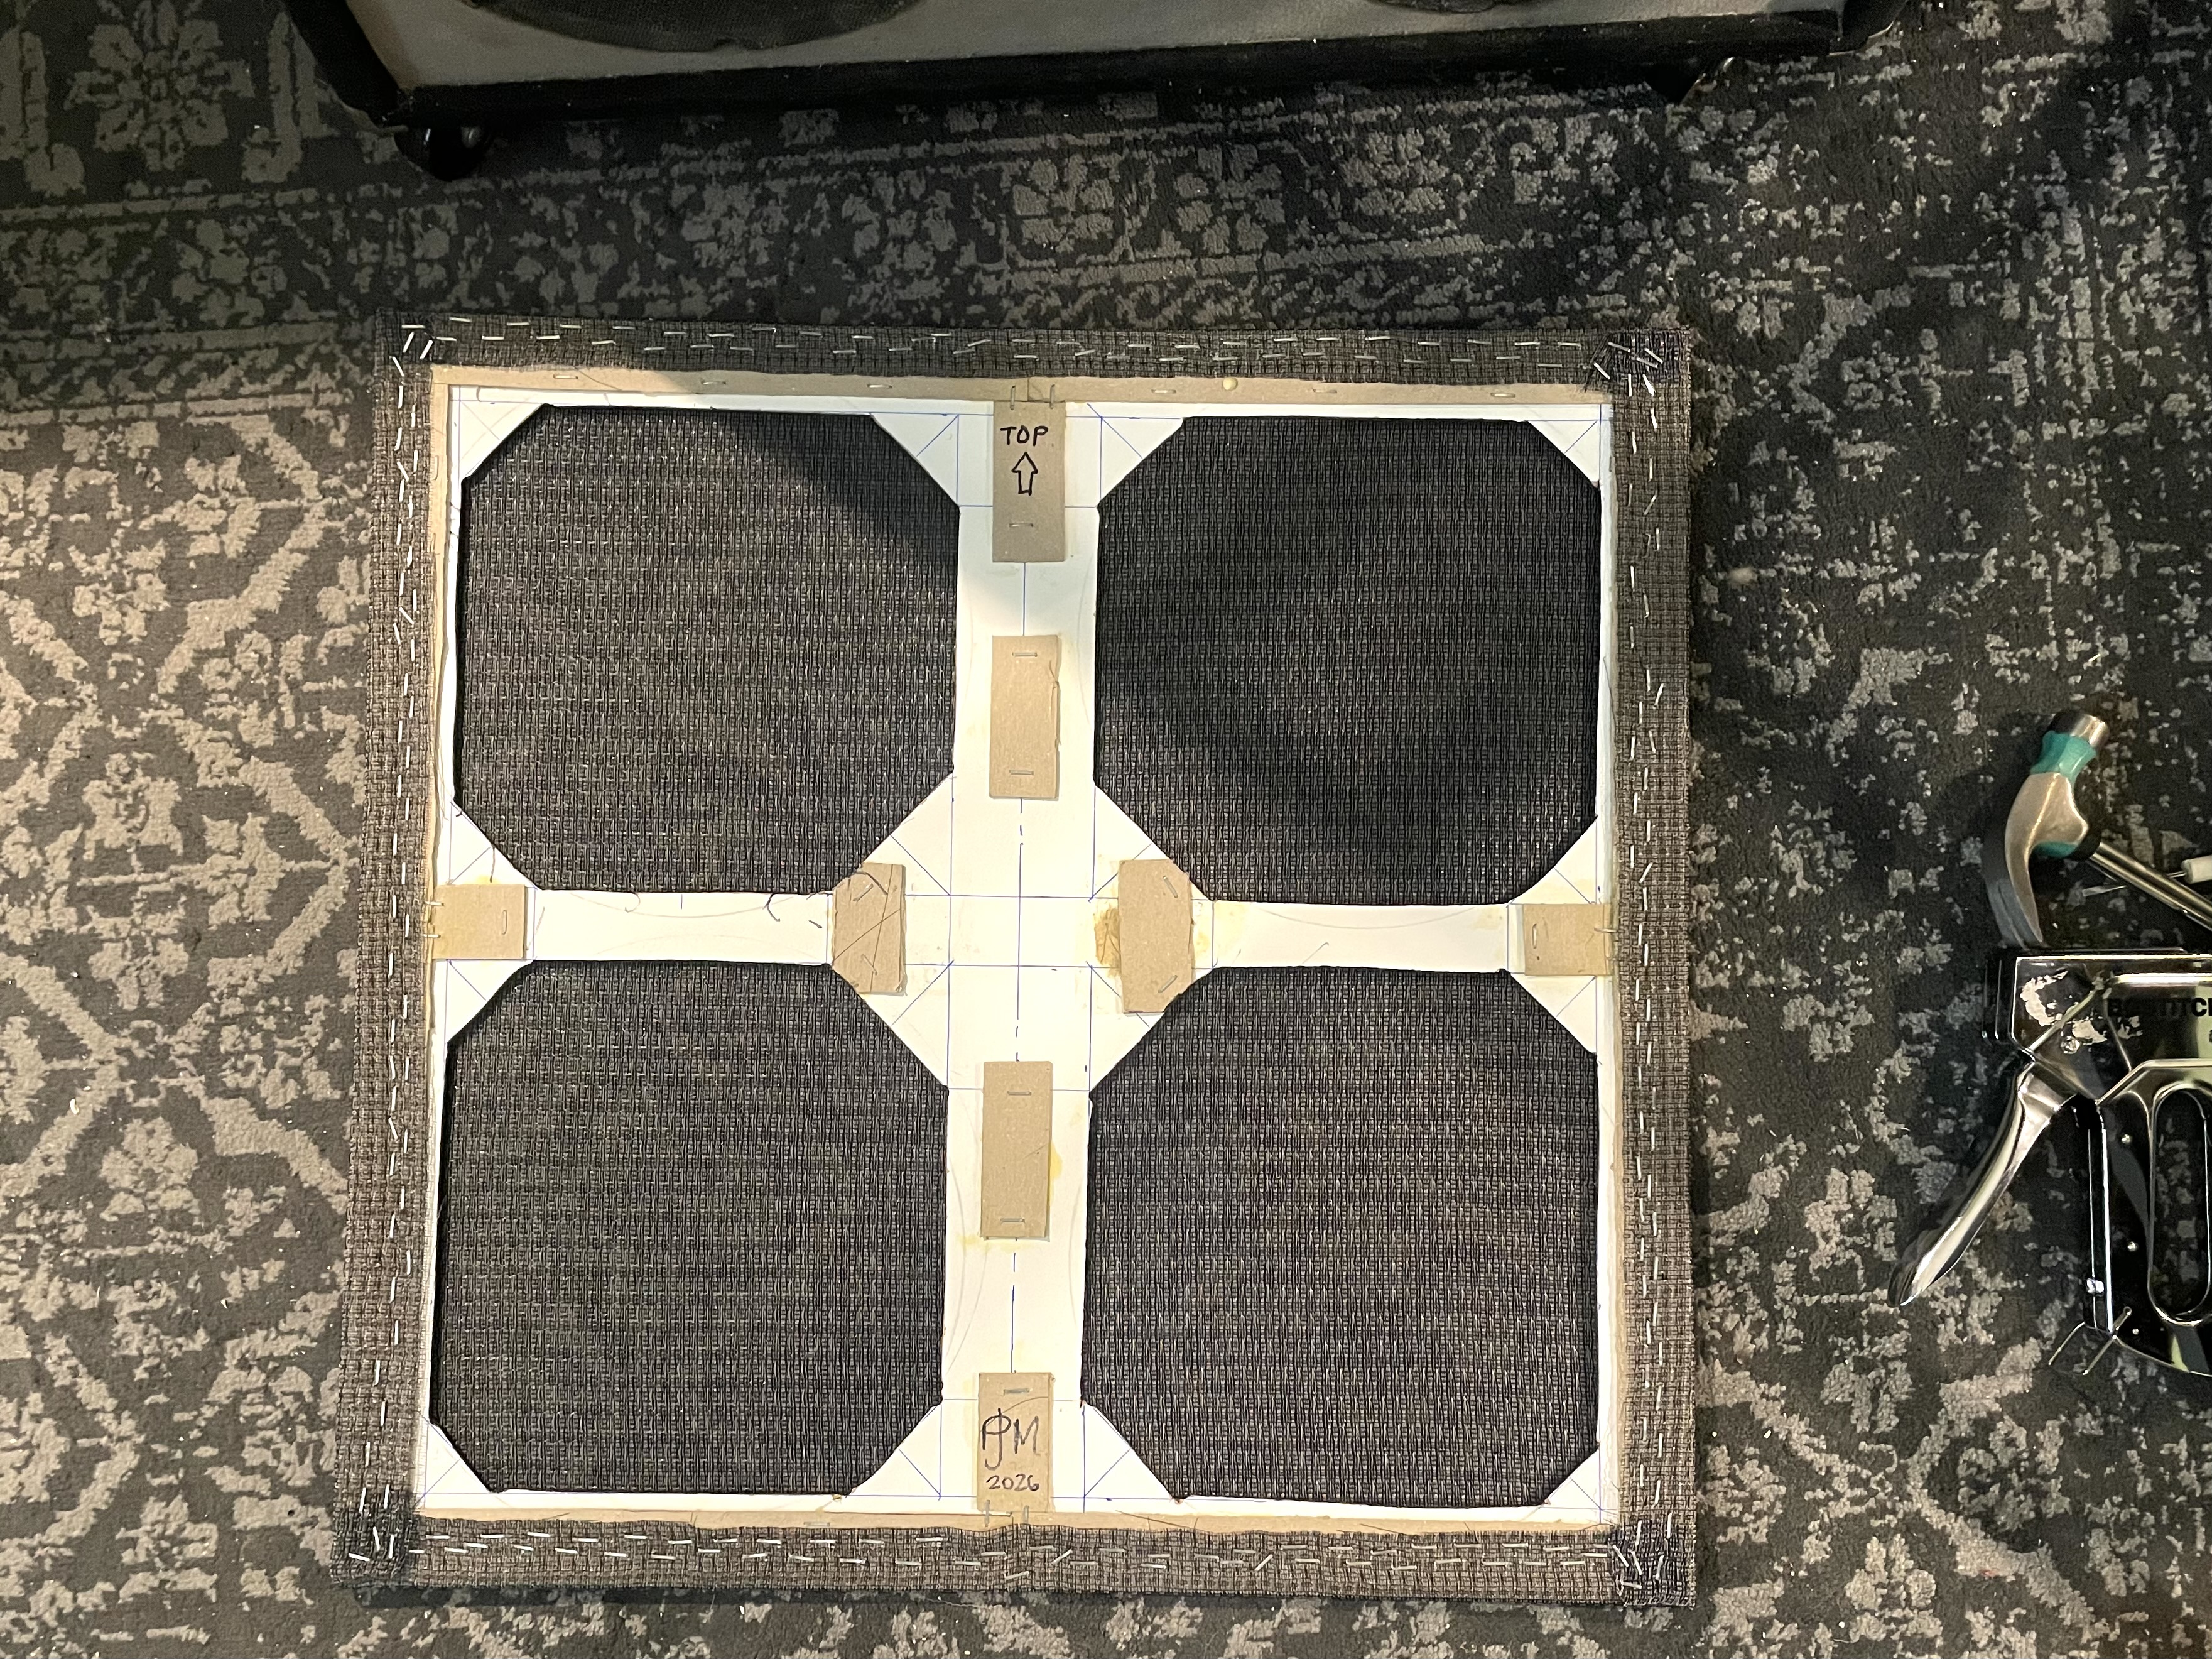 |
When all that was done I could finally attach the grille cloth to the speaker grille frame using a bazillion staples. The overall thickness of the speaker grille is about 7/16" at the corners and slightly less on the edges, which is exactly what I wanted. One of the things that kept me from doing this much sooner was my thinking that a 1/4" thick piece of something would not be sturdy enough but it turns out that it works OK. I was able to get satisfactory results. |
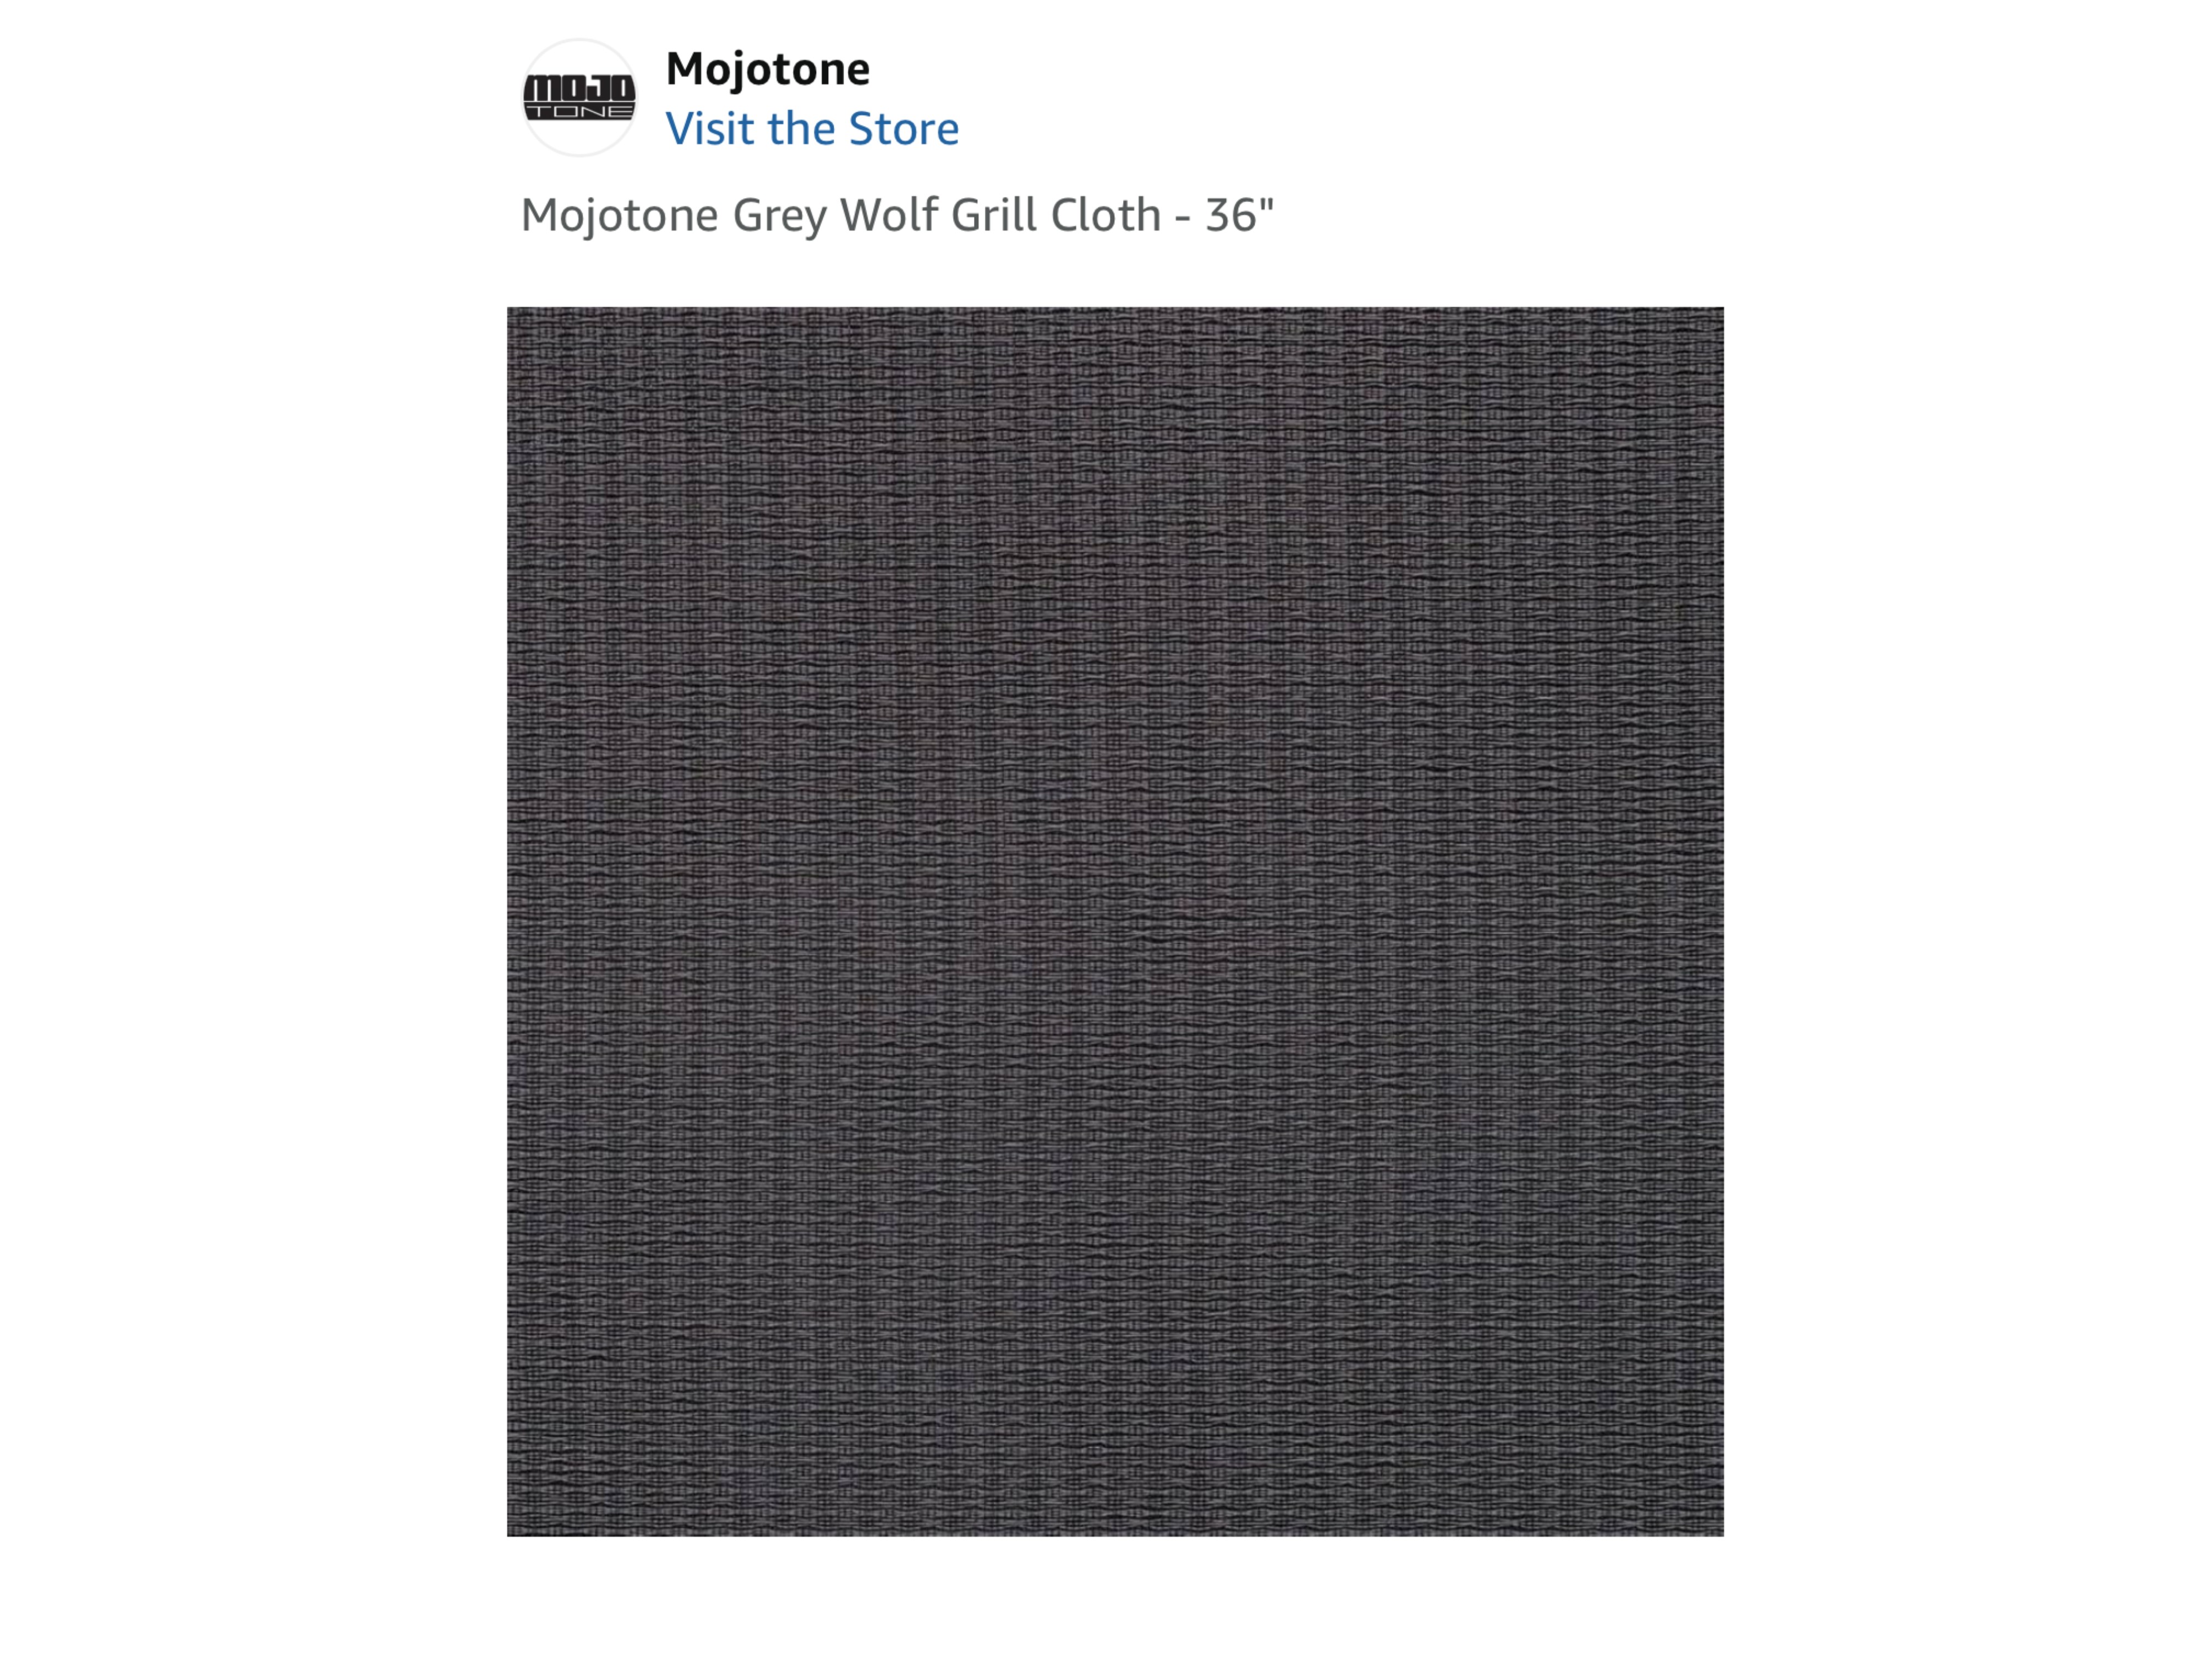 |
The grille cloth I chose to use was Mojotone "Grey Wolf" purchased at Amazon. At the time of creating this page, it was $29.99 for a 36"x36" piece. I chose this color because it's different from the standard stuff out there and it kind of mimics the color of the foam that was on the amp originally. I did not want it to look Fender-ish, or like a Marshall, or any other well known amps. |
 |
In this picture it's all put together but I wasn't quite 100% happy with it because you could still see some of the grey covering on the speaker baffle. Another aspect of making the speaker grille frame was doing it in such a way that it would have maximum strength without having to cut circular openings which would not leave enough material on the edges, while also keeping the frame as open as possible so that it did not block the speakers. I found a solution for covering up the gray parts that you could still see. |
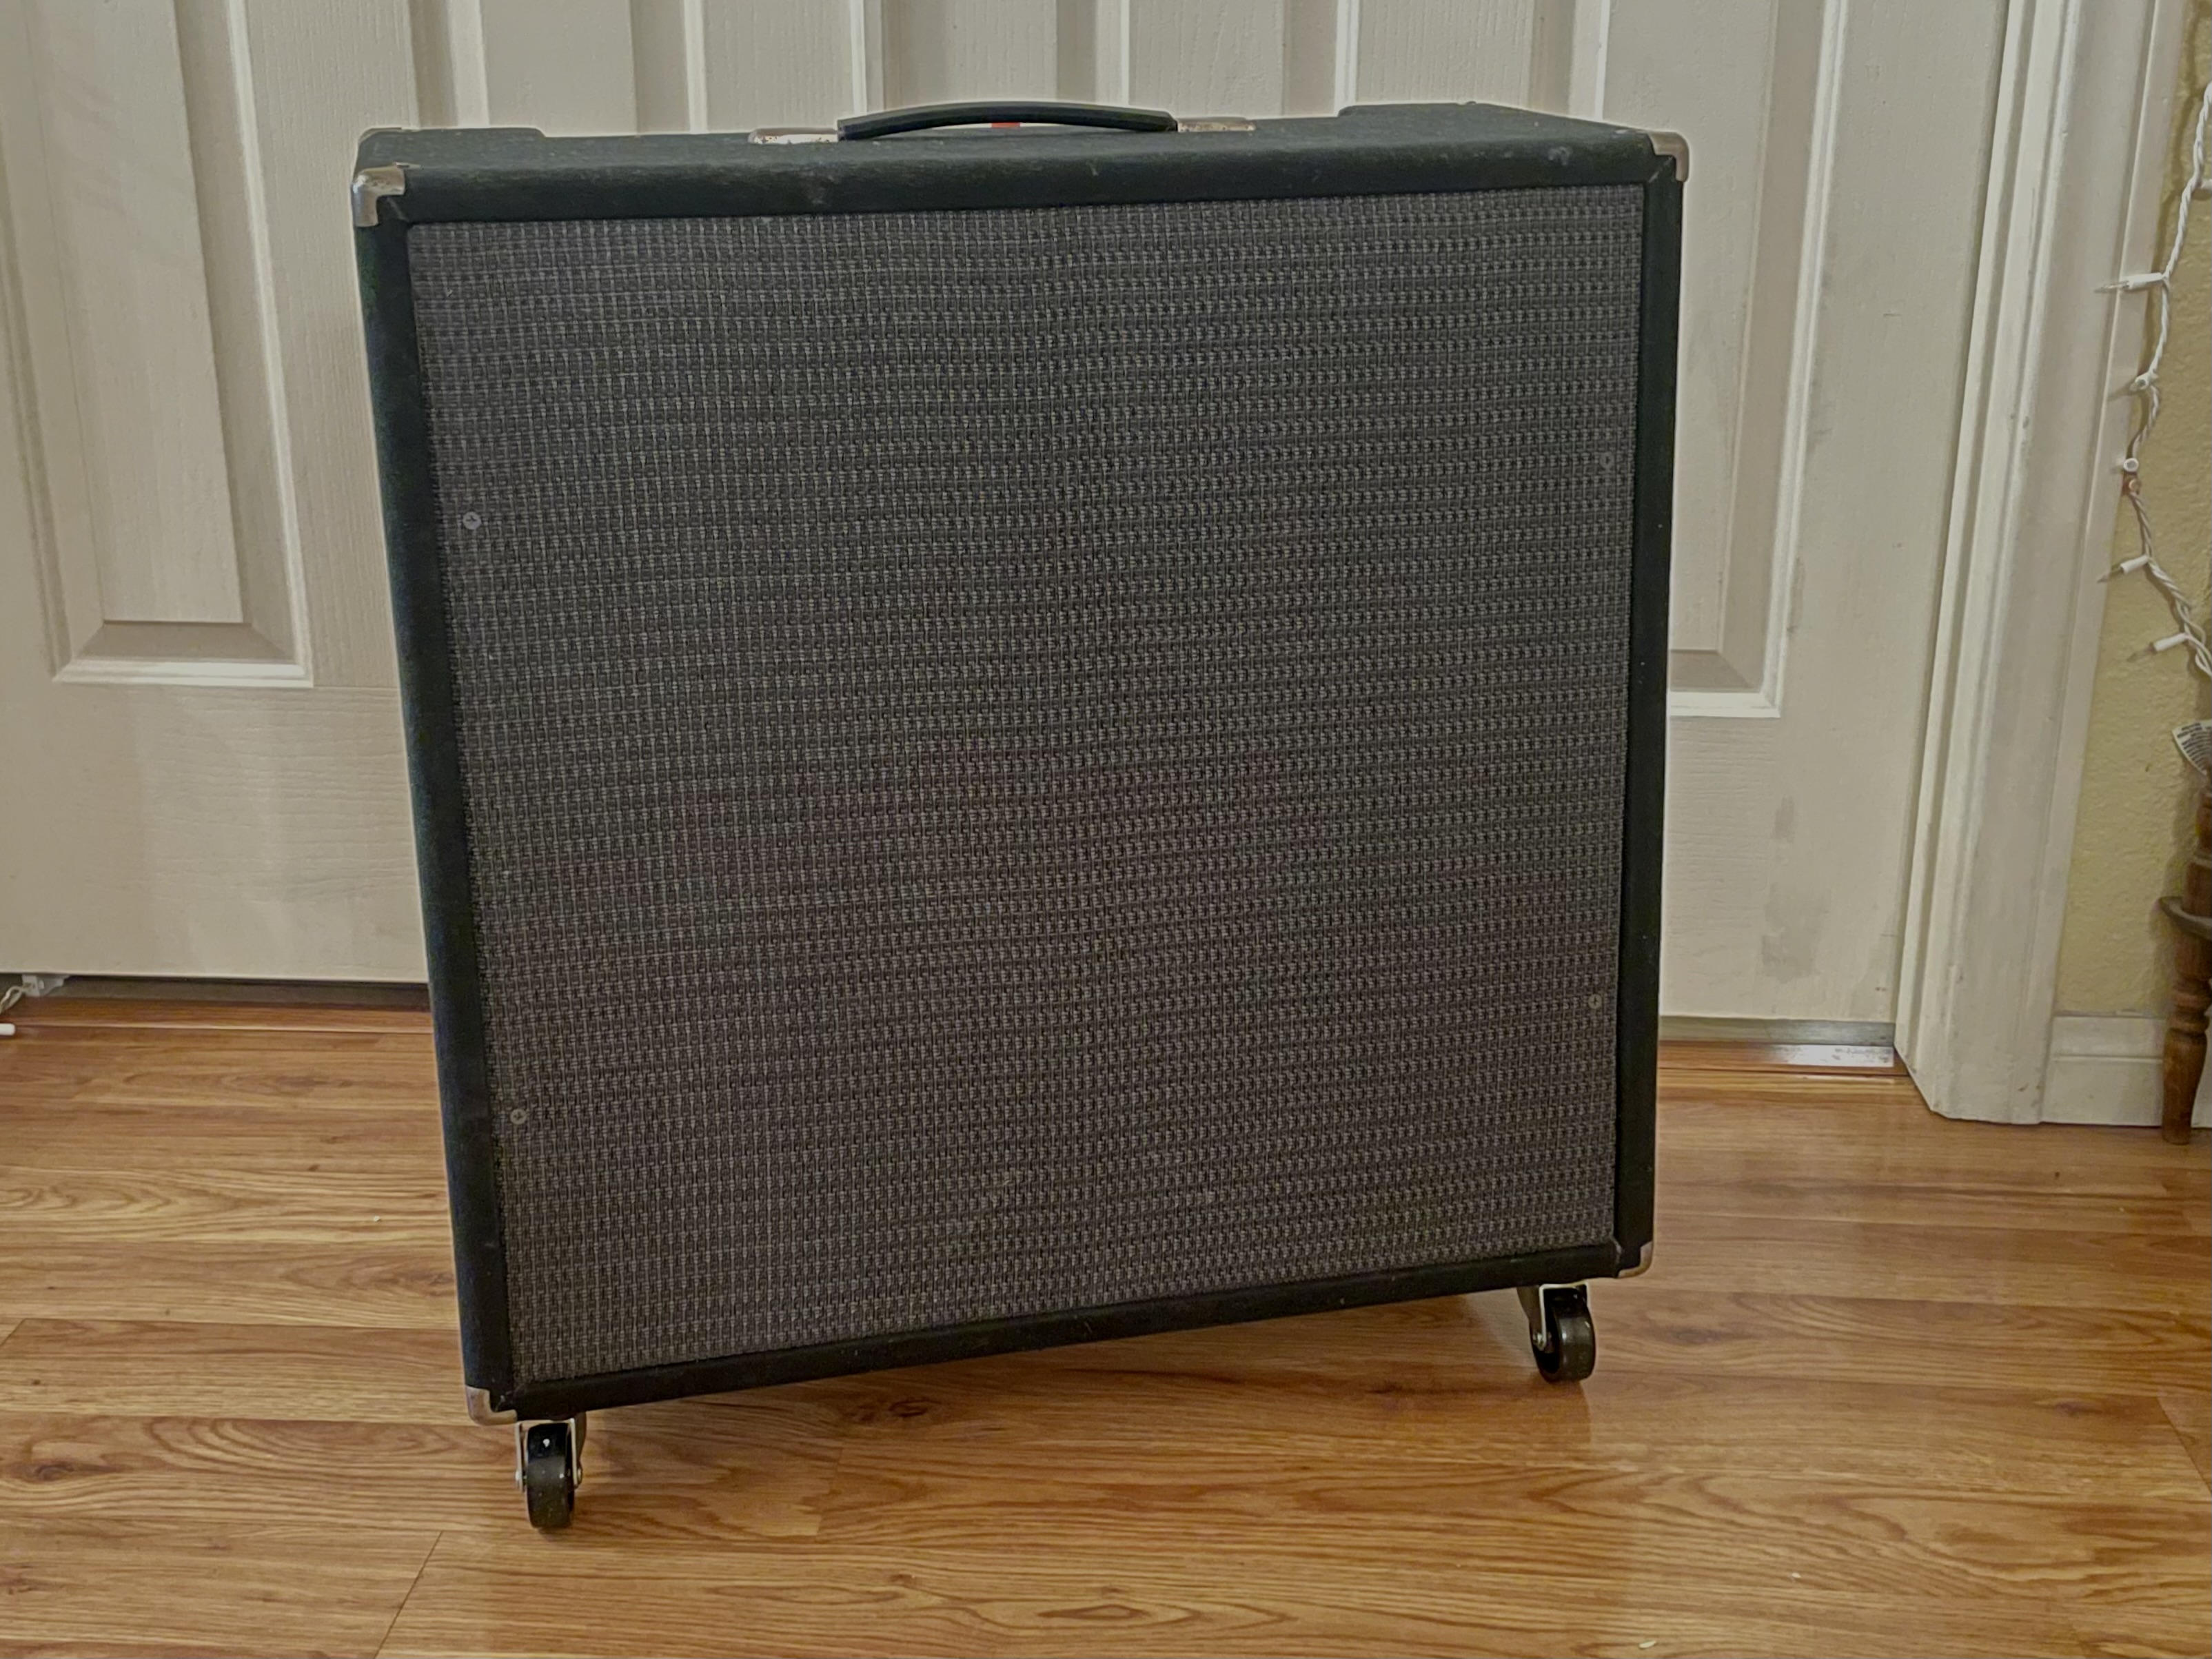 |
Here is the officially finished project. To cover up the grey parts I used some black speaker grille cloth I had left over from projects I did like 20 years ago. It was too small to really use for anything but just the right size for this project. That is sandwiched between the speaker grille and the speaker baffle. I used drywall screws for attaching the speaker grille. They are reasonably close in color to the grille cloth, so they are not real obvious. |
 |
As to how far back the speaker grille is recessed from the cabinet edges, it looks almost the same as what you would see on a Fender amp. Mission accomplished! One of those drywall screws is in this picture. Not very easy to detect, is it? I added a name plate to the front because it seemed like it needed something. It's the early-2000s Polytone logo made from a screenshot. Not period correct but I like how it looks. |
I know most people wouldn't go through this much trouble to create something that protects the speakers of an amp that no one considers worth it, but I took
this on as a design challenge and I wanted to create something that didn't look like crap. I like the amp and its unique features, and for me, I think it was justified.
It sure is much nicer to look at now too.
If you found this webpage useful, please drop me a line using the email link on my home page.
