 |
First, I had to cut a hole for a 12" speaker. I did
this using a jigsaw by hand. To get a nice round circle, I used a large
compass I have left over from my board drafting days when I first started
in the engineering field. I put a point on each end of the compass and scratched
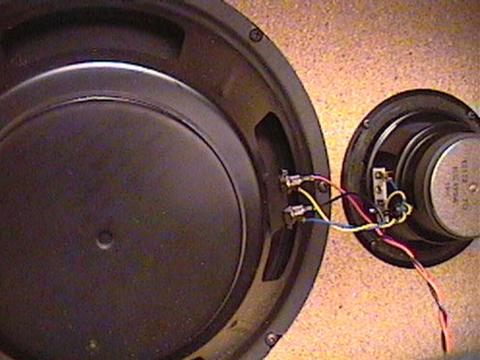
through the paint to leave a nice circle for a cutting guide. I then bought
a little speaker from a thrift store to get a second, smaller woofer with
a sufficient wattage rating for my purposes. I didn’t plan it this
way, I initially just wanted the 8 ohm, 12" speaker, but I needed a
4 ohm load for my amp’s output transformer. So, I wired these two speakers
in parallel to get a 4 ohm load. The little woofer brings out the mids a
little more, which is a nice side benefit. |
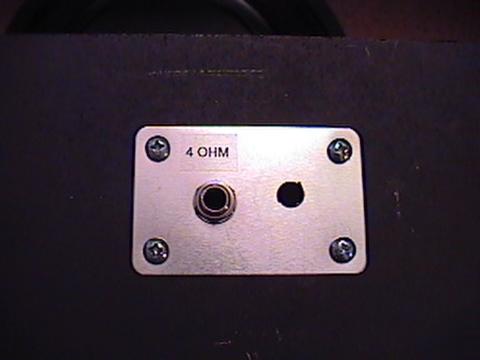 |
Here is the speaker jack plate. I cut a hole in the lower
cross member on the back of the enclosure to accommodate a 1/4" mono jack and I drilled
a hole in the plate for a future switch, just in case I wanted to switch one
speaker off for a 8 ohm load. The aluminum plate comes from the bottom
of a plastic RadioShack enclosure which I did not use (I used the plastic
bottom plate instead). |
 |
I wasn’t happy with the black spray paint look, so I
decided to cover it. This is some material I had left over from a previous project,
so I decided to use it. It’s not the typical black Tolex look, but
it still looks nice. I applied it using some spray adhesive, which does
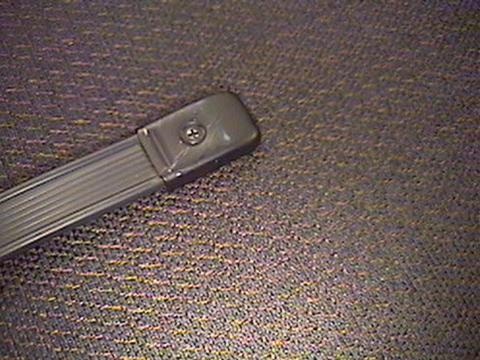
a good job. The carrying handle came from a cheap Crate bass amp I decided
to cannibalize since I could not get it to stop humming no matter what
I tried to do to it. The 12" speaker also came from that same amp.
It sounds pretty decent with my setup.
Next, I decided that it needed a speaker grille. This was
problematic since the front of the enclosure did not have any kind of
recess for a speaker grille. So, my solution was to get some charcoal
colored aluminum screen material for a "speaker grille cloth".
The perimeter of the screen is just stapled to the face of the enclosure. I used two layers of
the screen because it looks a little better than a single layer does.
|
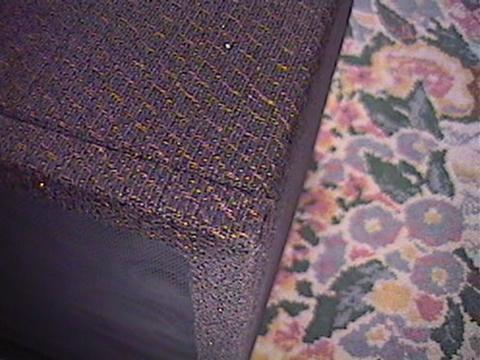 |
Really, the most challenging part of this whole project was
making the frame on the front of the enclosure which makes it appear to
have a recessed speaker grille. This is made simply by building a frame
out of some strips of wood which measure 3/4" x 1/2" and the covering
it with material using a combination of spray adhesive and staples. It is
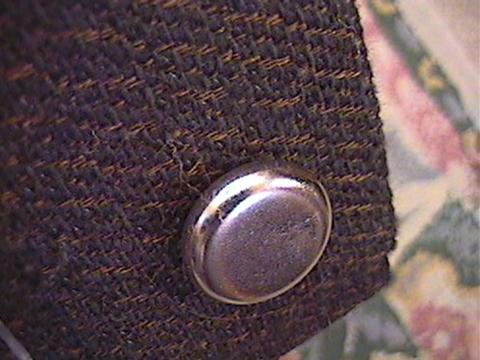
fastened to the enclosure using some 1-1/4" long brad nails. The frame also hides the staples
fastening the screen to the face. The color of the covering in this picture is more representative of
how it really looks in terms of color. |
 |
On the bottom, I placed a metal foot at each corner. You
can get these just about anywhere. I have seen these at Walmart, Lowe's
and Home Depot to name a few places.
|
 |
Here is a view of the back. It is essentially an open-backed
cabinet. |
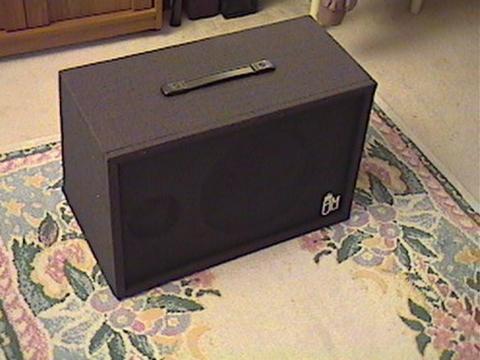 |
Here is a view of the finished product. The emblem at lower
right is of my own design. It’s there to make it look "official".
I may add metal or plastic corners at a later date, still undecided at this point.
This sure looks a whole lot better than it did when I started! |