|
Installing A Fernandes Sustainer Pickup
Created 3/21/10
By Paul J. Marossy
For a few years, I have thought that I might like to have a guitar that has a sustainer pickup circuit in it. I like the Ebow, but it's limited in that it can only affect one string at a time. On the other hand, you can do some things with an Ebow that you can't with a sustainer pickup arrangement. But it was really never more than a thought for various reasons. The main reason was probably that it usually requires routing of the body, and I don't possess the tools to do that.
I recently acquired a used Fernandes Sustainer from a guitar tech, free of charge and then I was on a mission to put it into a guitar. So the very next day, I decided to install it into one of the first decent electric guitars I ever owned, an Ibanez EX370FM which I bought new in 1992. The following is the process I had to go through to install this pickup into the guitar, without having a router (actually not as hard as it sounds).
|
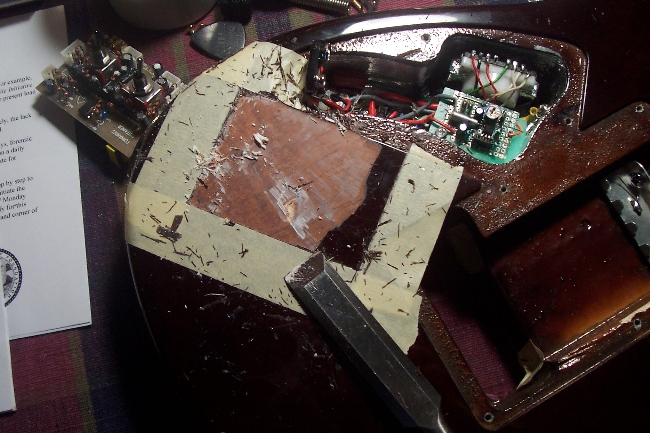
The first thing I had to do was to figure out how I wanted it to be in the
guitar and how I would like the switches to be positioned on the front side of the body. Once I determined that, I laid down masking tape around the perimeter
of where the cavity was to be. Then I used an Exacto blade and a straight edge to carefully scratch through the finish down to the wood. After that, I used a wood
chisel to remove the first layer of the finish.
|
|
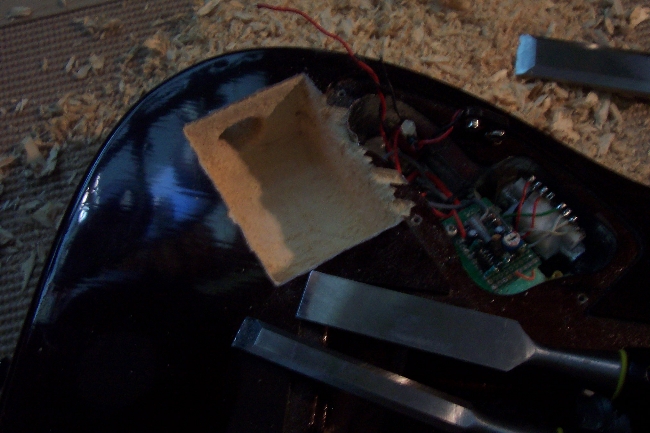
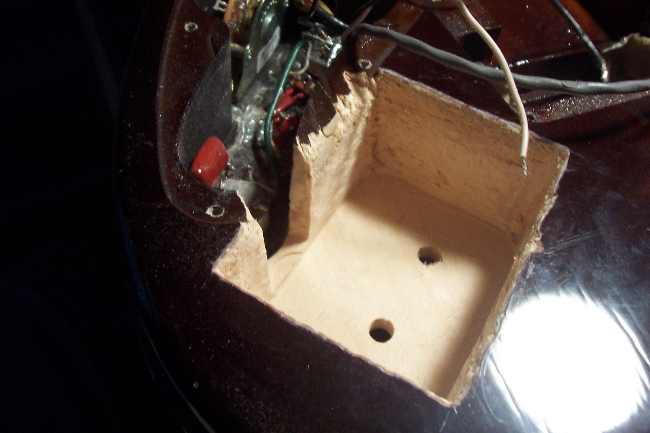
After about 1-1/2 hours of carefully using various size wood chisels, I had most of the cavity excavated. The wood underneath the
hard finish was pretty soft (I believe it is basswood), so it wasn't too hard to carve it out. I finished it up with a Dremel Tool as needed.
|
|
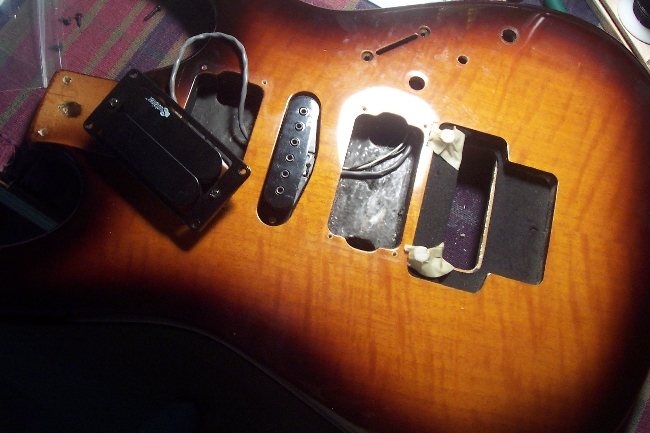
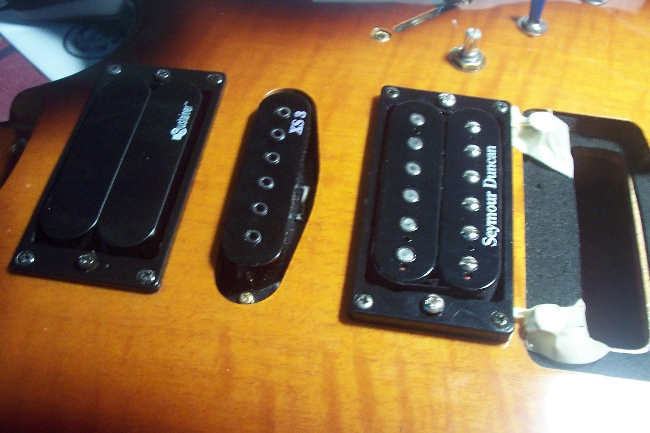
Once I had the cavity excavated, it was time to install the Sustainer pickup. While I was at it, I decided to replace the stock Ibanez
bridge pickup with a Seymour Duncan JB pickup I had lying around which I had pulled out of another guitar. The stock Ibanez single coil pickup sounds pretty good,
so it remained unchanged.
|
|
I used a paper template to determine where the holes would need to be drilled.
I checked and double checked this carefully as I only had one chance to get it right. Once I had the holes drilled, I had to remove a little more wood until the nuts
could go on the threaded portion of the switches.
|
|
Here all of the pickups are installed and I am ready to install the sustainer circuitry.
This was the easy part of the wiring. The rest seemed a little intimidating at first, but it really wasn't that bad once I got into it.
|
|
I had to create a channel for the wires to go through to the control cavity
in the most direct manner. A Dremel Tool with various bits made quick work of it.
|
|
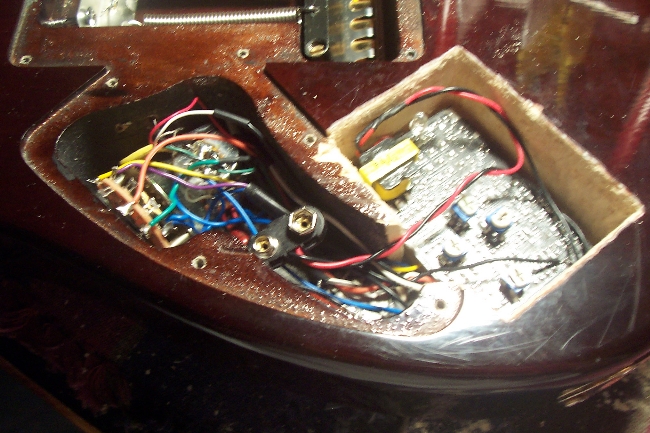
After about a couple hours of work, I had the wiring all done. To my surprise,
the sustainer worked just great the first time I tested it, although I had to get my pickup wiring straightened out because the pickup switch I used is different than
the type shown on their wiring diagram and I got a little confused. To fix it, all I had to do was to reverse all of the connections on the pickup switch. Continuity testers
are great for figuring out this sort of thing!
|
|
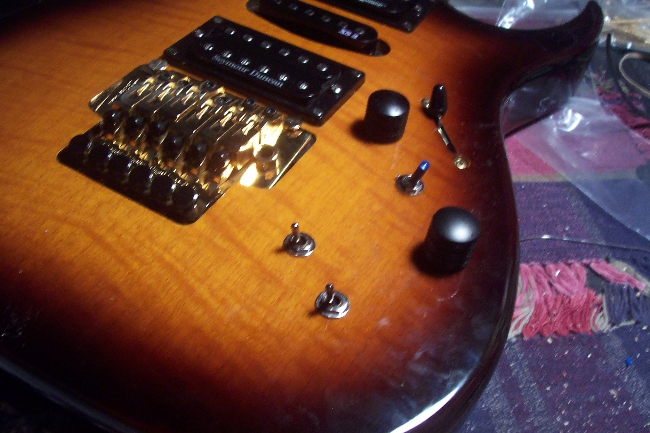
This is showing the locations of the switches. I also added a kill switch between
the volume and tone controls just for fun since none of my other guitars have one.
|
|
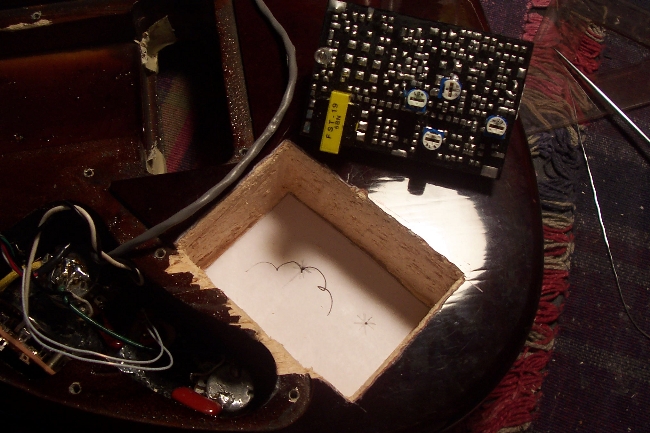
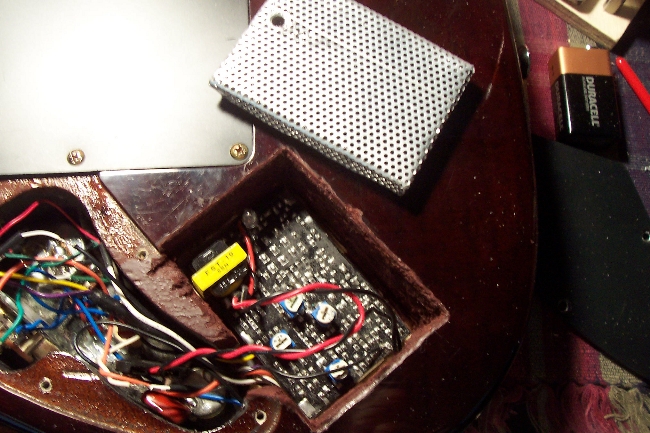
For the sustainer cavity cover, I was initially thinking of just using something
mounted right on top of the body like the control cavity cover on my Ibanez S470FM, but it wouldn't match the recessed flush control cavity covers on this guitar.
I finally decided upon using a perforated aluminum piece that could be pressed into the cavity and be flush with the body. In this picture I just completed making
that cover and painting the cavity brown to try and match the existing finish as close as possible.
|
|
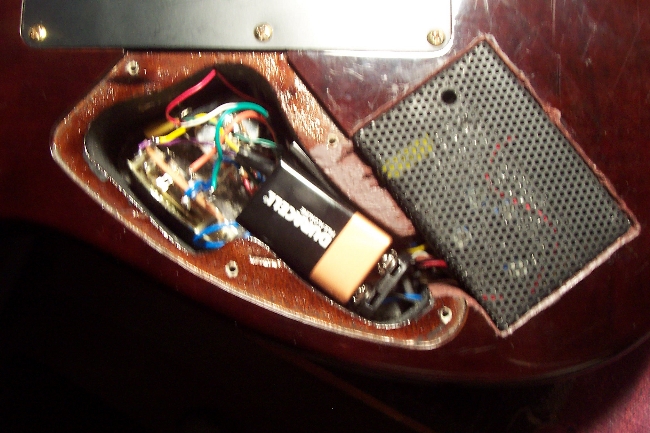
Here the sustainer cavity cover has been painted flat black and is in place.
It fits very snugly, but no so tight that it's real difficult to get out. I also like that you can see the circuit board inside, too. The hole at the top is for
easy viewing of the LED on the circuit board. The battery has a nice spot in the control cavity, which I already knew was the case when
I had a Tillman preamp installed in the guitar at one time.
|
|
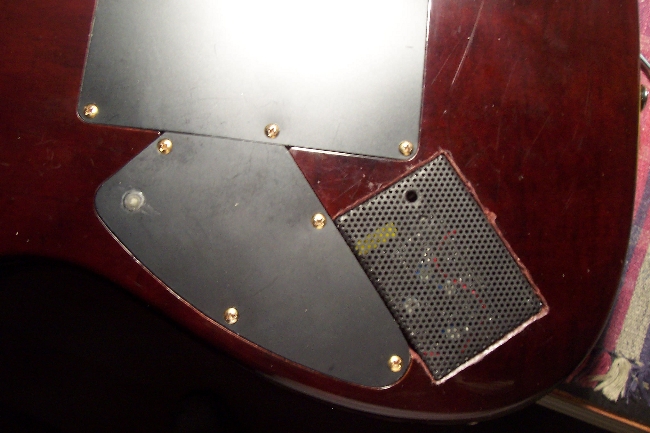
Here it is with all of the covers on. I think it turned
out very well considering I did everything mostly with simple hand tools. I would have never considered trying this if I didn't know my
ability to effectively use wood chisels and a Dremel Tool!
|
I didn't really think about how much time would be involved in doing this sort of project, but it is definitely an all day affair if you have to put as much work into it as I had to. Even if you have a router at your disposal, it still takes a while to add one of these to a guitar not made for a sustainer system. A router would save a couple hours of time. In any case, it was positively worth the effort, though.
After about only an hour of playing around with my new toy, I'm really enjoying the cool things you can do with a sustainer pickup. It really is perfect for someone who uses sustain as an integral part of their style. And the ability to get musical sounding "microphonic" feedback at any volume level is also great.
Fernandes Sustainer Page
Fernandes Sustainer Patent
My Home Page
|