Using Wood For A Stompbox Enclosure
Last updated 3/5/06
A member of www.diystompboxes.com sent me this wooden enclosure, free of charge, for evaluation, etc. I only had to drill the necessary holes and do some fine sanding to make it ready for finishing. Since it had such a nice grain pattern, I wanted the grain to really stand out, so I didn't want it to have a dark stain (although a cherry stain might not look bad). I decided to use some Formby's Tung Oil finish on it - two coats, followed by two coats of clear gloss lacquer. I sanded between coats and hand buffed the final coat. The end result is rather like practical art. Many thanks to the person that gave me this enclosure to use.
 |
Here is a top view. Nice grain pattern. The wood appears to be red oak or a similar wood. The graphics were done using my usual method for graphics. I used an exacto blade to trace the outline of the lettering rather than doing a full face decal like I would normally do. |
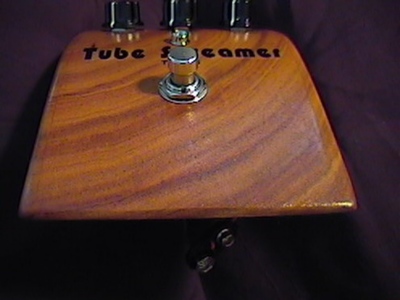 |
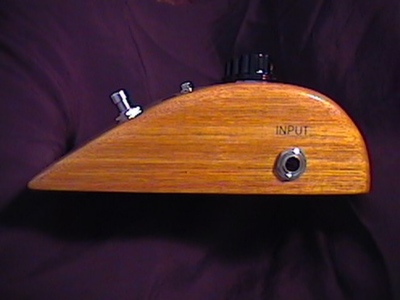
Here is a front view. |
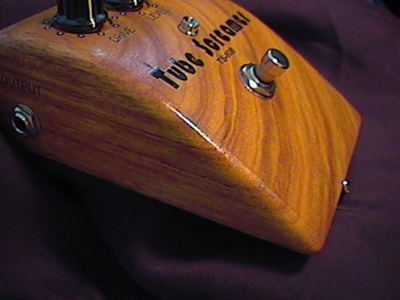 |
Side view. Notice how the grain wraps around the side. It was cut from a solid block of wood. |
 |
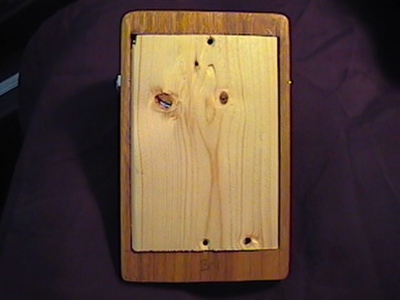
This is looking at it from the rear. |
 |
Here is a better view of the grain on the back. I think the most challenging thing was drilling out the hole for the power jack. |
 |
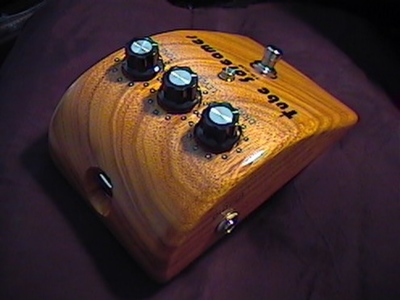
View of the front from a different angle. |
 |
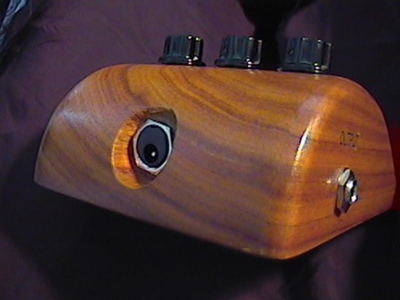
Here is the right side view. |
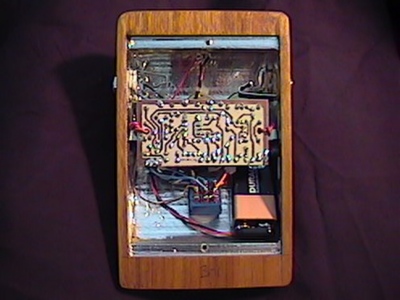 |
Here is the interior. It is shielded with aluminum "metal repair tape". I made sure all of the pieces had electrical continuity and that everything was grounded when assembled. |
 |
Mounting the PCB was a little bit of a challenge. I used some small angle brackets and wire to secure the PCB. |
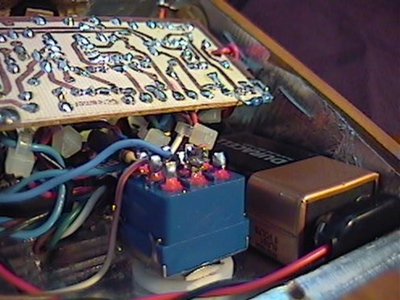 |
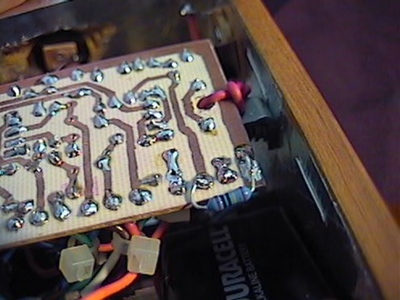
Close up of the bypass switch and battery. The battery fits nicely in there. |
 |
Here is the bottom with the cover on. It is also shielded and makes contact with the enclosure so that when it is on, the whole enclosure is effectively shielded. A piece of foam is attached to it which keeps the battery in place when the cover is on. |