Building Your Own Guitar Effects Pedal
Last updated 9/18/04
After
learning some basic electronics and how to read schematics, it's
not that hard to build you own guitar effect pedal. There are a
lot of good sites such as http://www.geofex.com or http://www.diystompboxes.com that are a wealth of
information with forums where you can post questions. These are
good places to obtain schematics for projects you may want to
build. You can also find sound clips for all these pedals, too.
This documents the second ever pedal I made. I have found some
better ways of doing things since then, but the whole process is
more or less still the same.
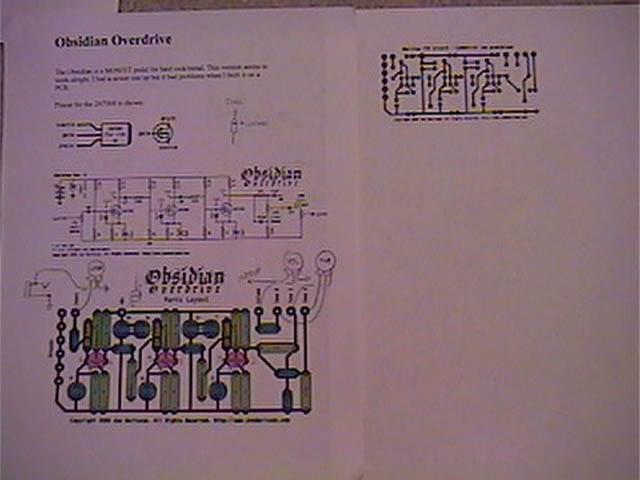 |
First thing to do is get a schematic and PCB layout. I got
this one from http://www.joefus.com This is his "Obsidian Overdrive".
You could also use perfboard, but it's not very practical for complicated circuits. Etching a PCB is actually quite easy to do, even if you've never made one before. |
 |
I asked my 7 mo. old little daughter, Makenna, for some technical advice, but she was at a loss to give me the answer... |
 |
Here is the circuit all assembled. I was waiting for the 2N7000 MOSFET's at this point, so it wasn't ready to fire up yet. |
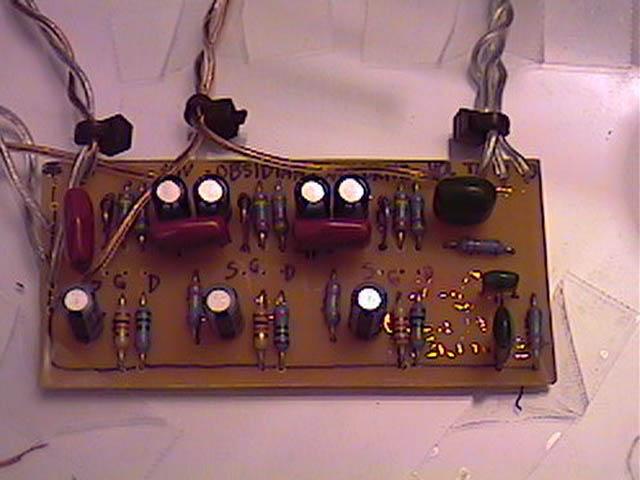 |
Here is the PCB with all the components installed. Nice and neat layout. |
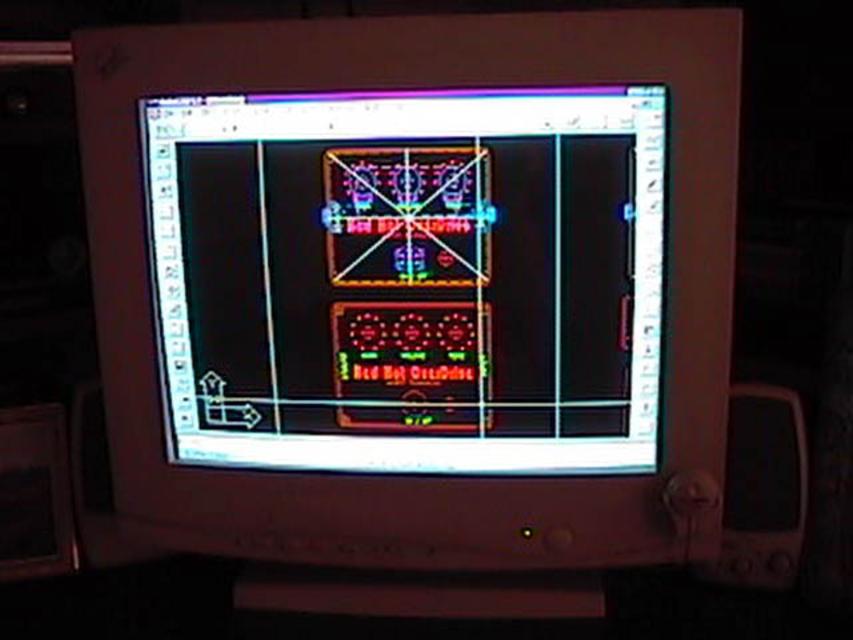 |
While waiting for my parts, I made the graphics for the pedal on AutoCad. This program can be quite useful for this sort of thing. You can also use other programs to create graphics. There's lots of them out there. |
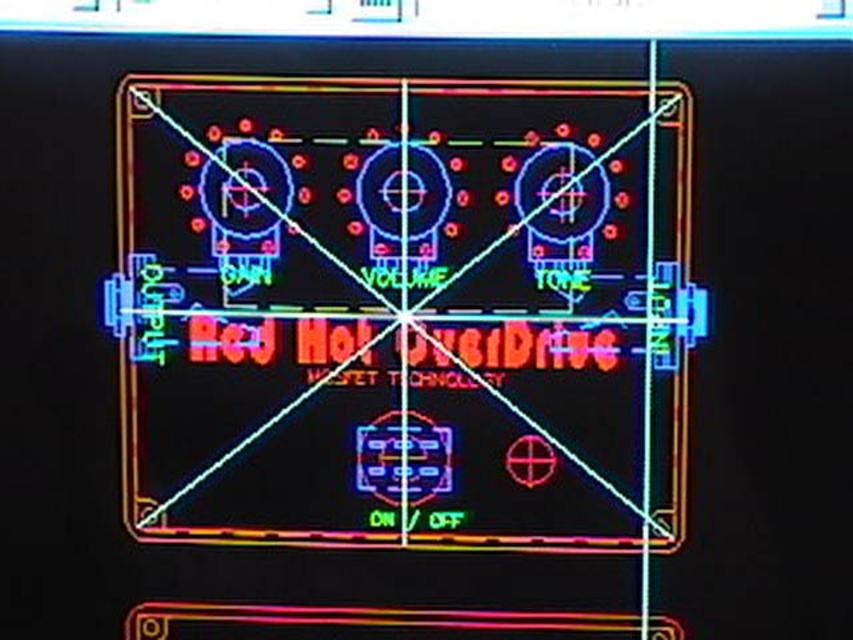 |
AutoCad uses layers, so I can draw where all the parts are supposed to go when assembled and work out some bugs before actual placement of components in the enclosure. This also allows me to make a template for drilling the enclosure. |
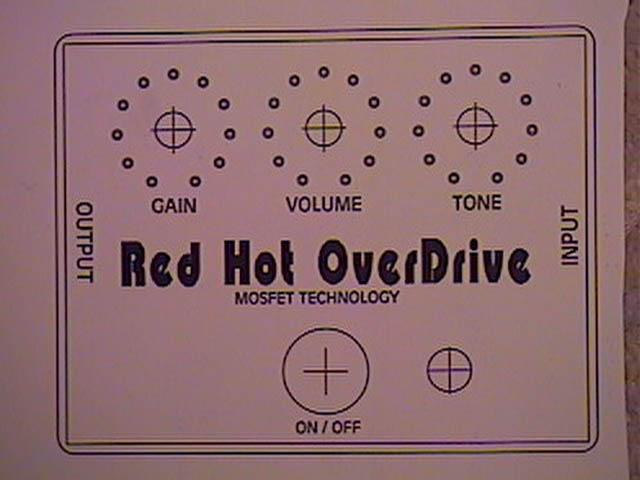 |
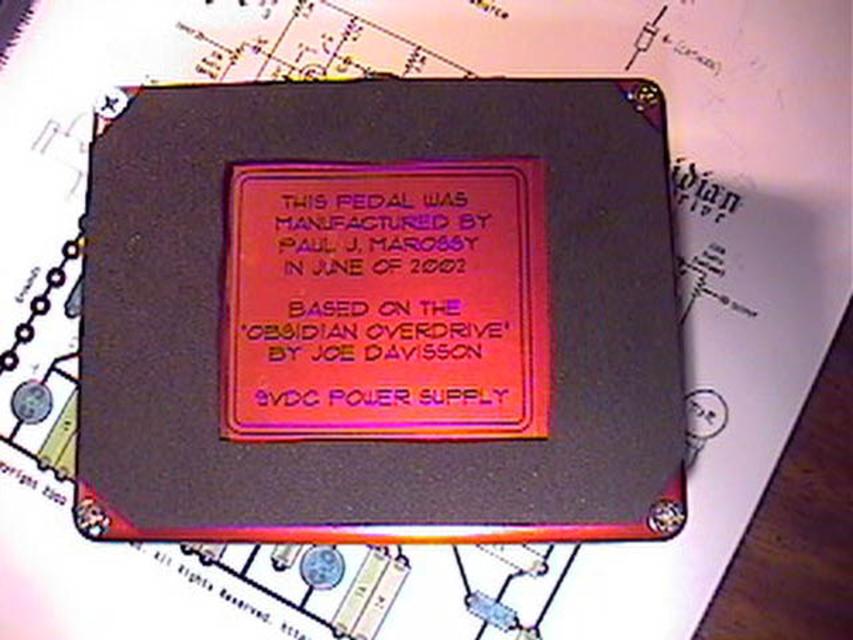
Here is the graphics printed onto "stickyback". This gets applied to the top of the enclosure after painting. This self-adhesive film is made by Rayven. I used this stuff all the time when I was board drafting many years ago. You can use it in a LaserJet printer or a copier. I like the full face graphics best because it looks the cleanest when finished. The only thing that would be better is silkscreened graphics. I renamed this pedal, but to be ethical, I did indicate with a seperate graphic on the bottom of the pedal that it is an Obsidian Overdrive by Joe Davisson. |
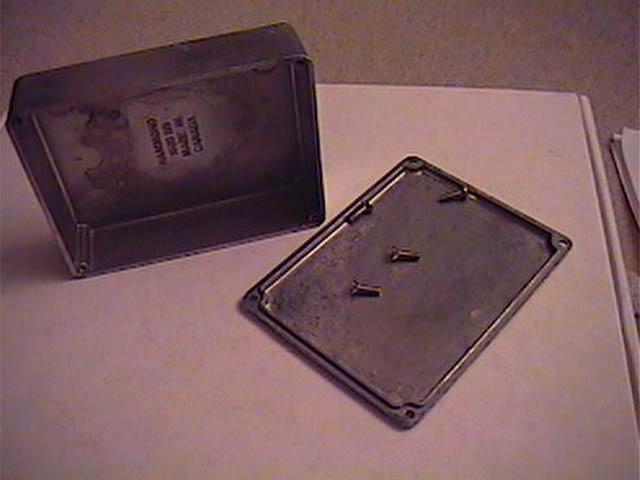 |
Here is the enclosure before drilling. This is a Hammond 1590BB. 4.3"x3.3"x1.2" |
 |
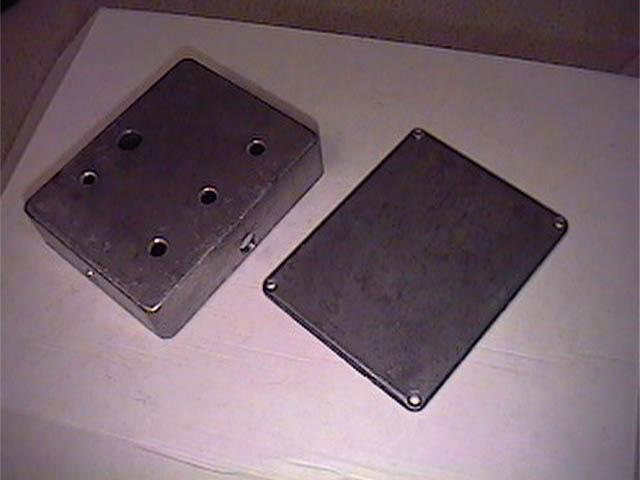
Here is the template for drilling the holes. I use a countersink/punch to mark the centers and then use a UniBit to drill the holes. Works great! |
 |
Time to paint! A good quality primer is highly recommended. Hammond boxes are particularly picky about paint. |
 |
Here is the enclosure after painting. The graphics are applied to the top. Then it gets a clear protective coat applied to the whole thing. |
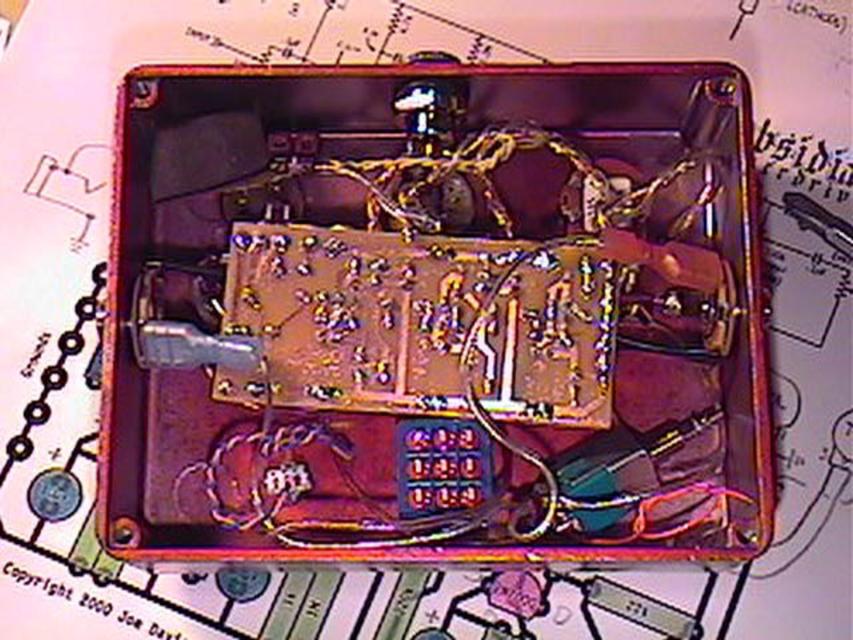 |
Here is how everything looks inside the box. |
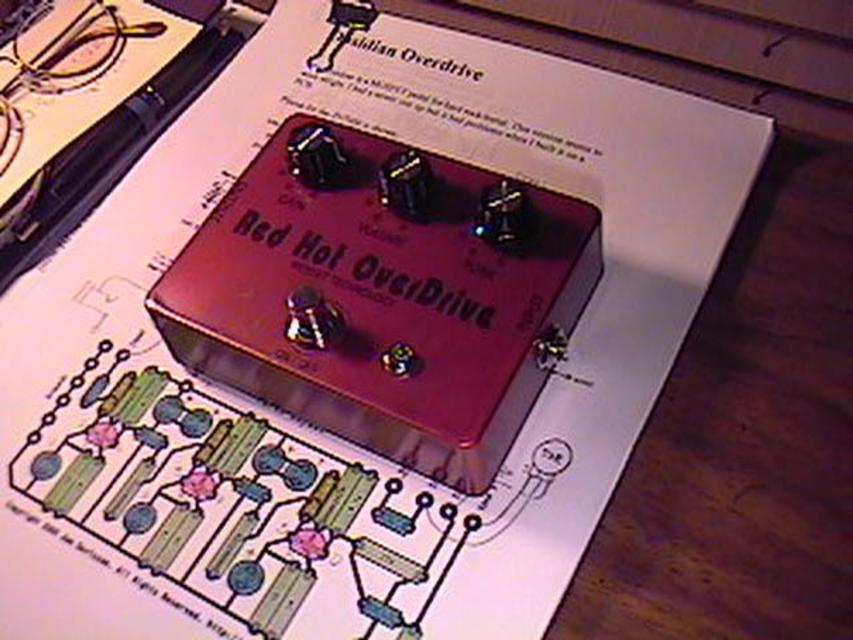 |
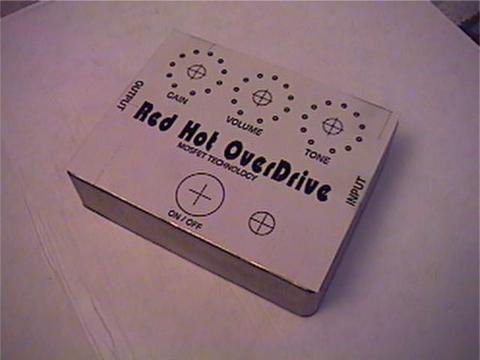
Here is the pedal after final assembly. |
 |
I use 1/8" adhesive backed neoprene on the bottom of the pedal to keep it from sliding. It comes in 8"x10" sheets. I get these for 0.97 cents a pop at the crafts section at WalMart. |
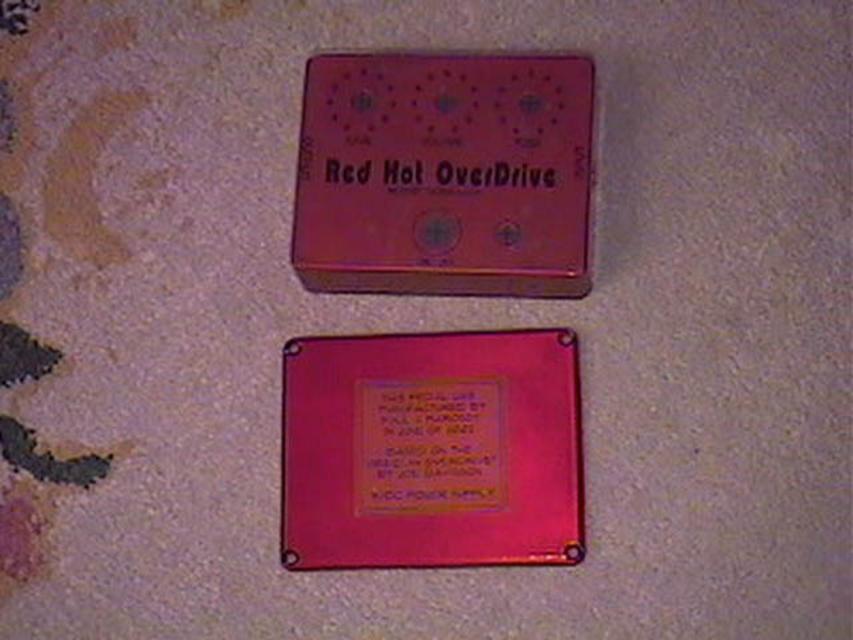
This
is one of the first boxes I made (compare with my latest build), and kind of messy looking,
but the process is much the same
for any stompbox that you could make. One
of the most challenging things to do is to get the circuitboard
and all the other parts to fit into an enclosure. I always use
the smallest possible enclosure because I hate big, bulky pedals.
So it takes a little bit of thought as to how to layout the
interior and make everything fit. I typically never use a 9V
battery, I use a wall wart for powering my pedals, so that's one
less thing to deal with.
Sometimes, it's a hassle getting a pedal to work after you put
the bottom on - something shorts to ground and it doesn't work.
Since once the bottom goes on and it's there to stay, I have used
various methods - stuffing it with a little foam, electrical tape
on the inside of bottom piece, angling the PCB inside of the
enclosure, to name a few.
One thing I have started to do as of late, is to use stand-offs
for the circuitboard. This prevents a lot of problems. I haven't
had any problems with the former free-floating circuitboard
method, but I like the idea of the circuitboard being securely
fastened to the enclosure better.