My Fender 2x12 Hot Rod DeVille Tube Amp
Last updated 6/15/03
Here is some pictures of my other Fender amp. I bought it back in late 1998. It has been a good sounding, reliable amp.
One day I decided that I would like to put tilt-back legs on it. So I purchased some 16" long tilt-back legs made by Fender and installed them. (See links below for a detailed drawing of how I mounted my tilt-back legs) At the same time, I also installed some removable casters. This amp is about 65 lbs., so it's nice to be able to just wheel it around as opposed to having to carry it.
Recently,
I decided to install a cooling fan in this amp, too. It only has
two power tubes, and three preamp tubes, but when it is tilted
back, the heat from the tubes and the power transformer gets
trapped up inside the speaker enclosure. After playing for a
couple of hours, it smells like things are getting a little hot.
So, I put the fan in, and if for nothing else, it makes me feel
better. What else would you expect from a guy who designs air
conditioning systems all day long? I also recently replaced the
power tubes and set the bias so the tubes run hotter. The
distortion sounds much better now! They set the bias a little
cold at the factory. According to the schematic, this amp is
designed for around 485VDC on the plates of the power tubes, and
a 60mV idle bias setting. Generally speaking, Sovtek 5881 power
tube maximum heat dissipation is around 24 watts and 60-86mA of
plate current! I currently have mine running at 68.4mV. This may
shorten tube life just a little bit, but the distorted tone I get
is worth it to me. The bias control pot (15K) has a narrow range,
so it's not very likely that you could cause your tubes to melt
down, which I assume is how Fender designed it to be. But there
is enough adjustment to get that extra edge to make it sound
really good. The only drawback is that running the power tubes
hotter makes the clean channel sound less good. So I may adjust
it a couple more times until I find a spot that sounds good for
both channels. By the way, don't think you can modify this amp
like the older Fenders. The new ones use PCB construction, and it
would a major pain in the neck just to get the board out to make
a mod. A good tech could do it, but it is a lot of trouble.
Some people feel that this amp is sterile sounding (cold). That
is a subjective matter, but I generally agree. I have replaced
the stock Sovtek 12AX7 preamp tubes with a J&J 12AX7 in the
first stage, and I used two NOS Raytheon 12AX7's in the 2nd and
3rd stage. That along with biasing the amp warmer than Fender's
stock bias setting really improves the sonics this amp produces.
I also put some of my DIY tube coolers on the power tubes, and
this helps the amp to be slightly more dynamic as well. The most
noticeable improvement was simply changing the preamp tubes. Now
this amp sounds pretty darn good!
Another interesting thing to try is a 12AU7 in the 2nd and 3rd
stage. I used some vintage Sylvania 12AU7's. You still get a lot
of distortion, but it sounds a lot smoother and a little more
bluesy at the lower distortion setting.
Below are some pictures of the amp and my fan installation project.
 |
Front View. |
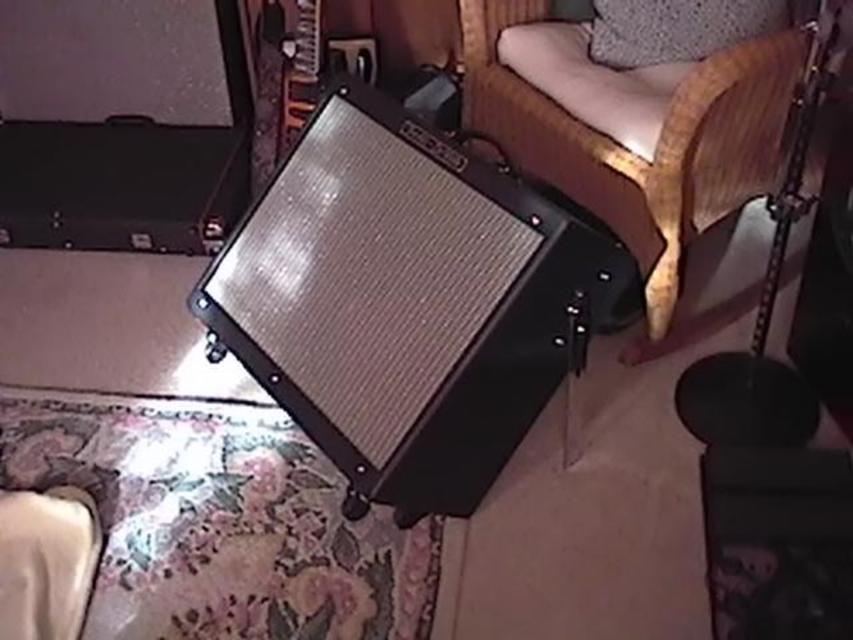 |
Amp shown tilted back. It's a lot easier to hear myself on stage with the amp tilted back. I don't really care for amp stands myself. It's just another thing to have to lug around. I used one for a long time, but got tired of the trouble. |
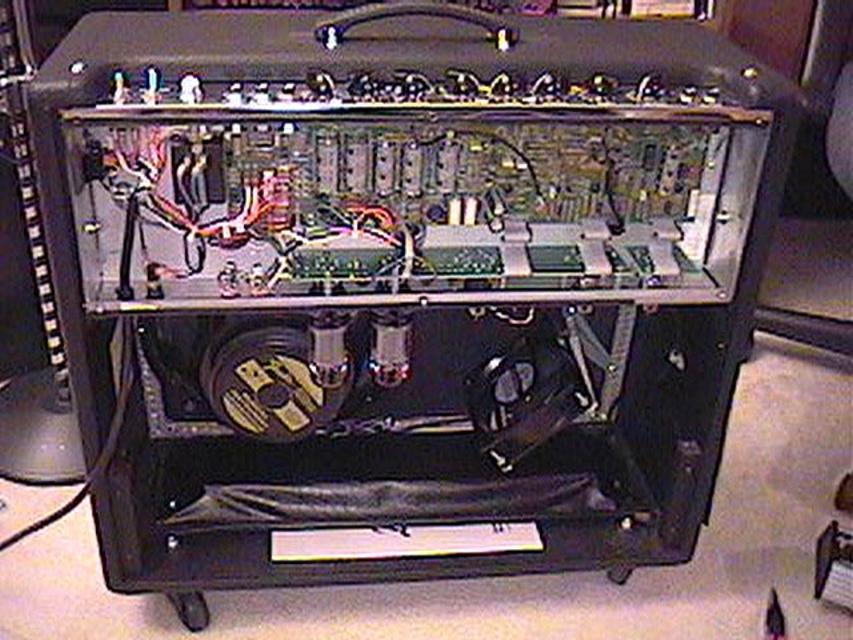 |
Here it is with the back panel removed. This amp uses PCB construction. It seems to be pretty well designed. It also has Fender Special Design speakers manufactured by Emminence. |
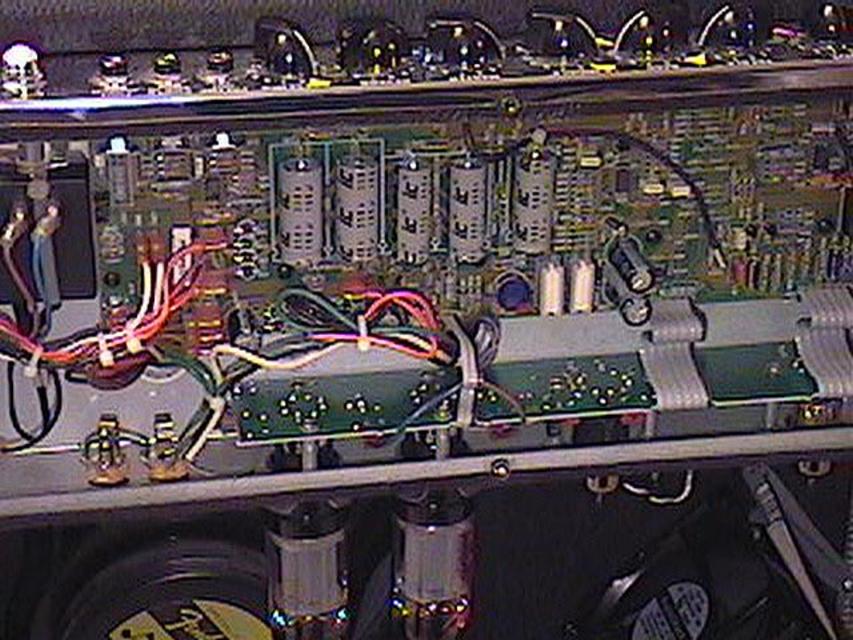 |
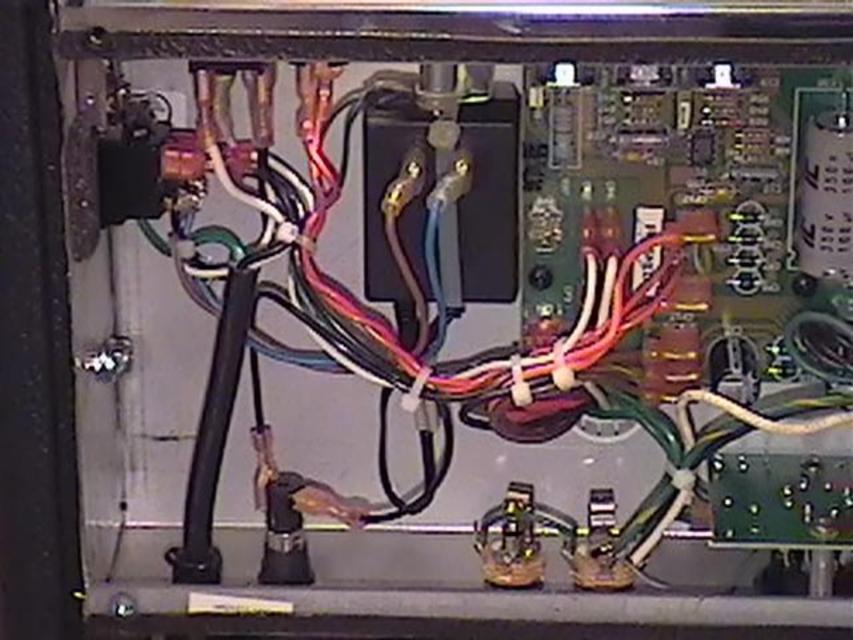
Here is a close-up of the PCB. The filter caps are in the middle of the picture. The bias adjust is the round blue thing below the filter caps. The bias test point is at the very left end of the power tube PCB. Ribbon connectors are used to connect the main board to the power/preamp tube board. |
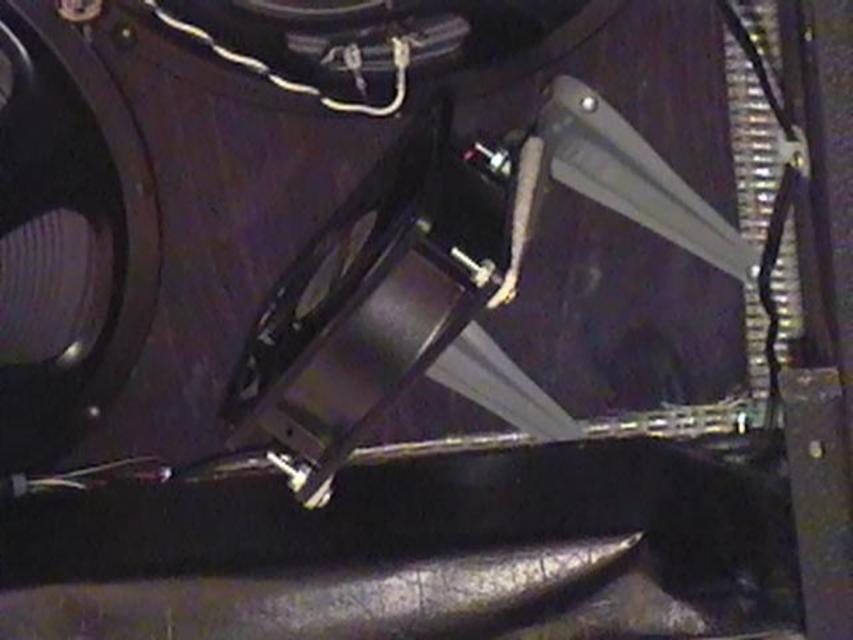 |
Here is the fan installed. It is a
RadioShack 4.72" 12VDC brushless fan. It cost
$19.99. It has a diecast fan housing. It moves about 85
cfm at full speed. I am running it at a lower speed,
which makes it quieter, and still moves a good amount of
air. I used two 7"x4-1/2" shelf brackets purchased at Walmart for .97 cents each. I drilled holes as needed and attached the fan to the brackets. Then I attached the whole assembly to the speaker baffle with 1/2" wood screws. VERY sturdy. |
 |
I decided to use a DC fan instead of a
120VAC fan for a variety of reasons. Here is how it is
powered: I cannibalized an old computer power supply. I cut the leads off of the voltage selector. I then soldered those four wires to the cold side of the power switch, two on each connector. The two wires from the amp's power cord goes to the hot side of the switch. Two of the wires on the cold side of the switch go to the amp's power switch, and the other two go to 12VDC power transformer. In this manner, the switch acts as a terminal block. I used a Dremel tool to cut the prongs on the xmfr. a little shorter. I then slipped the wire terminals onto the transformer. The transformer is held in place with some long zip ties. There were two holes in the chassis already, so I just used them. |
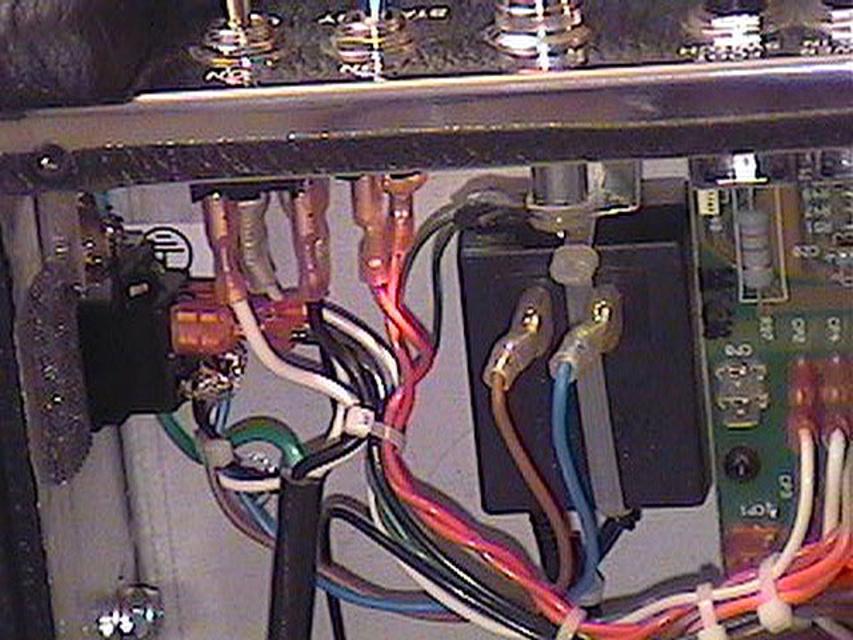 |
Here is a close up of the switch
arrangement. Not UL approved, but it works.
When I flip the power switch, it powers up the amp and turns the fan on. I rigged up a little bracket which holds the switch firmly in place and it also keeps the switch on so it can't accidently be turned off if the amp is bumped. The nice thing about this arrangement is that it is completely reversible, it doesn't hack up the amp, it is clean and I don't have be concerned with blowing fuses, etc., etc. Everything fits very neatly inside when the back cover is replaced. The only hitch is you need a small transformer... I had this one laying around for about ten years or so. They are a lot bigger these days, but why I don't know. |
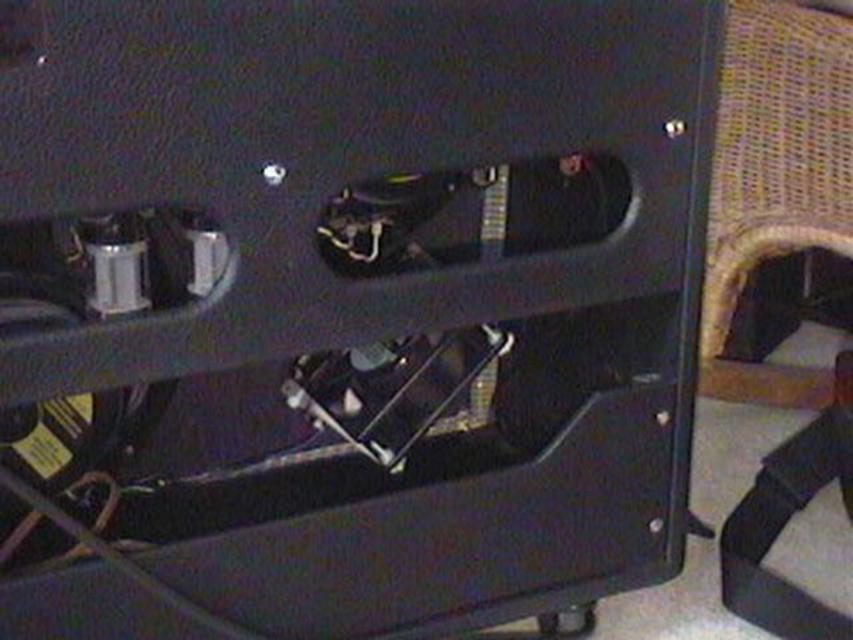 |
Here is a rear view showing the fan. I am also going to install a speed control as soon as I figure out the best way to do it. I found that I needed to shield the bottom of the reverb tank with some metal tape because it was picking up a little noise from the fan. I also shielded part of the reverb send and return lines by wrapping a 18ga solid core copper wire around it and connecting it to ground. (BTW, it is a shielded RCA type cord) Now it is quiet as usual... |