My "Remodeled" Gregory Mark X Tube Guitar Amp
By Paul Marossy
Last updated 5/21/05
Since this amp is an obscure relic of the past, I figured it didn't have much collector value and therefore I felt that I could "remodel" the amp to my liking. I also did this partly due to the fact that the thing reeked of cigarette smoke - it was as if it had 40 years of cigarette smoke residue in every pore of its being! The steps I have taken have obliterated the nicotine soaked ashtray smell for good. Details of this whole process can be found below.
|
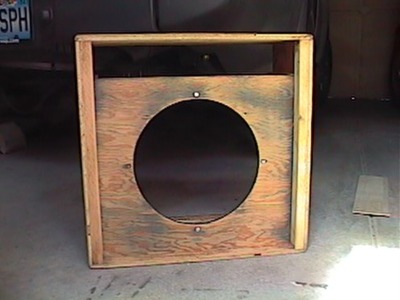
The first thing I did was peeled off the incredibly cheap "tolex" from the enclosure and the "grille cloth" from the speaker baffle and sanded the old glue off down to the plywood with an orbital sander. It took about an hour or so to completely sand it. I used some wood filler where needed and stiffened up the cabinet just a little bit in strategic locations. |
|
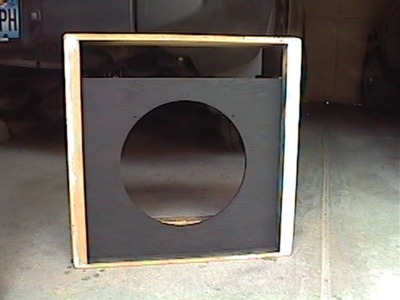
Next, I painted the speaker baffle flat black. |
|
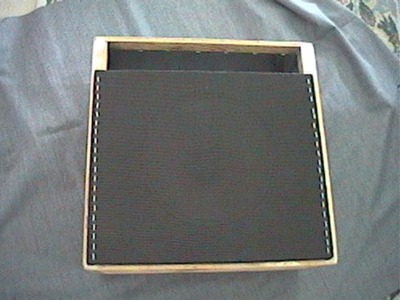
Here I have applied the new grille cloth to the speaker baffle. This step took about an hour from start to finish. |
|
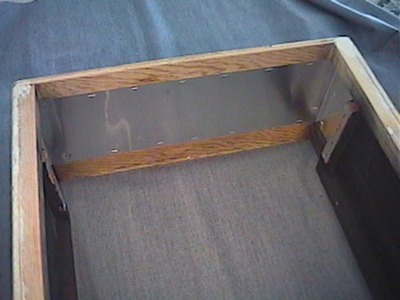
Since shielding in this amp was really weak, I added some shielding in the top portion of the enclosure. It's stapled to the enclosure. I also painted the inside of the enclosure flat black. Probably about another hour worth of effort. |

|
To cover the enclosure, I used some upholstery type material. I went with this material because it's kind of different, and to me, has a sort of 60s feel to it. You don't see many brownish amps, so I thought this would still maintain the rather unique qualities of the amp while at the same time giving it an overhaul. I applied the covering with some 3M spray adhesive. I was able to remove the old "tolex" intact, so I used it as a guide for cutting the new covering. I was able to cut the new covering to the exact size needed and it speeded up the whole process greatly. This step took about 1-1/2 hours. |
|
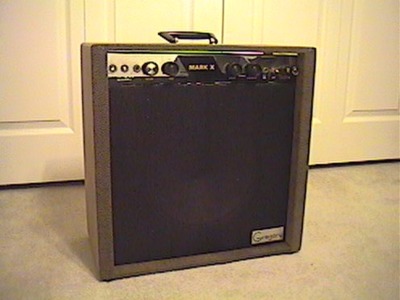
Here is a view of the completed project. I like the look of it now, kind of a retro 60s look. |
|
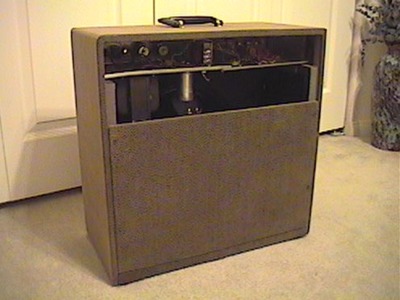
And here is a view of the back. Next, I had to manufacture a piece to cover the exposed chassis for safety's sake. |
|
And here it is with the final touch - the rear chassis cover. Simply a piece of wood cut to the required dimensions and painted flat black. It took about 30 minutes to make this piece, which also is also shielded. When this piece is on, the whole chassis is shielded. |
|
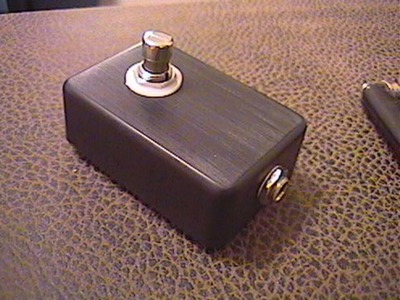
Here is the footswitch that I made for switching the tremolo on/off. It simply switches the tremolo circuit on/off by grounding out the strength control, using a SPST switch. It took less than an hour to make the footswitch. This completes the bulk of the project! |
|
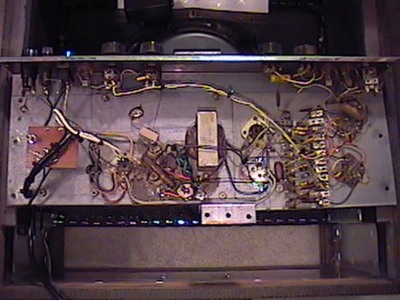
When I pulled the chassis out to do my fan addition, I decided to rework some of the wiring in the chassis. Since the original wiring had the heater wiring bundled together with other wires, I decided it would be best to seperate them and clean up the layout some. This helped to get rid of most of the hum that I could hear with the volume at max. Compare with the original wiring. I changed the speaker wiring from directly connected from the output transformer to the speaker to a speaker jack. The jack is connected to the speaker with a shielded cable and 1/4" mono plug. This makes the chassis, speaker and interconnective wiring all seperate pieces. |
|
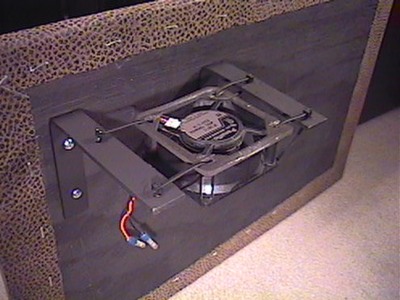
In keeping with tradition, I added a cooling fan. The chassis gets quite hot after a short time and the power tubes seem to be running pretty hot as well, so I decided to add the fan. It's a little 24VDC 0.1A brushless fan that I pulled from a junked fax machine. To power it, I added a small 120V/12.6V transformer inside the chassis, just above the power transformer. After rectification, the fan sees 22V. It's a quiet fan, and it moves just a little bit of air, but it's enough to make a significant difference. I made the brackets myself from a 3/4"x1/8" piece of aluminum purchased at the local home inprovement store. These brackets are attached to the back panel. |
|
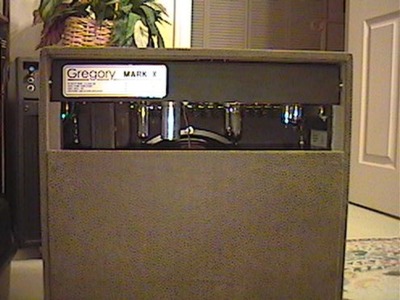
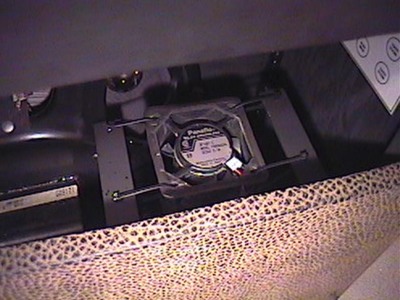
Here is how it looks when installed in the amp. The fan sits directly below the power and preamp tubes. In this picture I have some zip ties that attach the fan to the brackets. These were replaced with some lengths of black 1/8" nylon cord. This works very well - absolutely no vibration is transferred to the enclosure! To the right of this, you can see the little tube chart that I made. |

|
Of course, I have to give credit to my son for his invaluable technical advice during the course of this project. |
As most people that use tube amps know, the actual tubes you use can make a large difference in how your amp sounds. The
tubes I am currently using in this amp are an RCA 6CA4/EZ81 rectifier tube, Sovtek EL84 power tubes and a pair of
Amperex Holland 12AX7 preamp tubes, which sound excellent.