Star Grounding My Gregory Mark X Tube Guitar Amp
By Paul Marossy
Last updated 5/26/05
Still not satisified that this amp had the lowest possible amount of hum, I decided to star ground it in the same manner described by RG Keen at his most excellent website. His example happened to be the Vox Pacemaker, which is very similar to the Mark X, so I used that as a guide in star grounding my own amp. The results were nothing less than astounding! After I was done, there was absolutely no hum whatsoever and at least as quiet as any equivalent solid state amp would be.

|
Here is a view of the chassis with the star grounding completed. There were only two wires that had to be routed from the terminal strips to the star ground point, which is towards the left side of the chassis. The heater ground is also bundled with these wires. The rest of the wires had a very short distance to go to the star ground. |
|
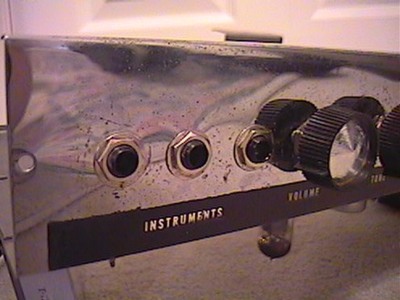
I used some plastic input jacks to isolate the input grounds from the chassis. Before I did this, I had done all the star grounding minus the input jacks, speaker jack and tremolo bypass jack and the hum was still significant with the volume turned all the way up. After I replaced the input jacks, the hum had literally disappeared! The jack to the left of the two plastic jacks is a phony, it's only there for cosmetic reasons since I don't foresee the need for three input jacks. I left the speaker jack and tremolo bypass jack grounds connected directly to the chassis, and this seems to work fine - they do not contribute any hum, so I left well enough alone. |
|
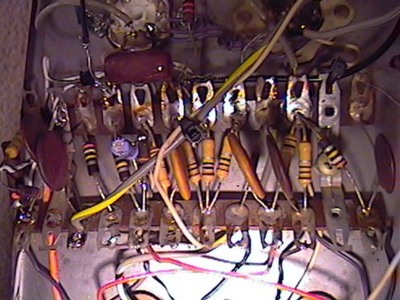
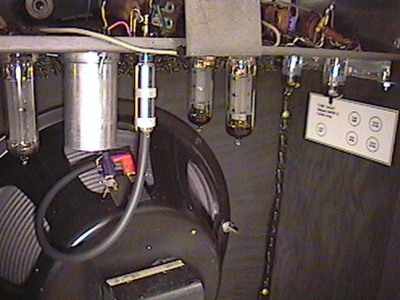
Just for kicks, I added a 10uF bypass cap to the cathode of the driver tube but I found out that it caused hum to reappear, so I removed it. Some people have questioned the 1M resistors in the amp. You can't really see the colors well in this picture, but they are there. I think the designer of the amp avoided blocking distortion by using 0.005uF coupling caps to the grids of the power tubes. It seems to work just fine as the amp is loud and clean. |

|
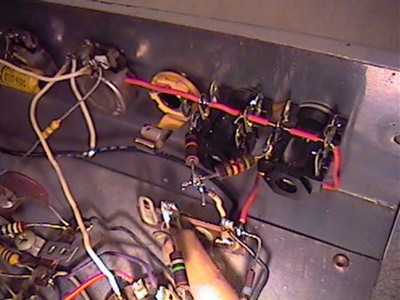
I also added some 1K/1W screen resistors to the power tubes since this circuit didn't have any screen resistors at all. I then checked to see what the power tube plate dissipation was, and I found that plates were dissipating over 14 watts! After adding the screen resistors and going to individual 220 ohm cathode resistors instead of one common 160 ohm cathode resistor, I got the plate dissipation down to 11.5 watts, just under the recommended maximum of 12 watts. I had to add a little terminal strip and rewire the B+ supply a little bit, but the operation didn't take long at all. |
|
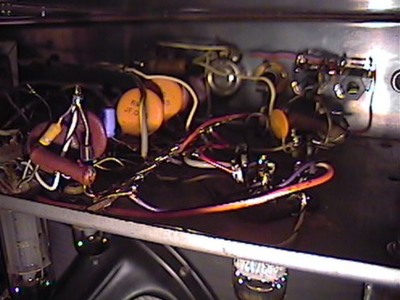
Here is a view of the chassis in the enclosure. I moved all the interconnective wiring around to avoid parallel runs and made everything cross at right angles where I could. |
|
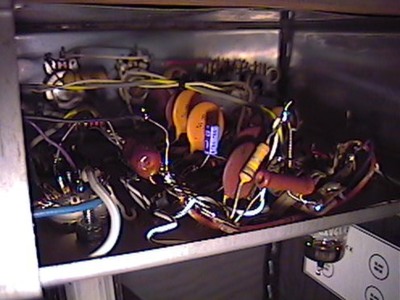
This is a shot looking at the same area from another angle. |

|
Here is a view of the internal speaker jack wiring. Just to the left of the speaker jack, I installed a switch that can remove the negative feedback for more gain. |
|
Here is a picture of the speaker jack with speaker connected. |
|
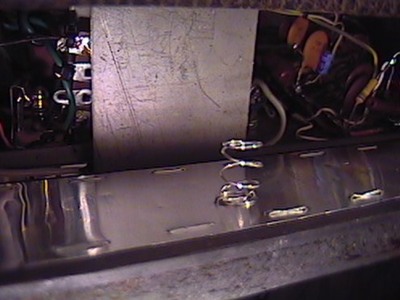
This is the chassis back cover that I made, showing the internal shielding and the method I used to ensure that the shielding was in contact with the amp chassis - a spring. The spring pushes against the chassis vertical support and provides continuity to ground. |
|
The jack on the far right is the phony. I painted the threaded portion black to match the plastic ones. You can't tell unless you look real close that they aren't quite the same. |
|
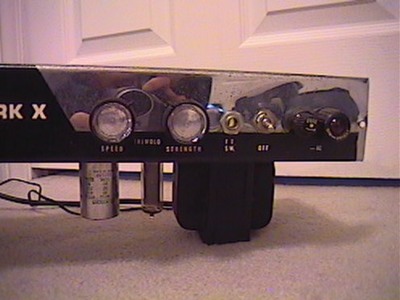
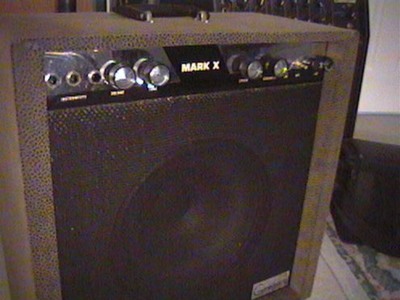
I liked the original control knobs, but it bothered me that three of the four knobs were missing the chrome insert, so I improvised and made them all look the same. It's not perfect, but I like it a lot better. It's not in this picture, but I added a standby switch where the fuse holder is shown and moved the fuse holder to another part of the chassis. |
|
This is how the knobs look when the chassis is in the amp. I think it looks a lot better now that all the knobs match. |
I am really surprised by the sound of this amp, it has a very nice tone when used in conjunction
with my Shaka Tube overdrive pedal and my BSIAB. The tremolo has a nice feel to it as well. It's pretty loud, and
if you use a guitar with an onboard preamp, it's louder still. This is a case
of a "diamond in the rough" if I ever saw one!