Using Fabric For A Stompbox Enclosure Finish
Last updated 6/5/05
I am always looking for some creative graphics when I make guitar effects, and one day a thought occurred to me that I could use some sort of fabric to cover an enclosure with to make a unique looking guitar pedal. I got the idea from my guitar refinishing project. It is really not that hard to use a fabric to cover an enclosure with and make it look good. Below is a step-by-step outline of the process. I didn't take in-progress pictures, but it's easy enough to explain.
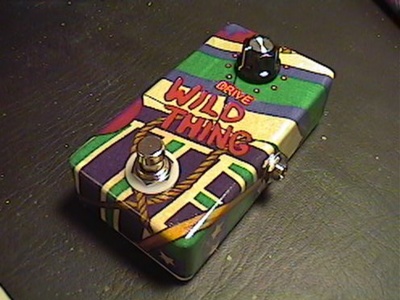 |
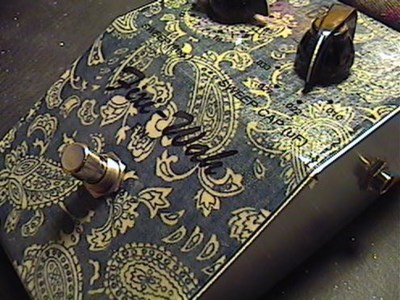
This is the first fabric covered pedal I made, using the same material as my guitar refinishing project. First, I cut out the material to rough size and ironed it nice and flat. Then I glued the fabric to the enclosure after roughening it up with sandpaper. You can use 3M spray adhesive, contact cement or even TiteBond wood glue. In all cases, the glue has to be fully cured before the clear coats can go on. For the bottom edges, I used a little bit of super glue to ensure that the fabric couldn't peel off at the edge. Then I used an exacto blade to trim the seams and edges down as close as possible to the bottom level of the enclosure and to cut out the round holes for the controls and stuff. |
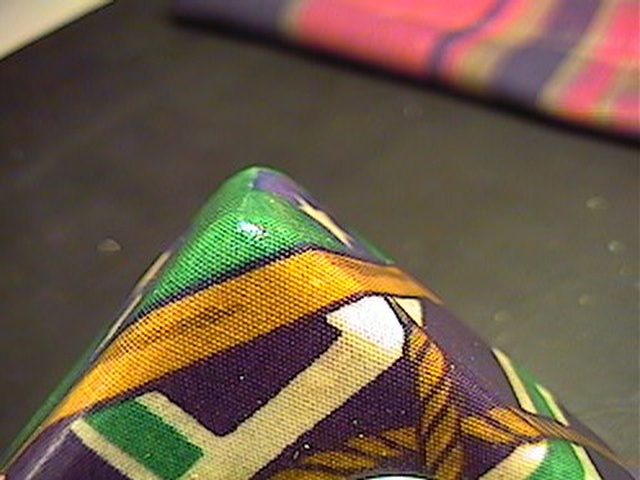 |
For the rounded, vertical edges, I pulled the material as tightly as I could into a seam. Then I cut it with scissors. The scissors actually help to draw the material together to make a nice clean seam by virtue of the stretchable nature of most fabrics. I had to help draw the seams together by hand in a couple of places. This is the trickiest part about the whole process - you have to do it all before the glue sets. At this stage, the seams on the vertical edges were already flush with the surrounding areas. I also used a litte bit of super glue to glue the seams together. |
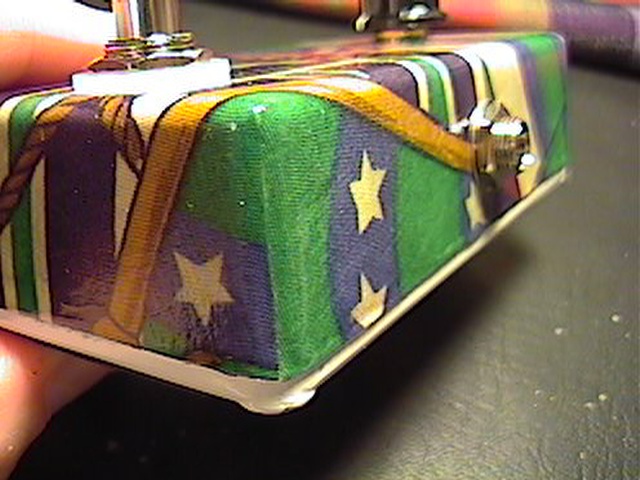 |
When adhesive was set, and all seams/edges were ready, I coated the fabric with several coats of lacquer sanding sealer. Then I had to sand it as smooth as possible. This is the most time consuming step. At this point, I painted on the lettering by hand with some acrylic paint. Then, three successive coats of clearcoat, sanding between each coat. The final coat was hand buffed. The end result is a pretty tough finish that can look really cool. It sounds like a lot of work, but it really isn't. It just takes a little time and patience. I think this box only took a couple of hours of actual effort, and that being unchartered territory. The rest of the time spent is waiting for things to cure/dry. |
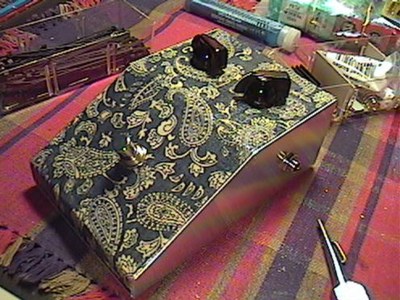 |
Here is another example of a fabric covered enclosure using the same methods described above. This one will recieve the graphics in the same manner as the rest of my painted pedals. It took about 1 hour to get to this point. |
 |
Here is the same enclosure with graphics and clearcoat applied. Total time in preparing this enclosure was about 1-1/2 hours. |